
Party Snapshot
Theme: Mad Science Lab
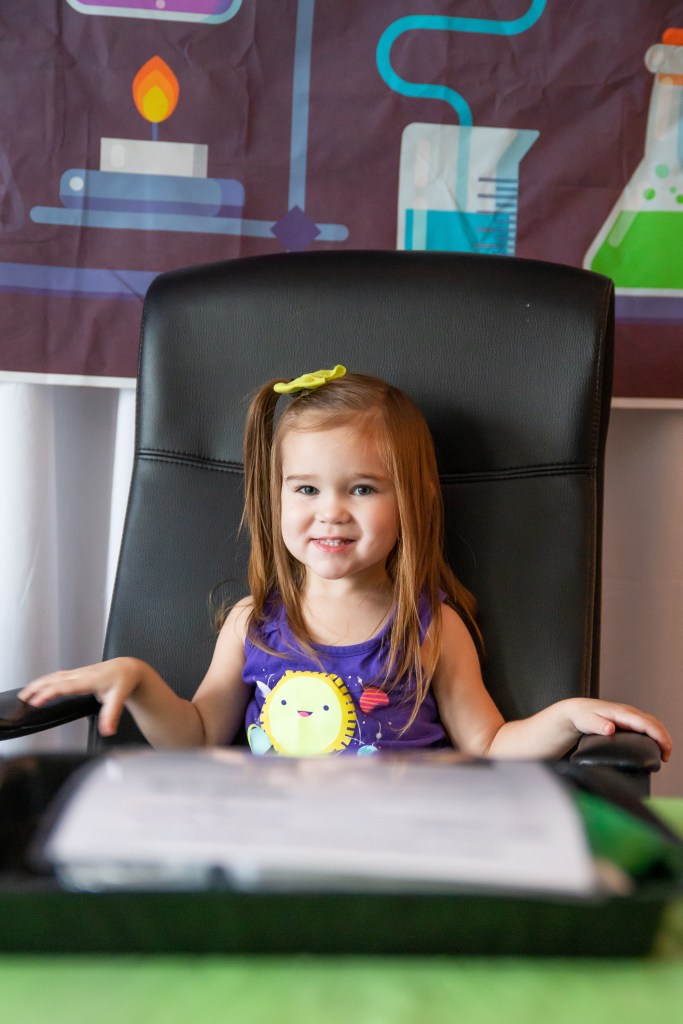
Who: Mallory (turning 3)
When: November 21, 2020
Where: Our home + driveway/garage “lab”
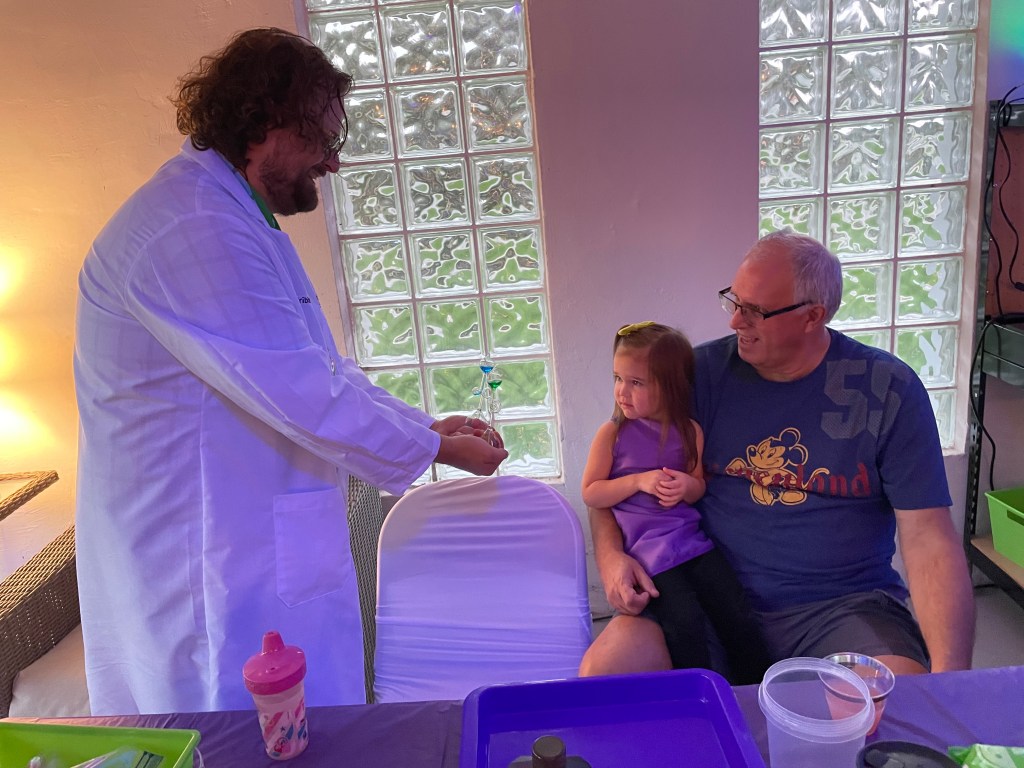
Special Guest: “Professor Wayne” (real rocket scientist/physics prof!)
Highlights: kid‑safe experiments, glow + color play, DIY slime + ice cream, Mentos geyser, lemon batteries, and a lights‑down glow session
Welcome to the Lab

I wanted a party that felt like real science but was simple, safe, and magical for little ones. Enter “Professor Wayne,” who helped me design short, success‑guaranteed activities we could rotate through as the sun went down and the glow came up.
Flow & Setup

	4:30 PM – Outdoor Warm‑Ups
	•	Helium bubbles
	•	Mentos + Diet Coke geysers

	4:45 PM – Garage “Daylight Lab”
	•	Infrared thermometer
	•	Make: Ice Cream in a Bag (shake, shake, shake!)
	•	Magnets + paperclips discovery
	•	How Loud Can You Get? (kid‑safe decibel meter fun)
	•	Hand boilers
	•	Make: Fizzy Slime (baking soda + vinegar reaction that sets into slime)

	5:30 PM – Lights Down, Glow Up
	•	Make: Lemon Batteries (light an LED with lemons)
	•	Colored lights & prisms
	•	Static‑electricity lightbulb demo
	•	Make: Glow Foam (kid‑safe “elephant toothpaste” style with UV flashlights)
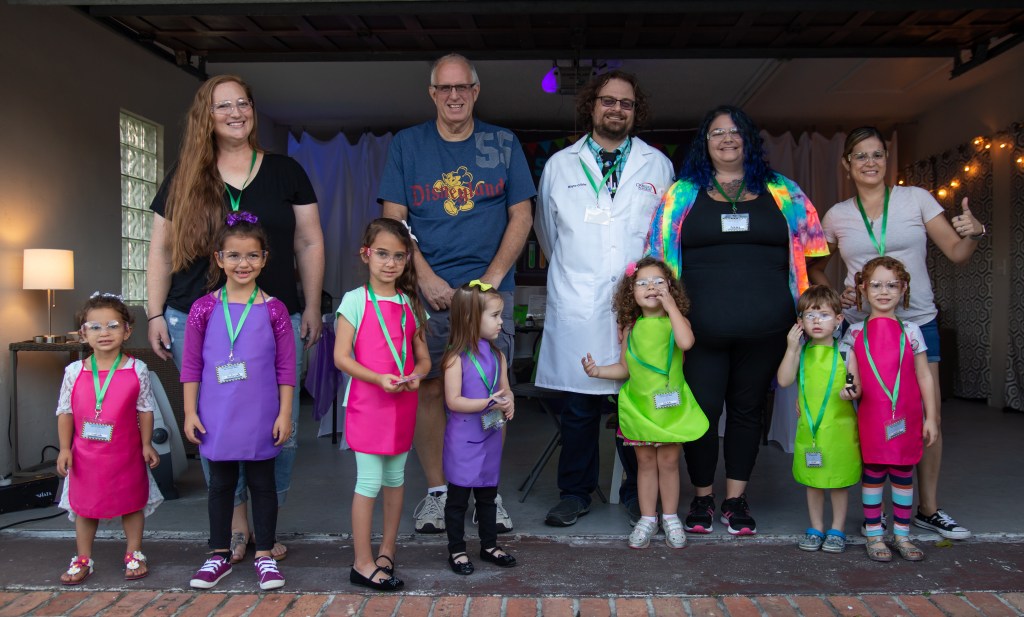
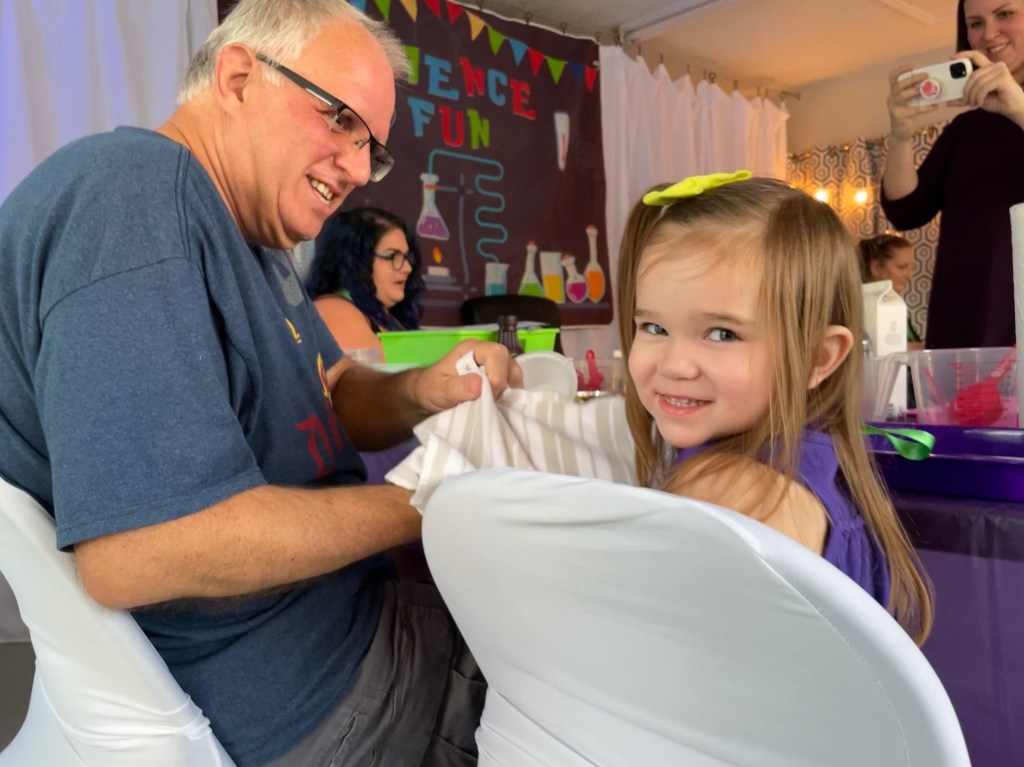
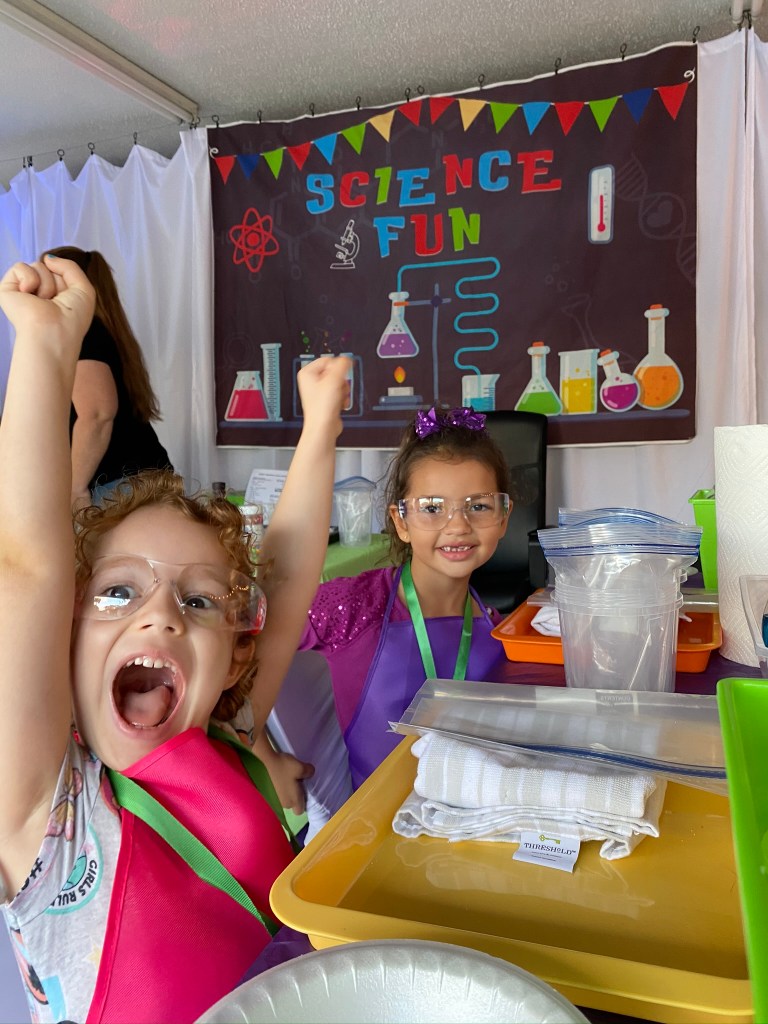
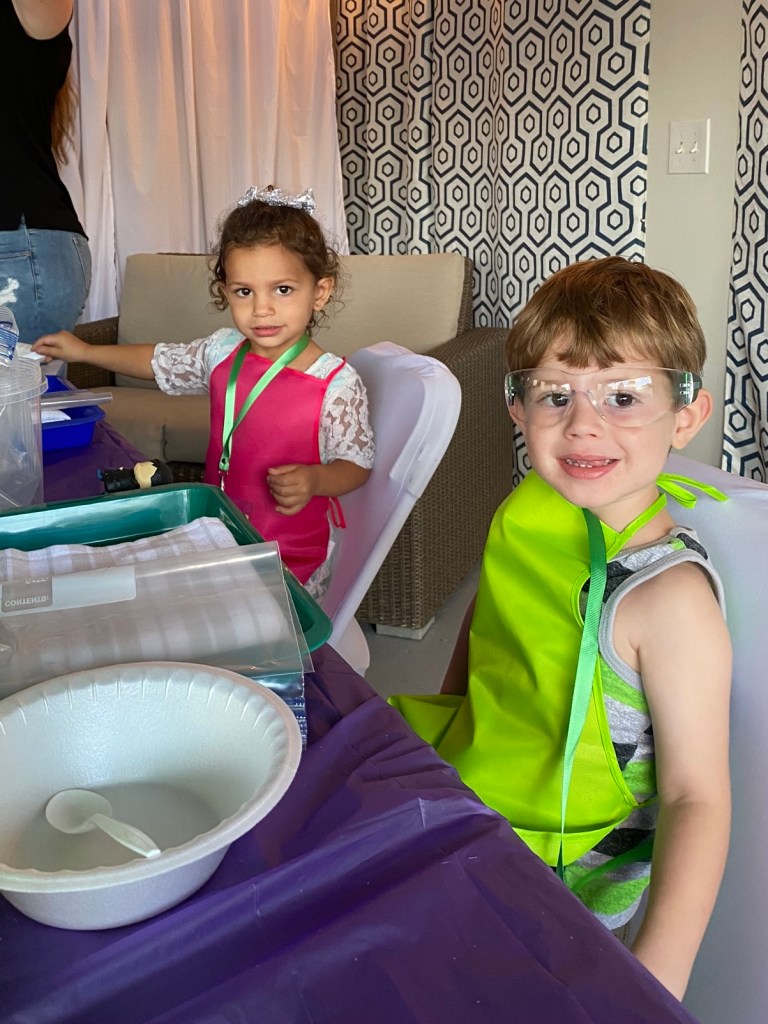
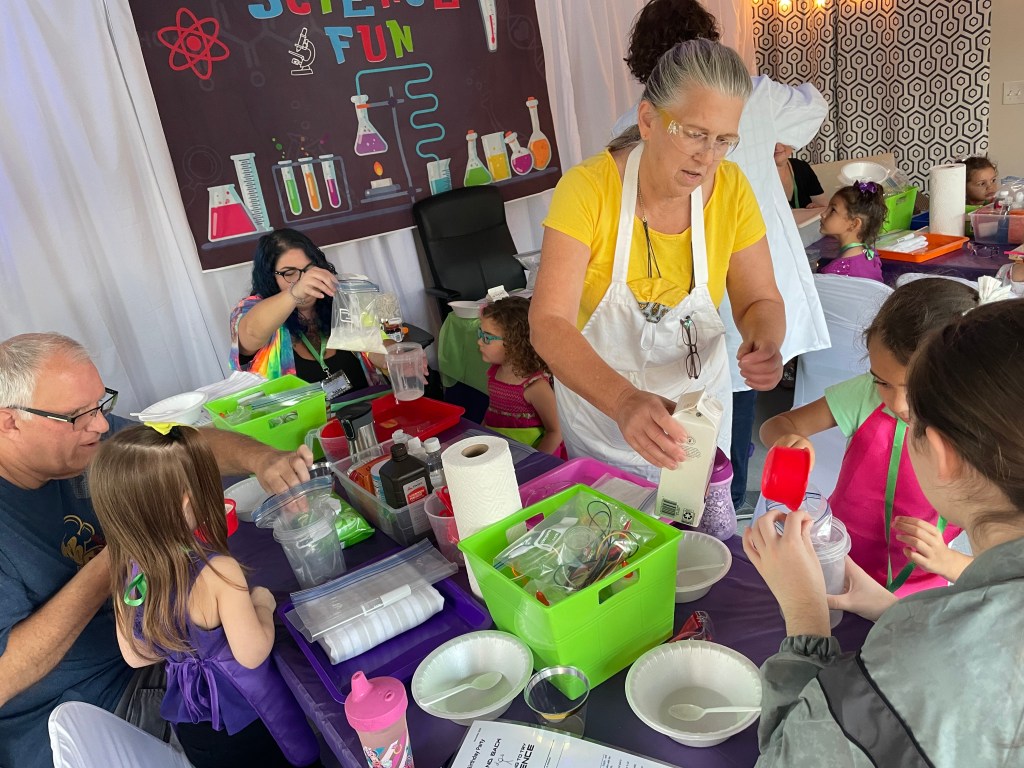
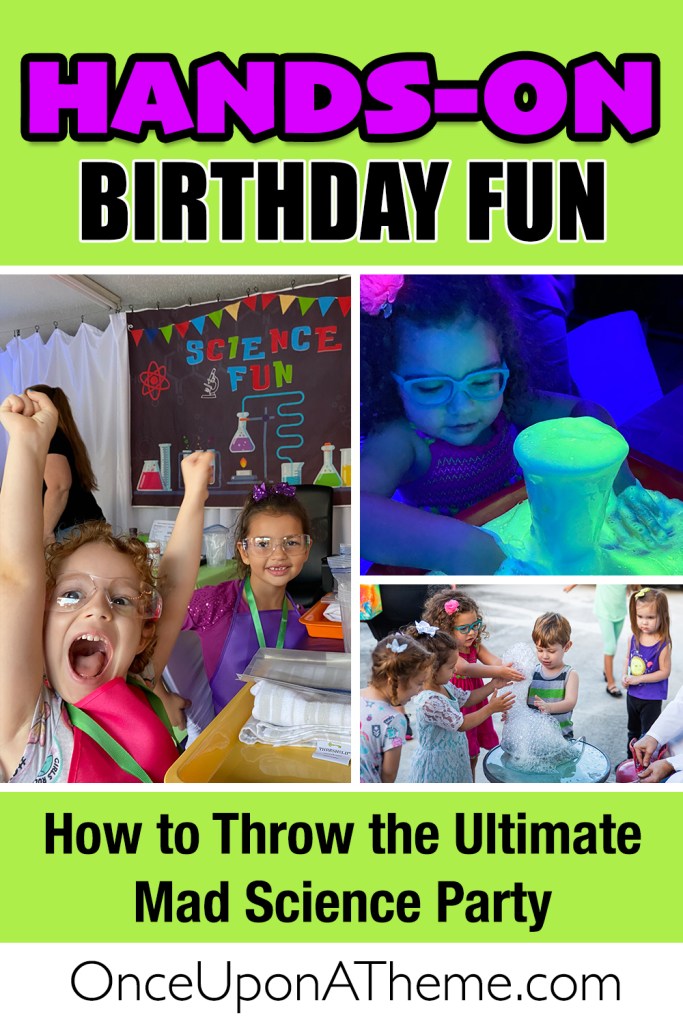
Even though we hosted this party in our not-so-glamorous garage, a little creativity turned it into a fully functional (and fun!) science lab. White bed sheets hid all the clutter, and a colorful science banner set the tone for the experiments ahead. Two folding tables were decorated in purple tablecloths, and each folding chair covered with a white chair cover and a colorful apron draped over the back. In the back, Wayne’s demonstration station had all his supplies at the ready.
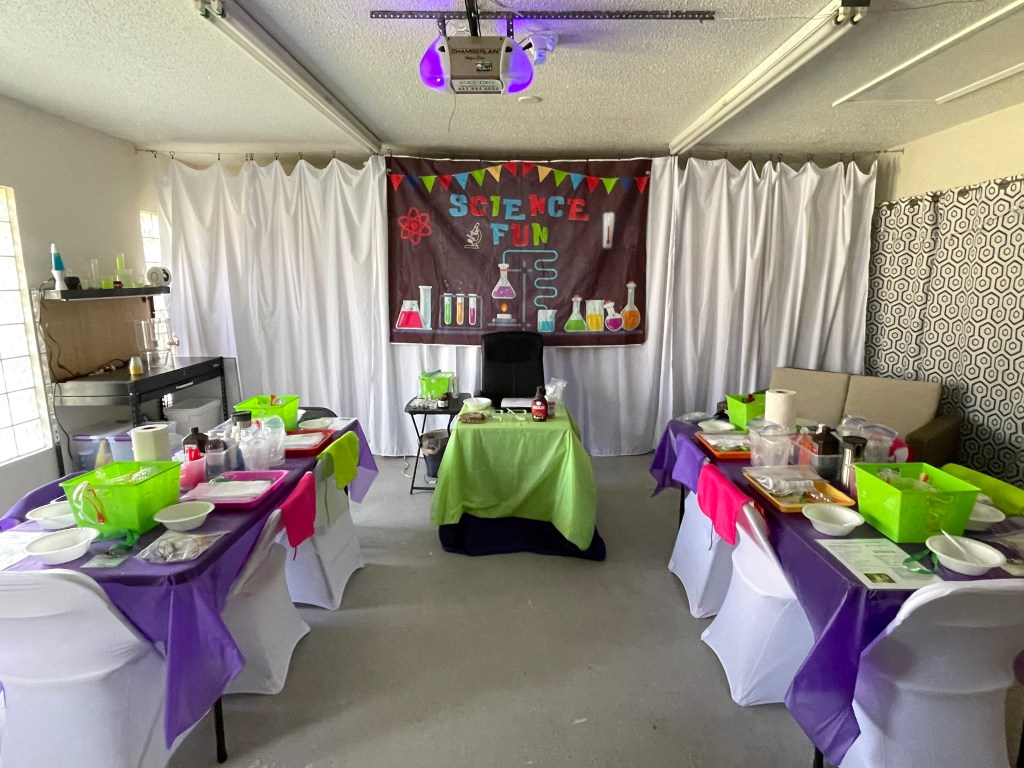
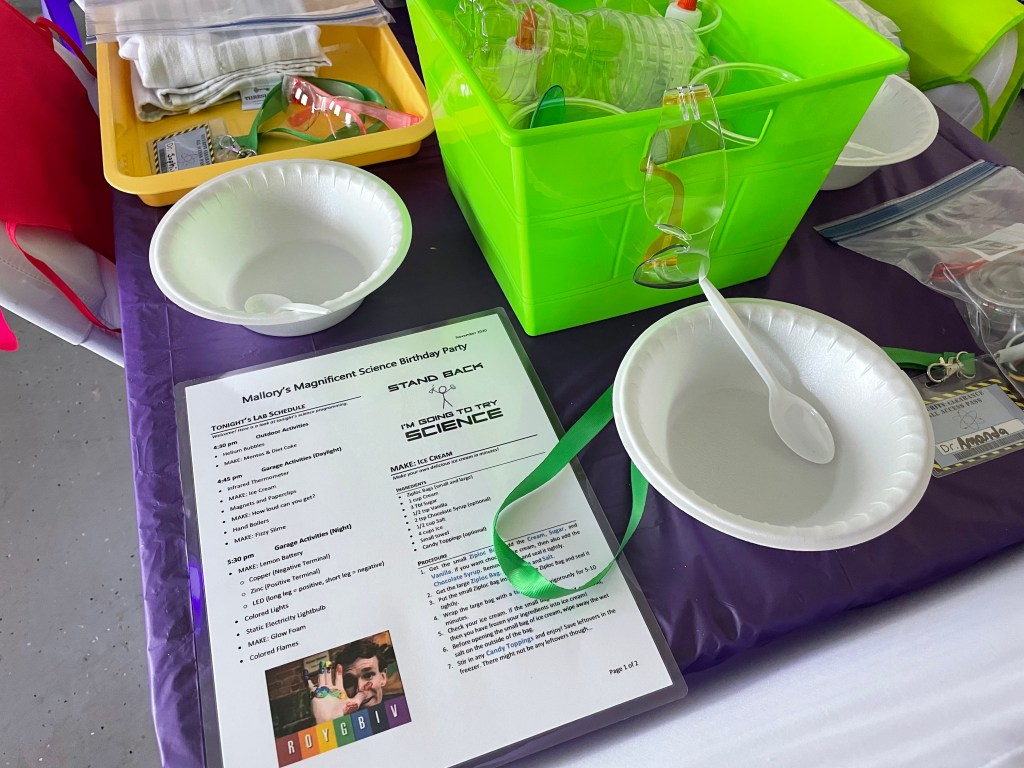
Every child’s tray held their own safety goggles and personalized science badge, ready for action. Supplies for the experiments, such as kid-sized plastic gloves, measuring spoons, assorted cups and containers, and ingredients —were neatly organized in the center of each table, along with baby wipes and paper towels for inevitable messes. Laminated lab schedules made it easy for our adult helpers to follow along.

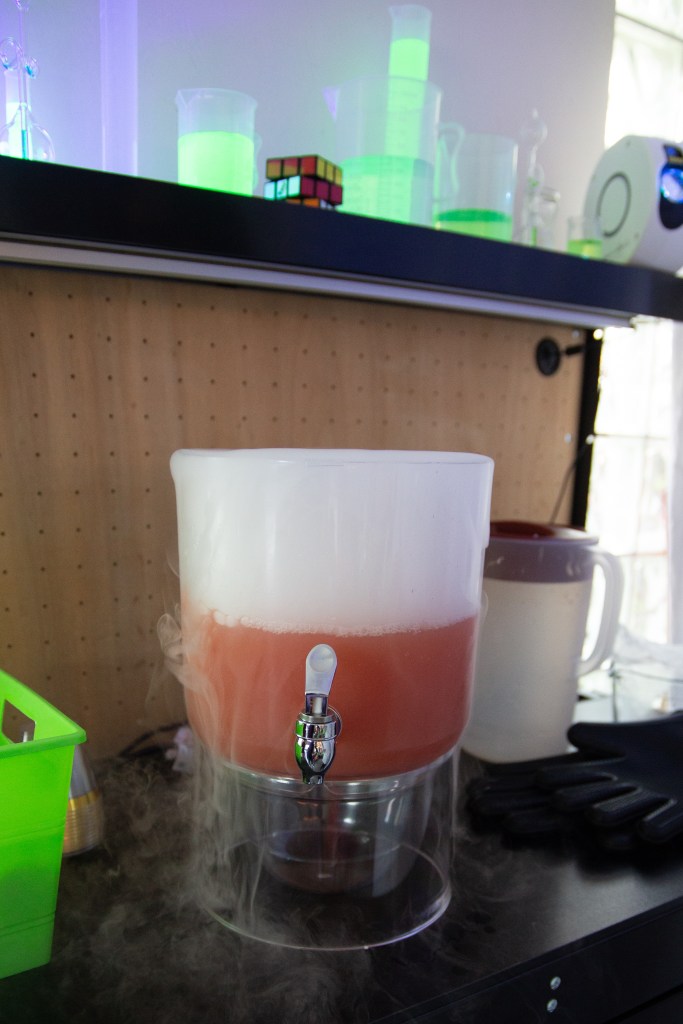
A repurposed tool bench became the drink station, complete with glowing beakers, a lava lamp, and a bubbling dry ice punch. Black lights and a galaxy projector transformed the space into a glowing, otherworldly lab once the sun went down.

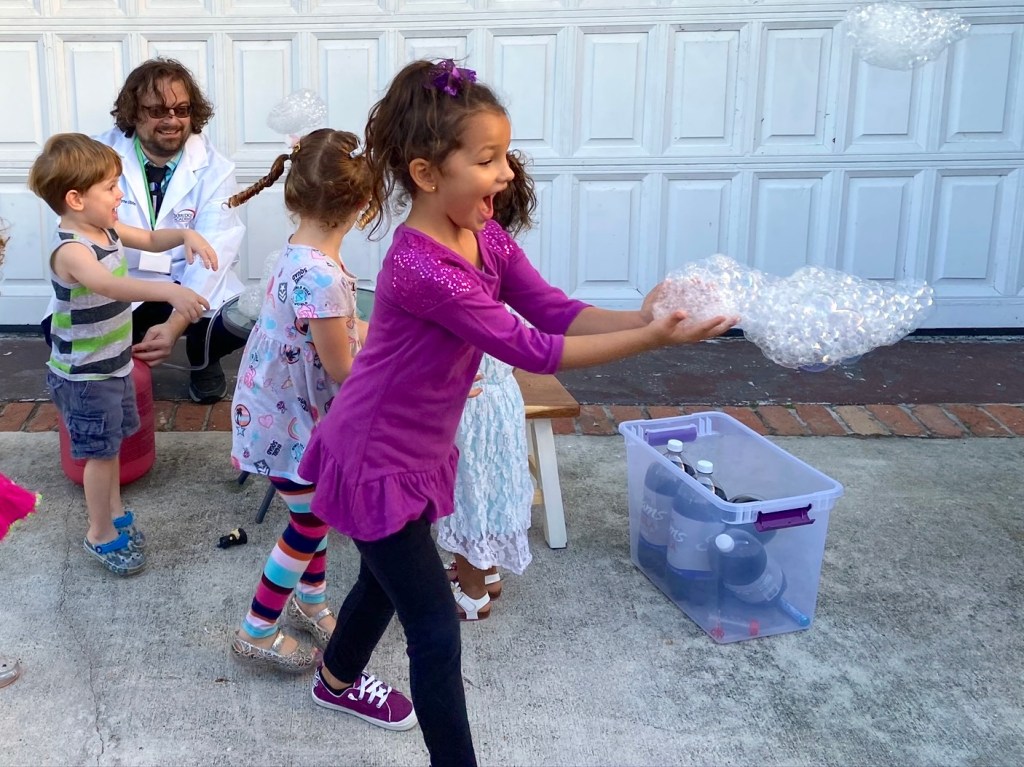
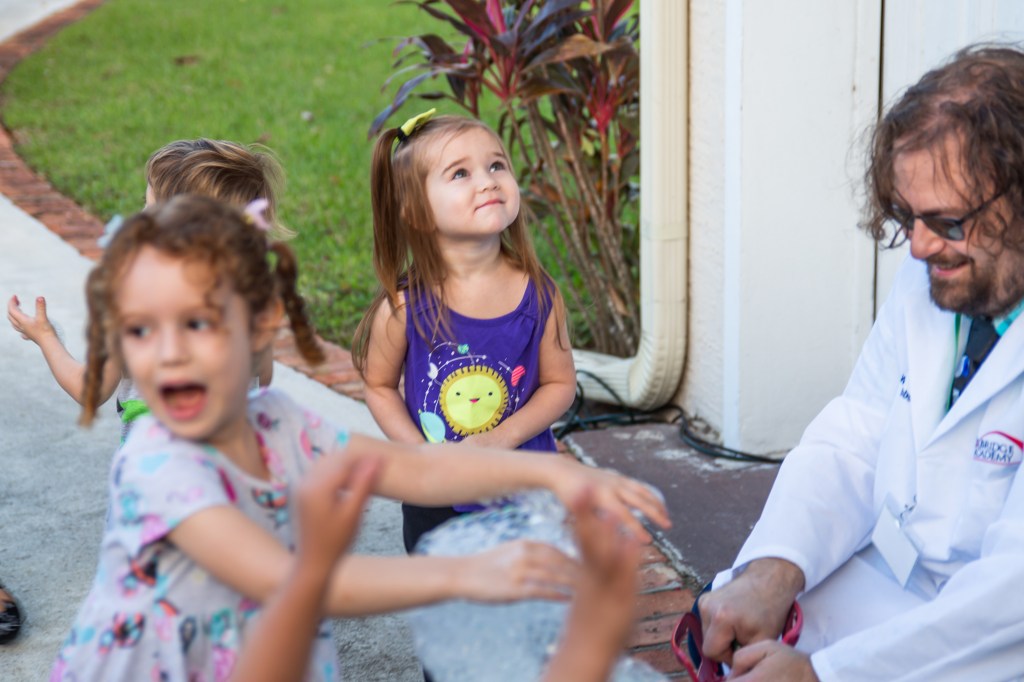
Floating Helium Bubbles

The helium bubble station quickly became one of the most magical moments of the party. Wayne, dressed in a white lab coat, hooked up a 1/4" vinyl tube from a helium tank to a shallow tray of bubble solution. As he pumped helium into the mixture, shimmering clusters of bubbles began to grow and lift from the tray—some so large they floated high into the afternoon sky.

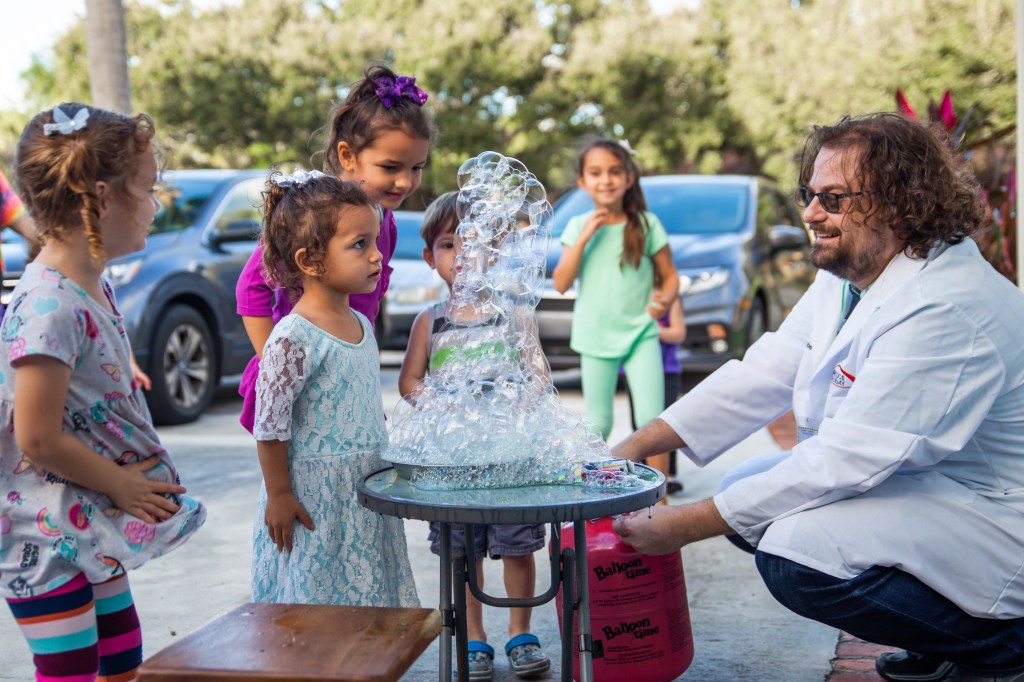
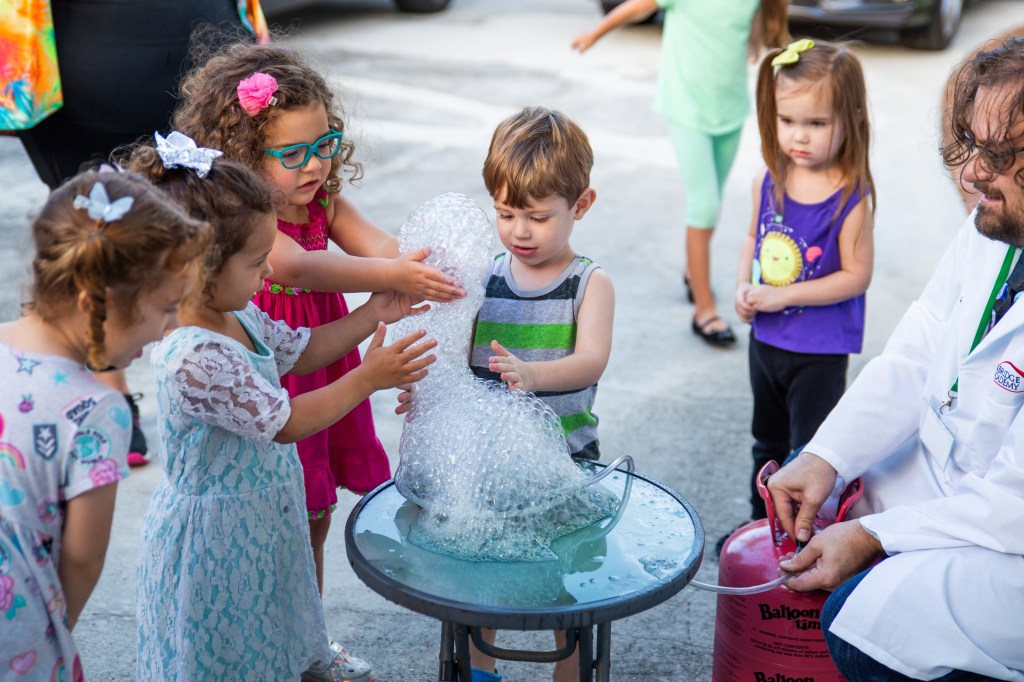
The kids erupted into squeals of excitement, chasing the bubbles across the driveway, trying to catch them before they floated away. It was part science, part magic, and entirely unforgettable.

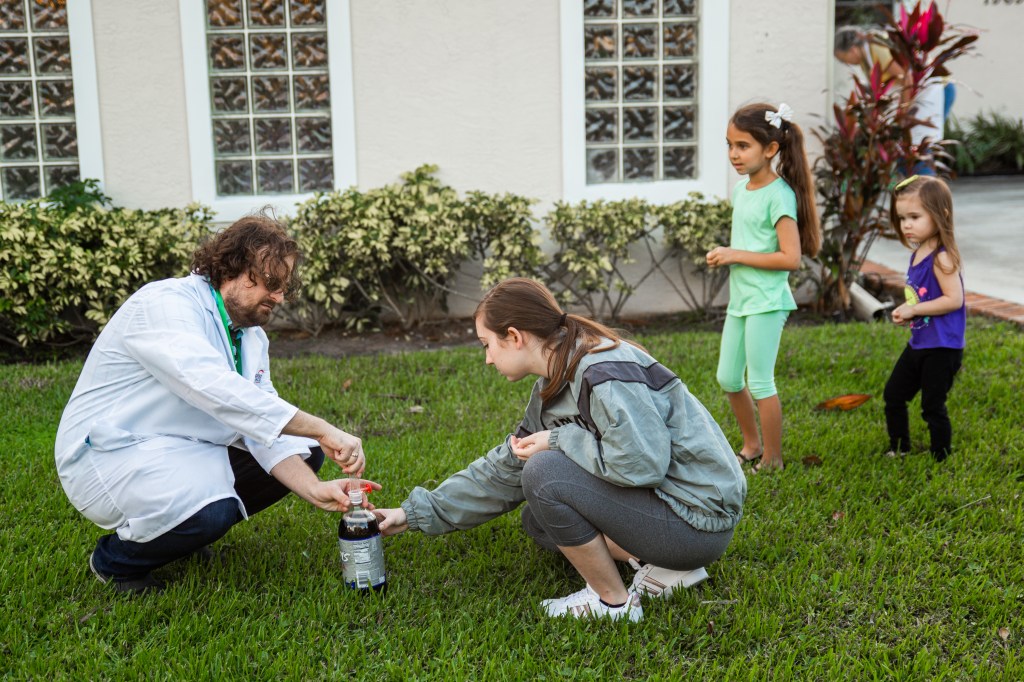
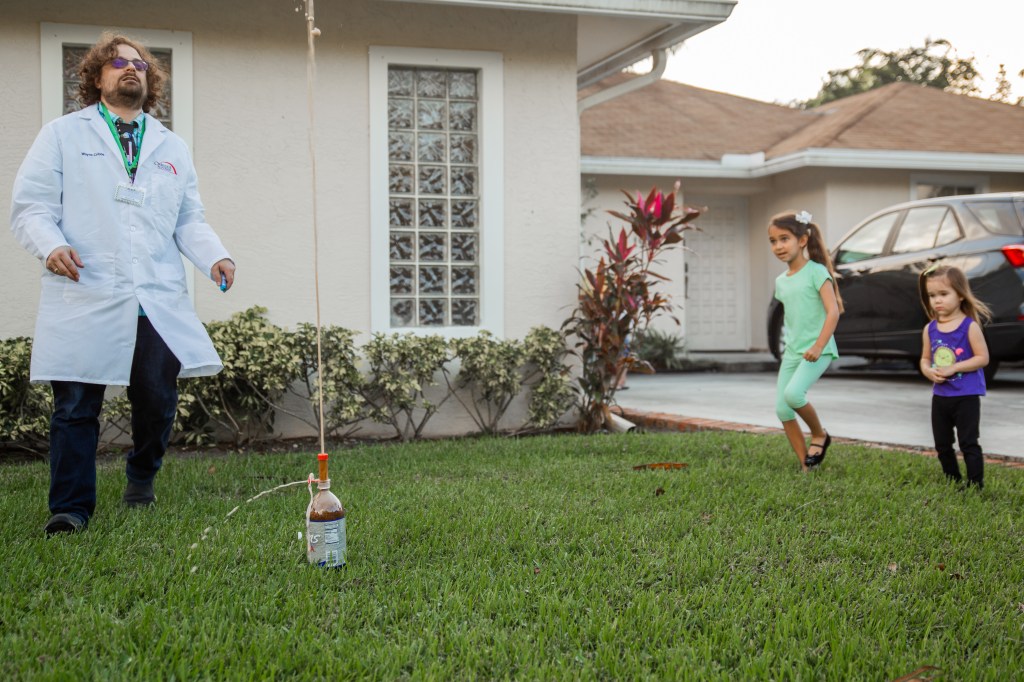
Diet Cola Geyers

No science party is complete without the classic Mentos and Diet Cola geyser, and this one did not disappoint. Each child had a turn loading the Mentos into the special geyser tube, then pulling pin to release them into the bottle.
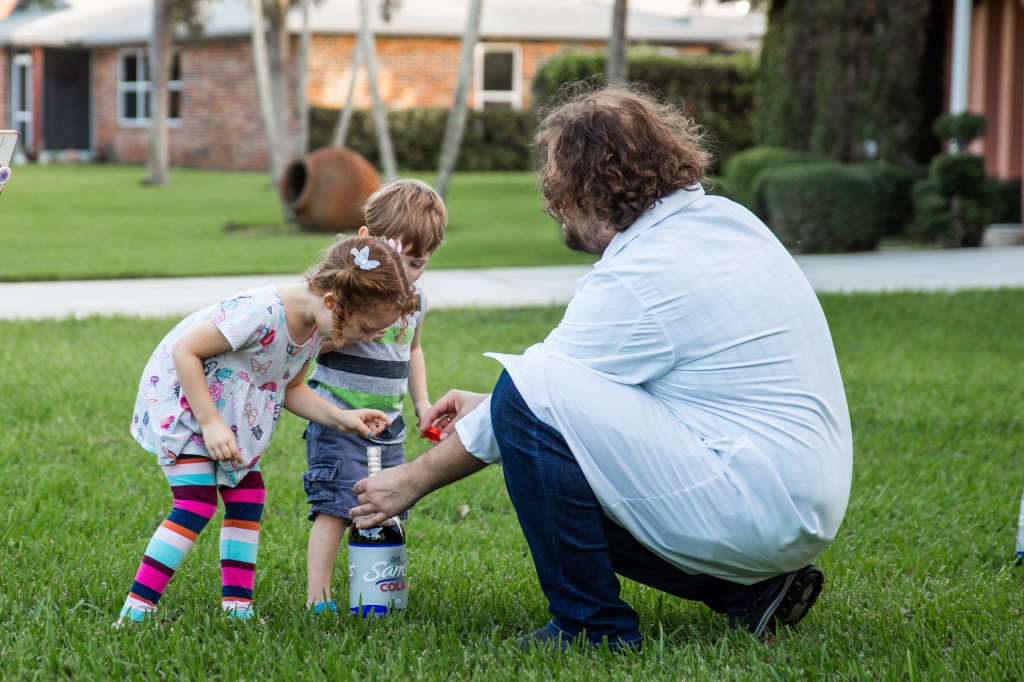
The moment the candies hit the soda, a fizzy eruption shot sky-high, sending the kids squealing with delight. Whether they were the scientist in charge or part of the cheering crowd, everyone got a front-row seat to the spectacle.

After the excitement of the Mentos and Diet Cola geysers outside, the kids eagerly made their way into the decorated “Science Fun” lab inside the garage. With tables set, trays organized, and aprons and goggles at the ready, our young scientists prepared to take on their next experiment—making homemade ice cream!
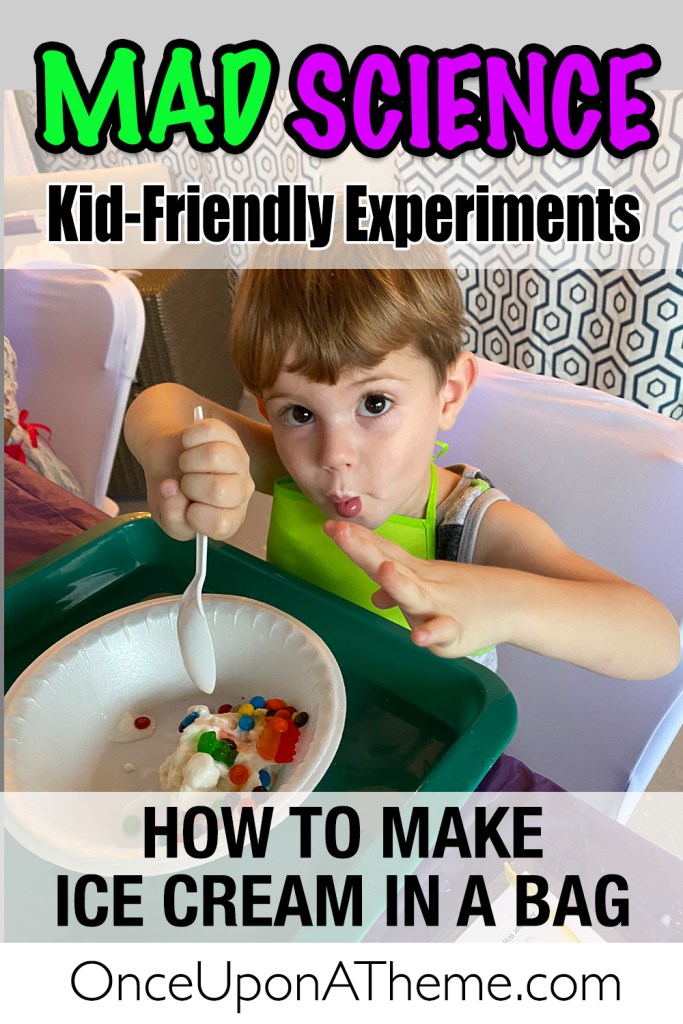
Homemade Ice Cream Experiment
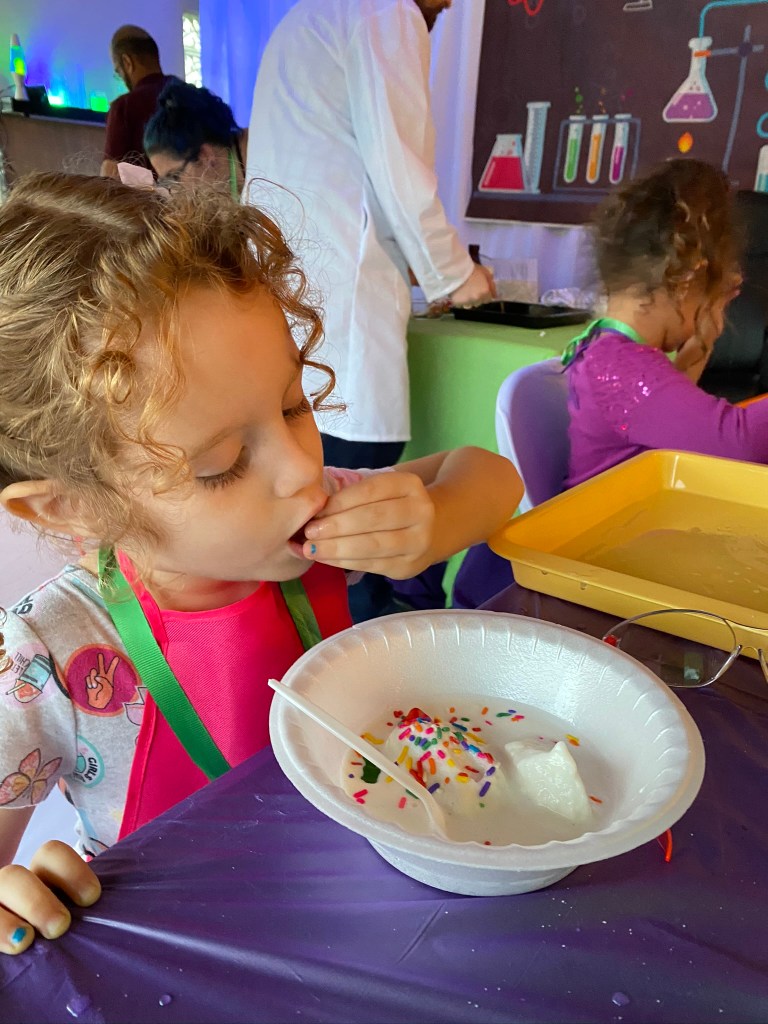
With Mallory’s Grammie stepping in as a “lab assistant,” each guest measured, mixed, and shook their way to a personal bag of homemade ice cream. The kids wrapped their bags in towels and gave them a vigorous shake, waiting for the magic moment when liquid cream transformed into a frozen treat.

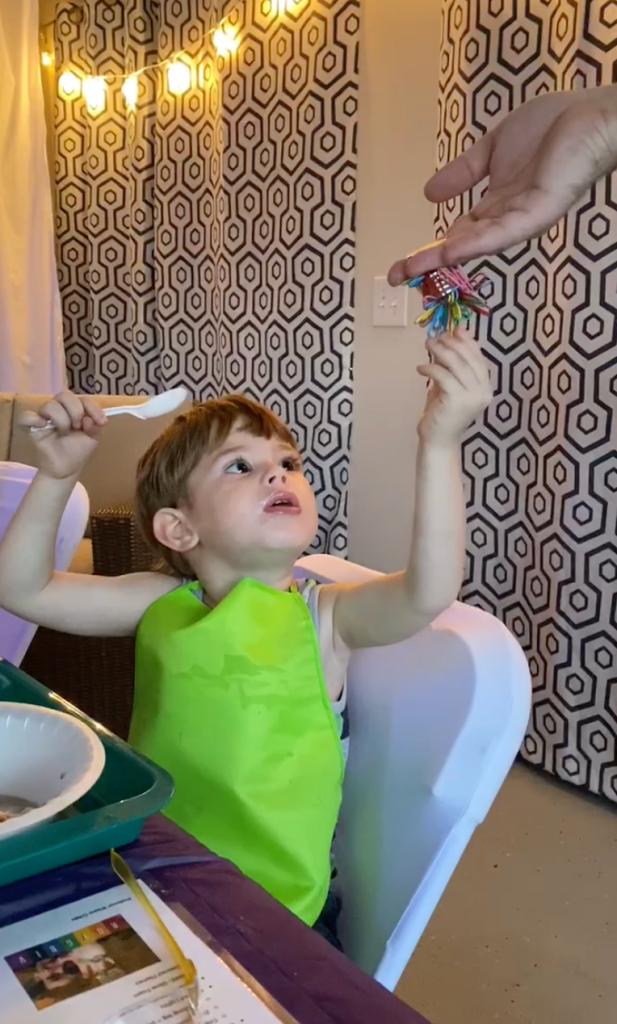
Once the bags were opened (after a quick salt wipe-down), the real creativity began—rainbow sprinkles, gummy bears, and candy toppings turned every scoop into an edible masterpiece.
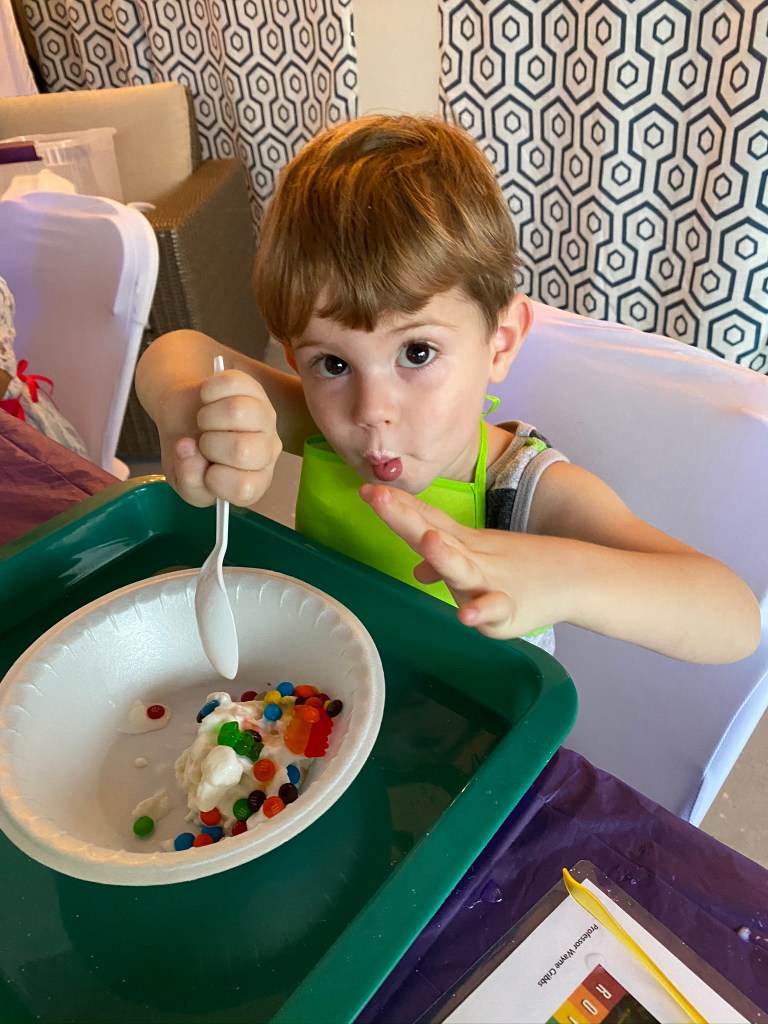
Shake-It-to-Make-It Ice Cream
You’ll Need:
  • Small Ziploc bag
  • Large Ziploc bag
  • 1 cup heavy cream
  • 3 tablespoons sugar
  • ½ teaspoon vanilla extract
  • 2 teaspoons chocolate syrup (optional, for chocolate lovers)
  • 4 cups ice
  • ½ cup salt
  • Small towel
  • Candy or sprinkles for topping (optional)

How to Make It:
  1. Pour the cream, sugar, and vanilla into the small bag. For chocolate ice cream, add chocolate syrup. Press out the air and seal tightly.
  2. Fill the large bag with ice and salt. Place the sealed small bag inside, then seal the large bag
  3. Wrap the big bag in a towel to protect your hands from the cold. Shake hard for 5–10 minutes, or until the smaller bag feels firm.
  4. Remove the small bag and wipe away any salty water before opening.
  5. Add toppings, grab a spoon, and enjoy your fresh, lab-made ice cream! (Leftovers can go in the freezer—but don’t count on having any.)
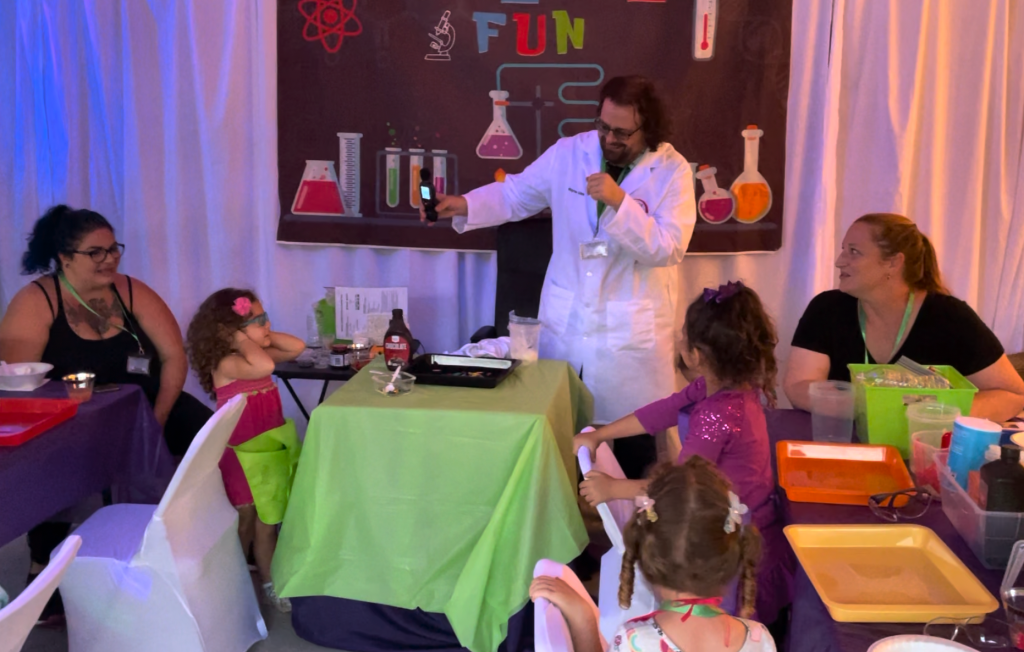
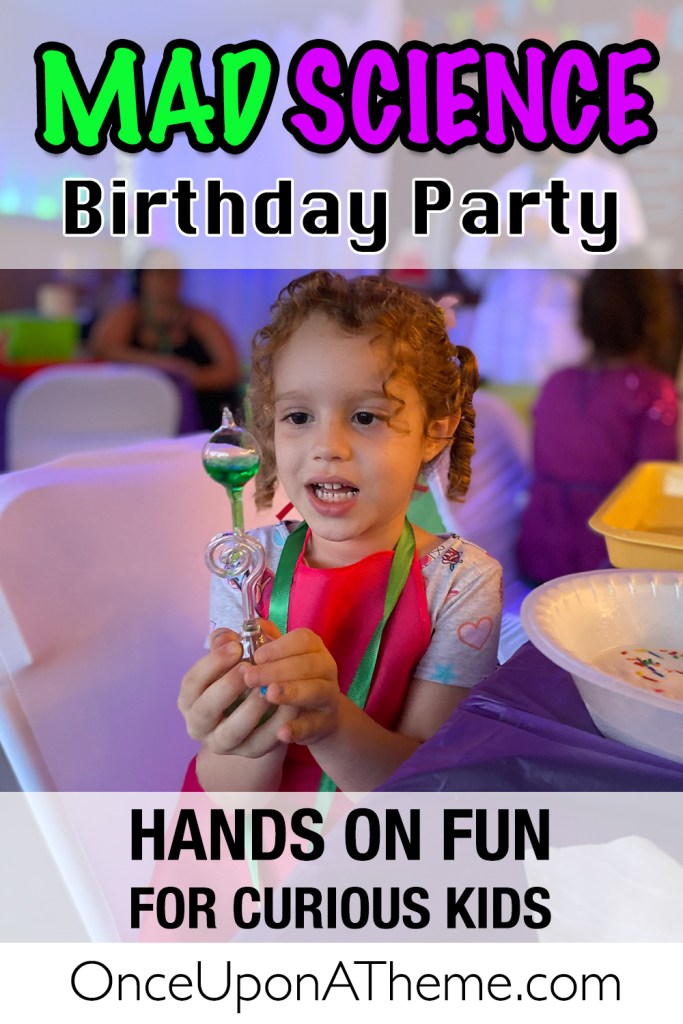
Intermission “Wow” Demos

Between the big make‑it experiments, Wayne kept curiosity buzzing with quick, high‑impact demos. We tested the pull of rare‑earth magnets on a chain of paperclips, and took turns seeing “how loud can you get?” with a decibel meter (spoiler: very loud), and we also experimented with hand boilers, prisms, and static electricity. These bite‑size breaks were perfect resets—just a couple of minutes each, but packed with “whoa!” moments—before we jumped back into the hands‑on projects.

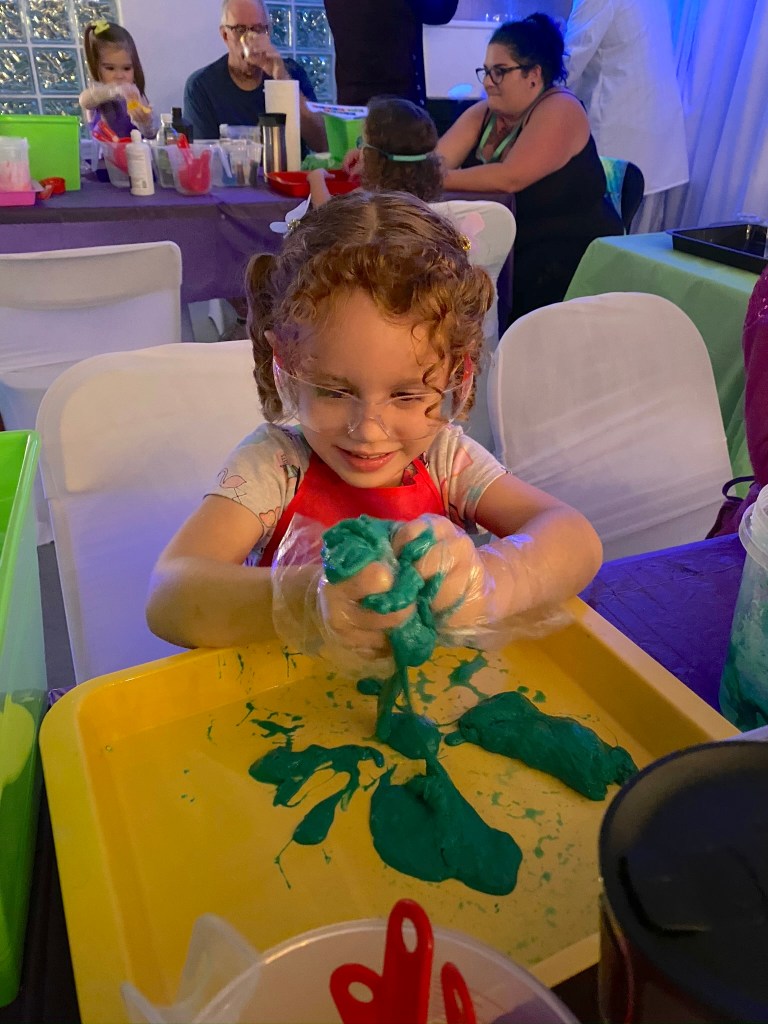
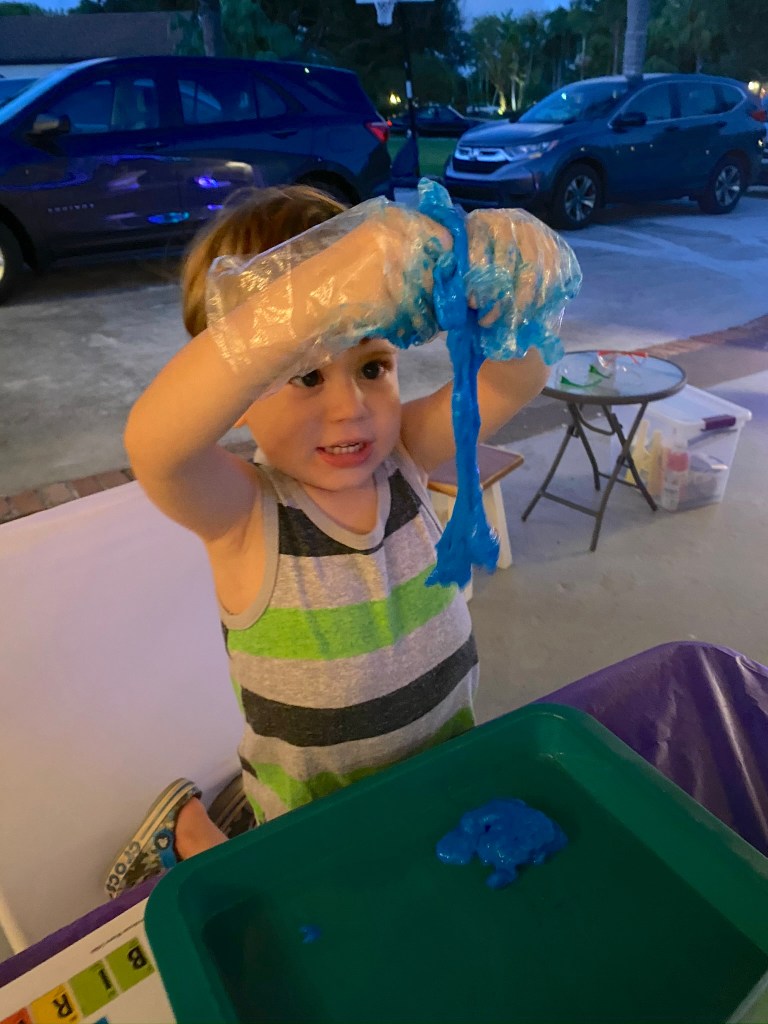
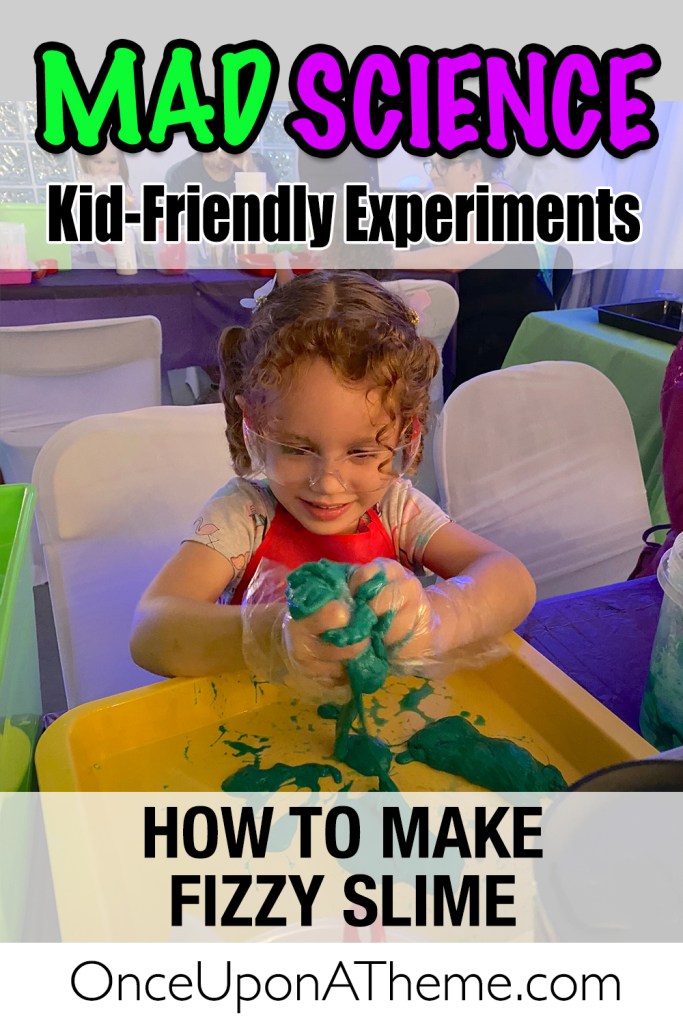
Fizzy Slime Fun

For our next experiment, we cranked up the excitement with a gooey project that was equal parts science and sensory play. The moment the vinegar hit the baking soda, our trays came alive with a cheerful fizz, like tiny fireworks going off under the slime. The kids leaned in wide-eyed, stirring faster as the mixture thickened right before their eyes.


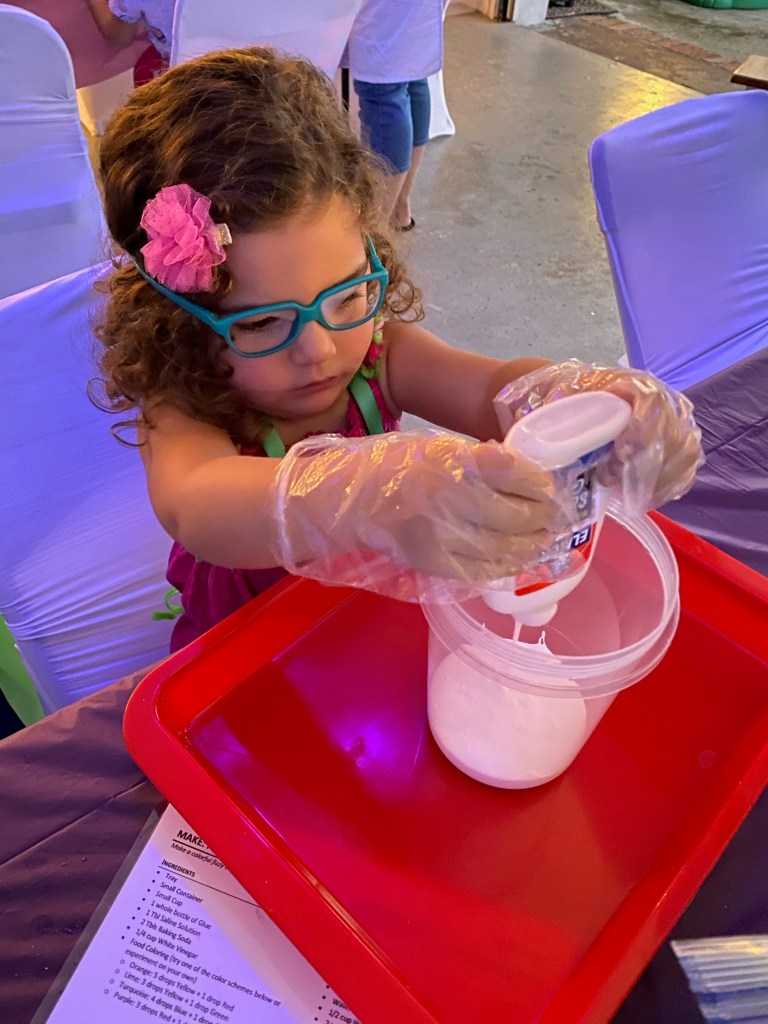
By the end, every scientist had their own colorful, stretchy creation to squish, stretch, and—of course—take home. This one wasn’t just a hit… it was the ooze de résistance of the whole lab.

Fizzy Slime Recipe
What You’ll Need
	•	A tray to work over
	•	A small mixing container
	•	A small cup
	•	One full bottle of school glue
	•	1 tablespoon saline solution
	•	2 tablespoons baking soda
	•	¼ cup white vinegar
	•	Food coloring (use your own combo or try one of these favorites):
	             * Orange: 5 drops yellow + 1 drop red
	             * Lime: 3 drops yellow + 1 drop green
	             * Turquoise: 4 drops blue + 1 drop green
	             * Purple: 3 drops red + 1 drop blue

How to Make It
	1.	Pour the entire bottle of glue into your mixing container. Sprinkle in the baking soda and stir until the texture starts to firm up.
	2.	Add your chosen food coloring. For swirled streaks, give it just a light mix; for an even color, stir thoroughly.
	3.	In the small cup, combine the vinegar with the saline solution.
	4.	Place your mixing container inside the tray (trust me—this gets messy). Slowly pour the vinegar mixture into the glue.
	5.	Stir, stir, stir! Watch as the fizzing reaction kicks in. Keep mixing until the bubbles fade and the slime thickens.
	6.	Once it’s too thick to stir easily, pull it out of the container and knead it with your hands.
	7.	Play to your heart’s content! When you’re done, seal it in a container to take home.
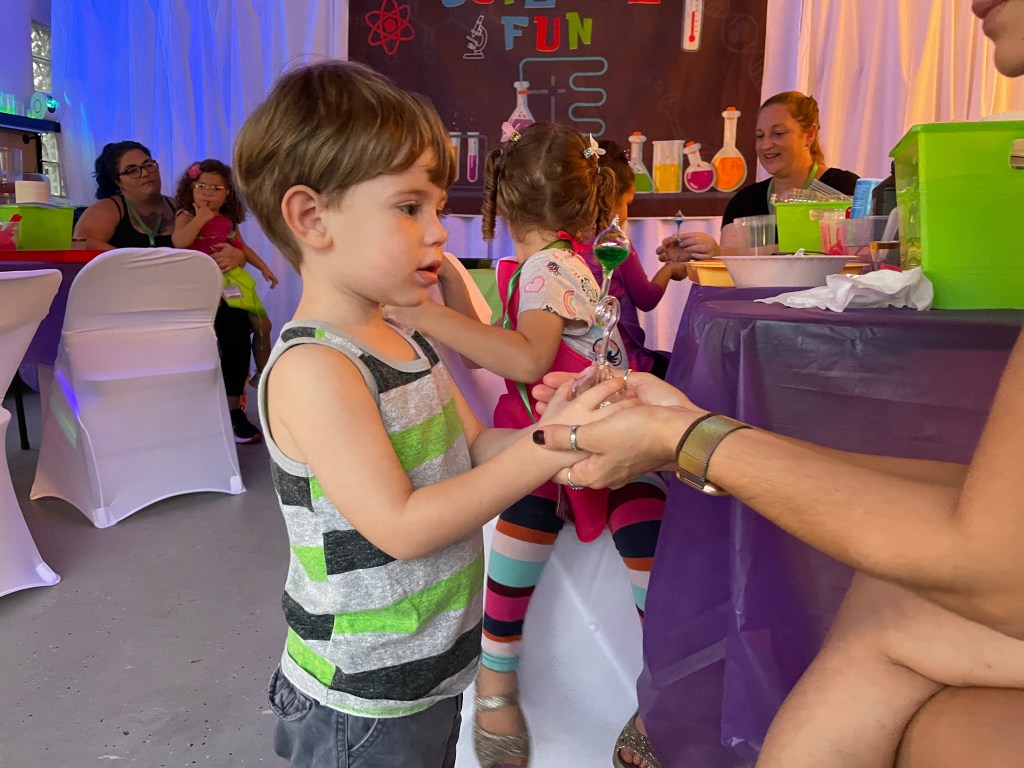
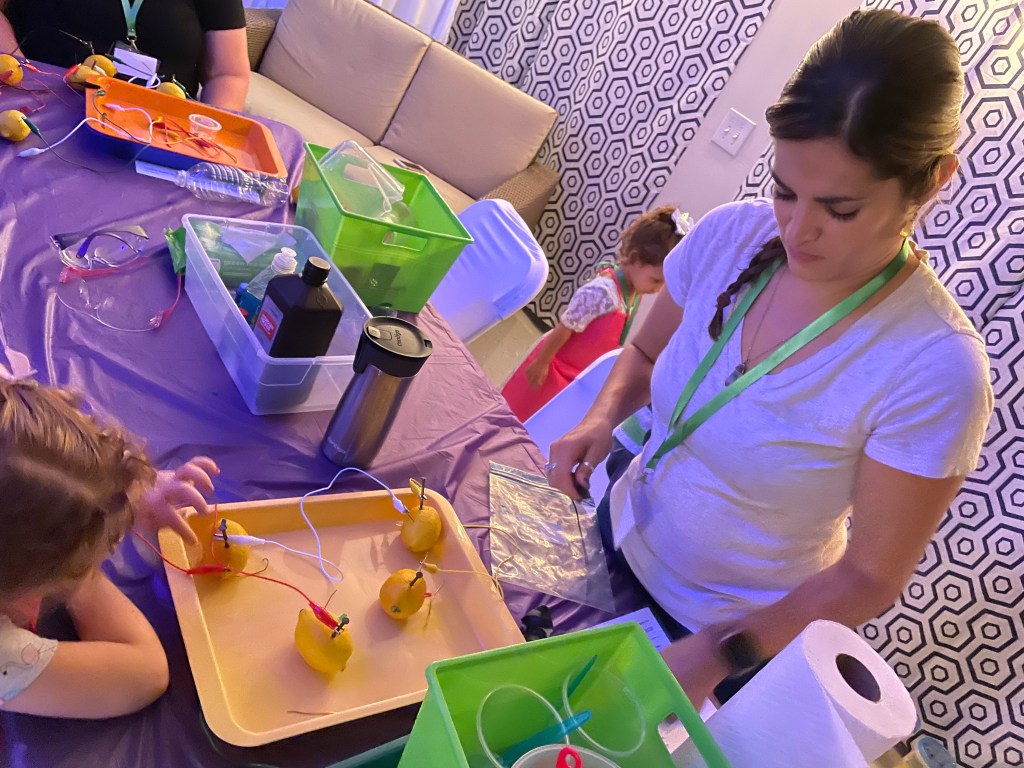
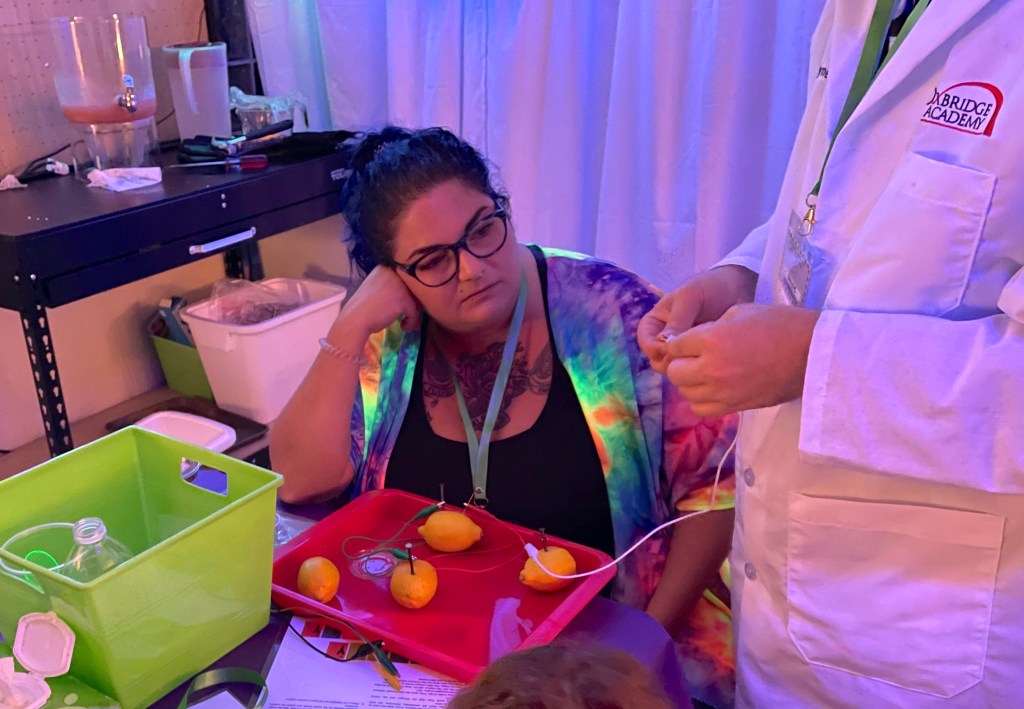
Lemon Battery

As the last bits of fizz from our slime experiments settled, the sun dipped below the horizon and the garage transformed into a glowing science lab—perfect for kicking off our nighttime experiments, starting with the electrifying lemon battery challenge.

One of the coolest parts of the lab was turning ordinary lemons into a working battery. Using zinc and copper as electrodes, the acidic lemon juice acted as the electrolyte, creating a tiny flow of electricity. By linking several lemons together in a chain, we could generate enough voltage to light up a small LED. It was a fun way to see that chemistry and electricity are closely connected—though the wiring part was a little tricky for younger hands.
How to create a simple circuit that uses lemons to power a small LED light:

INGREDIENTS
	•	4 lemons
	•	4 zinc nails (galvanized nails work well)
	•	4 copper wires or copper coins
	•	Alligator clip leads
	•	1 small LED light diode (5 mm works best)

DIRECTIONS
	1.	Prep the lemons – Gently roll each lemon on the table to soften and release juice inside.
	2.	Insert the electrodes – Push one zinc nail and one piece of copper into each lemon, spacing them about 2–3 cm apart. Make sure they don’t touch inside the lemon.
	3.	Link the lemons – Use alligator clips to connect the copper of the first lemon to the zinc of the second lemon. Continue until all four lemons are connected in a chain.
	4.	Attach the LED – Clip the free zinc nail from the first lemon to the short leg of the LED (negative side). Clip the free copper from the last lemon to the long leg of the LED (positive side).
	5.	Light it up – If the LED doesn’t light, double-check connections and try reversing the LED leads. Adding more lemons in series can boost brightness.
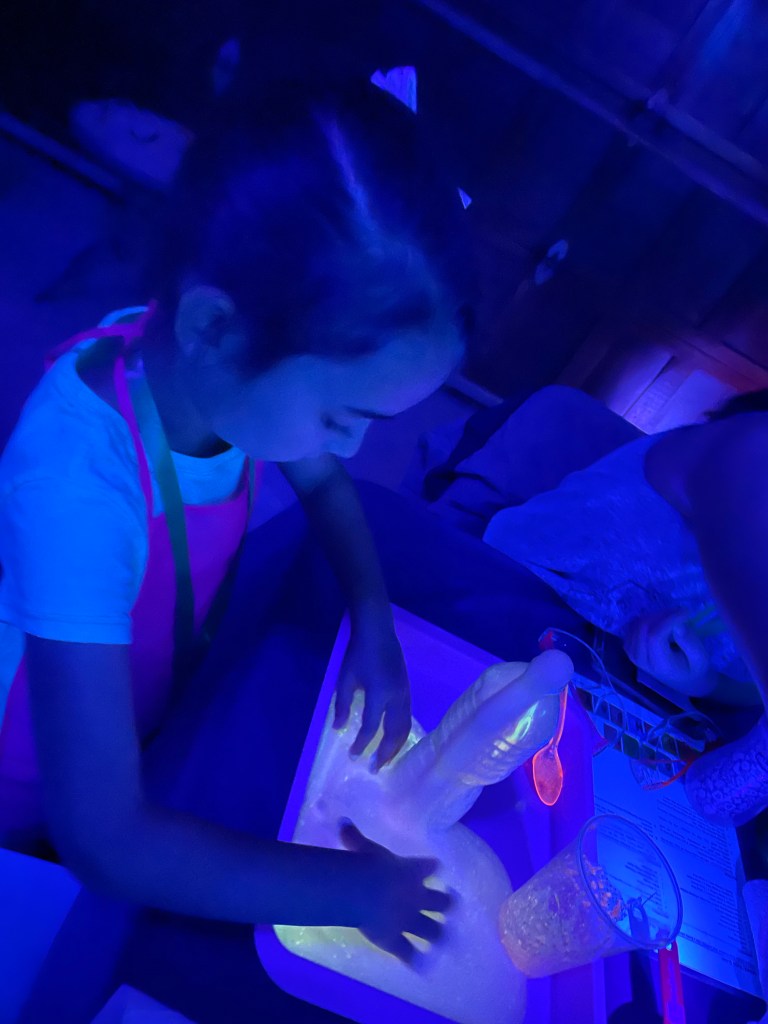
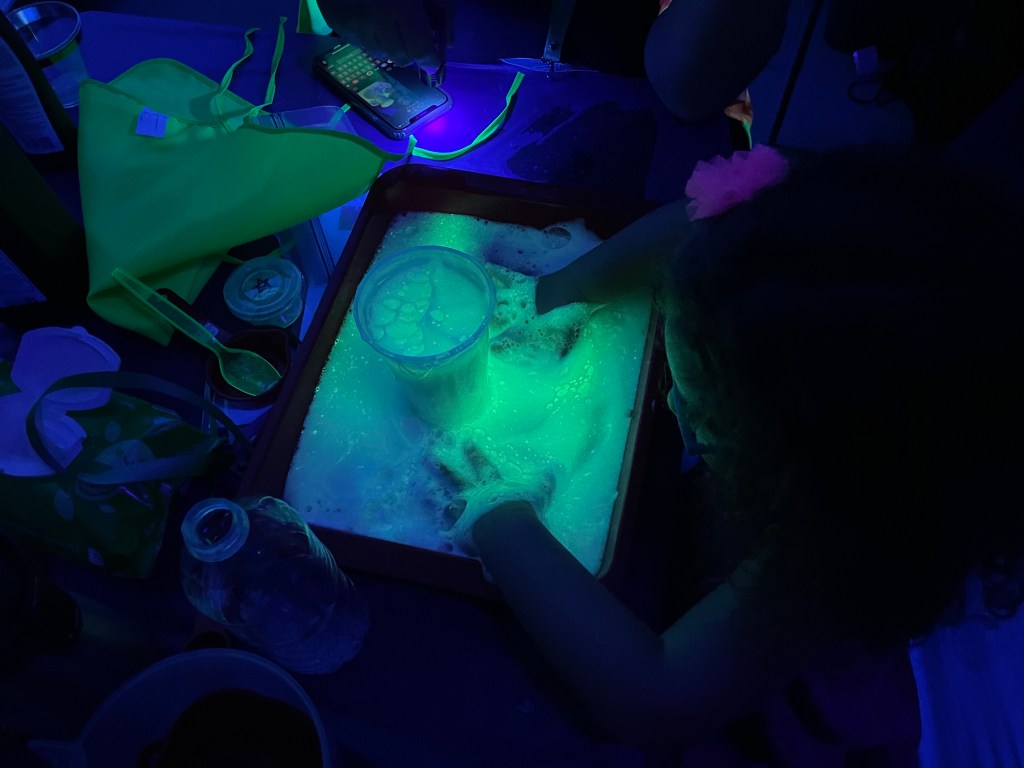
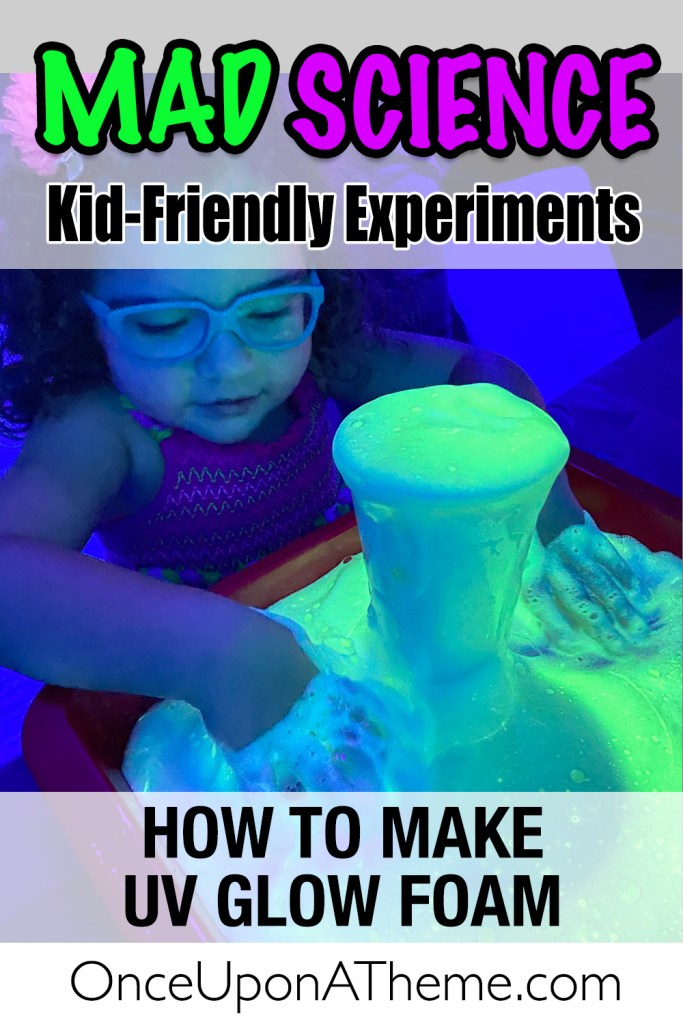
Glow Foam

Once the garage lights dimmed and the blacklights came on, it was time for one of the most dazzling experiments of the night—Glow Foam! This bubbling, foamy reaction not only created a fun, fizzy mess but also lit up brilliantly under the UV lights.
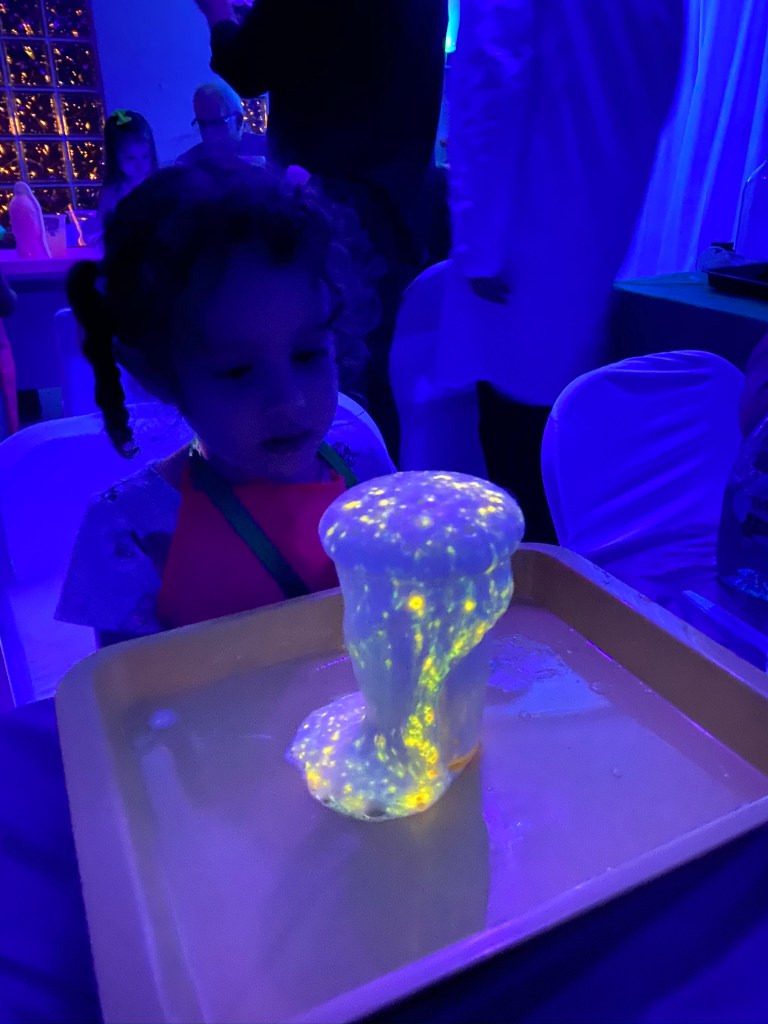
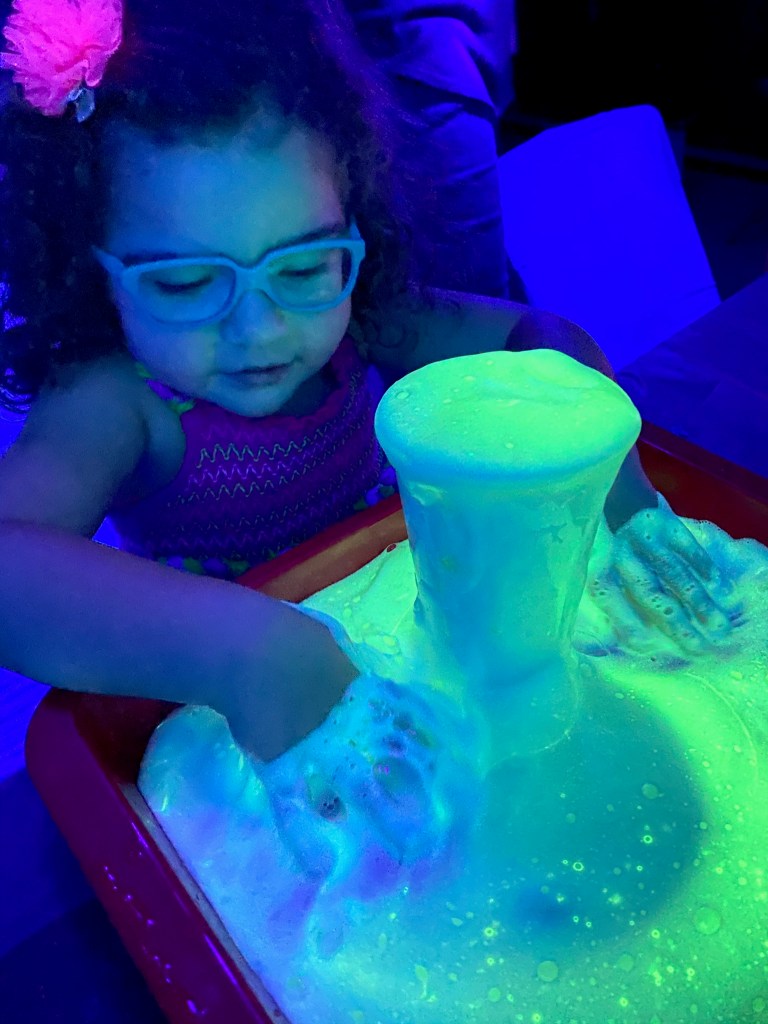
The kids loved watching the ingredients combine into a frothy tower, then plunging their hands in to squish and swirl the glowing bubbles. It was science, sensory play, and a little bit of magic all rolled into one.
Glow Foam Recipe
You’ll Need:
	•	Tray to contain the mess
	•	Small plastic cup
	•	1 Tablespoon “Magic Powder” (a mix of yeast and UV reactive powder)
	•	2 tablespoons warm water
	•	Empty water bottle
	•	½ cup hydrogen peroxide
	•	2 teaspoons dish soap
	•	UV flashlight

Steps:
	1.	Set up your empty tray as your workspace to keep things tidy.
	2.	In the small cup, mix the “Magic Powder” with warm water and stir well—it might foam a little at this stage.
	3.	In the empty water bottle, pour in the hydrogen peroxide and add the dish soap.
	4.	Place the water bottle in the center of your tray.
	5.	Pour the yeast mixture from your cup into the bottle and watch as the foam reaction bursts upward!
	6.	Shine a UV flashlight on the foam to see it glow in brilliant colors.
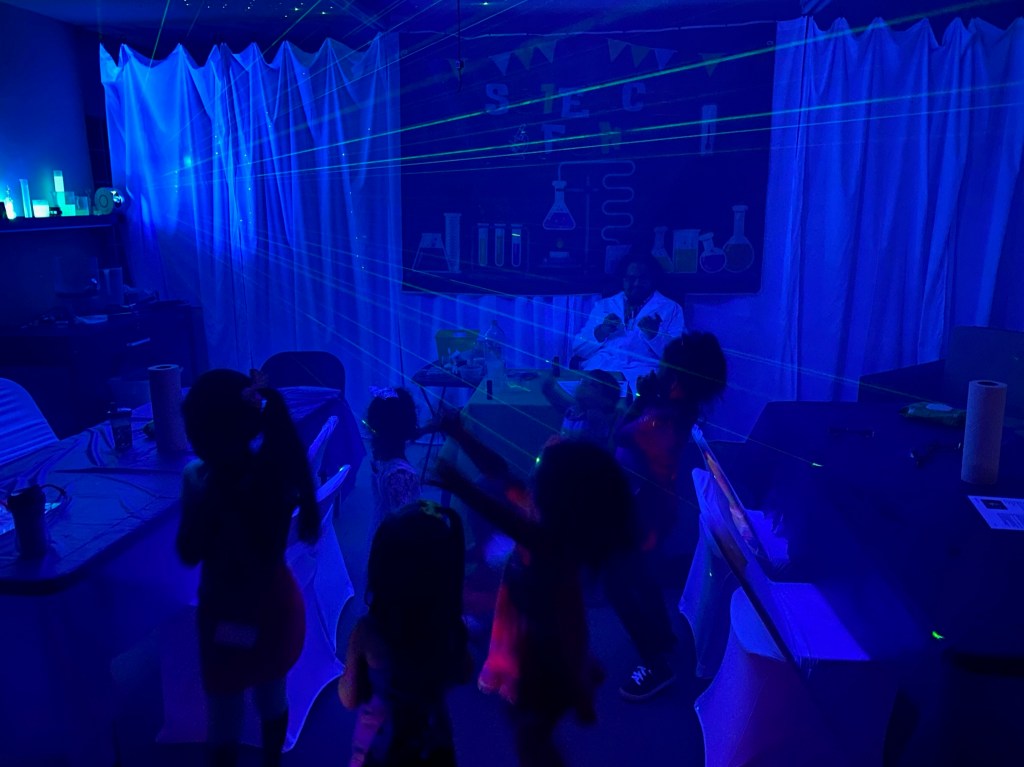
With the last bursts of foam still fizzing under the blacklights, we dimmed the room for one final “experiment.” Fog from a fog machine drifted through the garage, catching the shimmering laser beams from the star projector and making them glow in midair. In the background, beakers and cylinders cast an eerie neon light, their dry ice fog spilling over the edges like something straight out of a mad scientist’s lab.
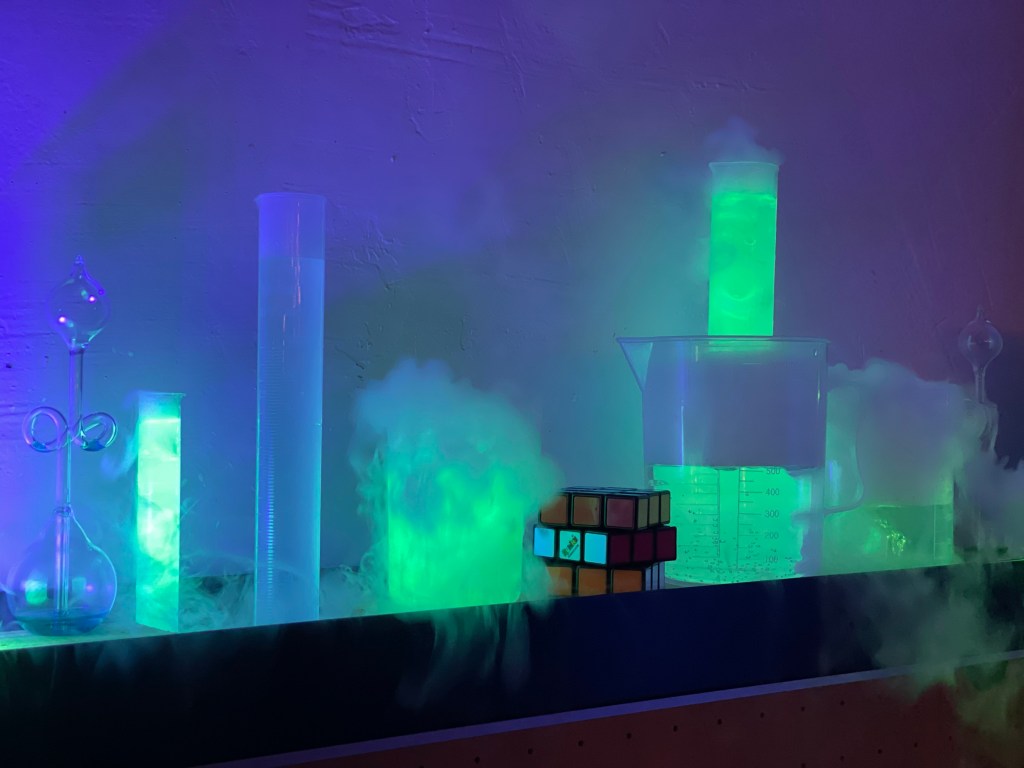
The kids darted around, giggling as they reached for the laser beams, trying to “catch” the light as it passed through the haze. It was the perfect high-energy finale before everyone settled in for dinner, cake, and gifts.

Mallory took a deep breath, made her wish, and poof!—the last candle was out. The day had been a mad scientist’s dream: things fizzed, foamed, glowed, and occasionally threatened to explode. We capped it all off with cake, presents, and a sugar rush that could have powered our lemon batteries for days. If birthdays are experiments in joy, I’d say this one was a total success!


Leave a comment