How to Make DIY Super Mario Piranha Plants for Birthday Parties or Decor (With Free Printables)
Published by
Laura Iyampillai
on
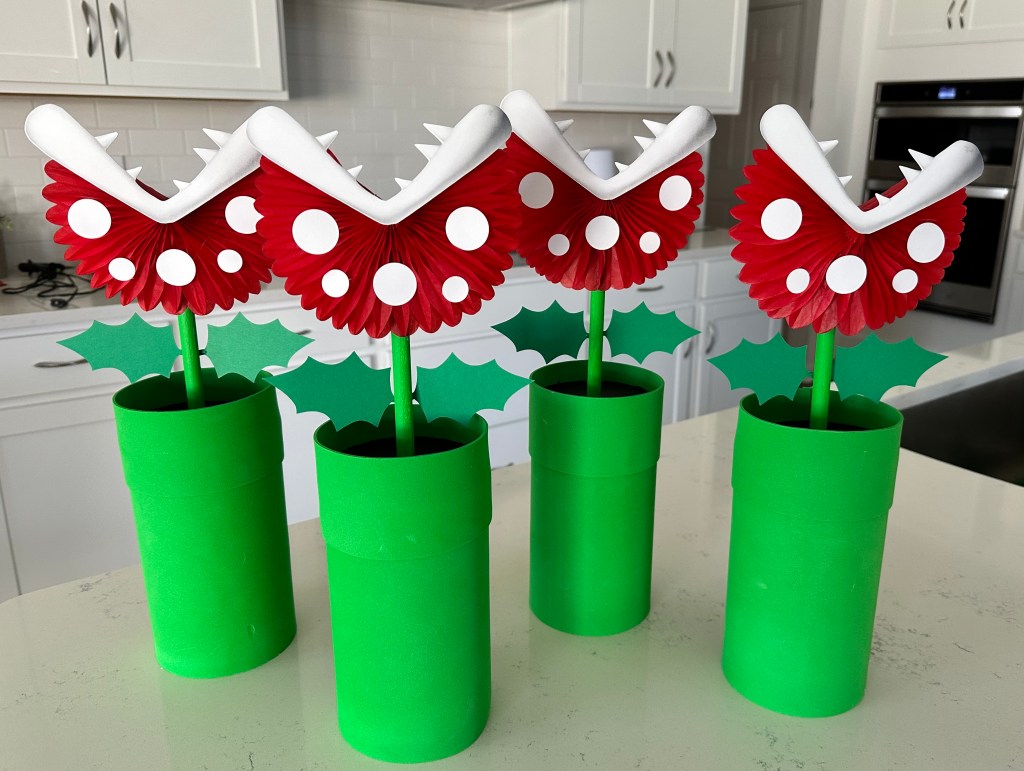
Bring the Super Mario world to life with these sturdy, budget-friendly Piranha Plant centerpieces. I designed this version so you can build the “warp pipe” from inexpensive oatmeal canisters, then top it with a bold paper-fan flower and my free printable Piranha Plant mouth. They’re fast to make, kid-proof for party day, and totally reusable.
Hot glue gun & glue sticks, scissors, craft knife/Hot Knife, ruler with sharp edge, pencil, small hand saw or snips to cut dowels
Skill level: Easy • Time: ~25–30 minutes per plant once pieces are prepped
Cost: Low (uses inexpensive, common craft supplies)
Step-by-step instructions
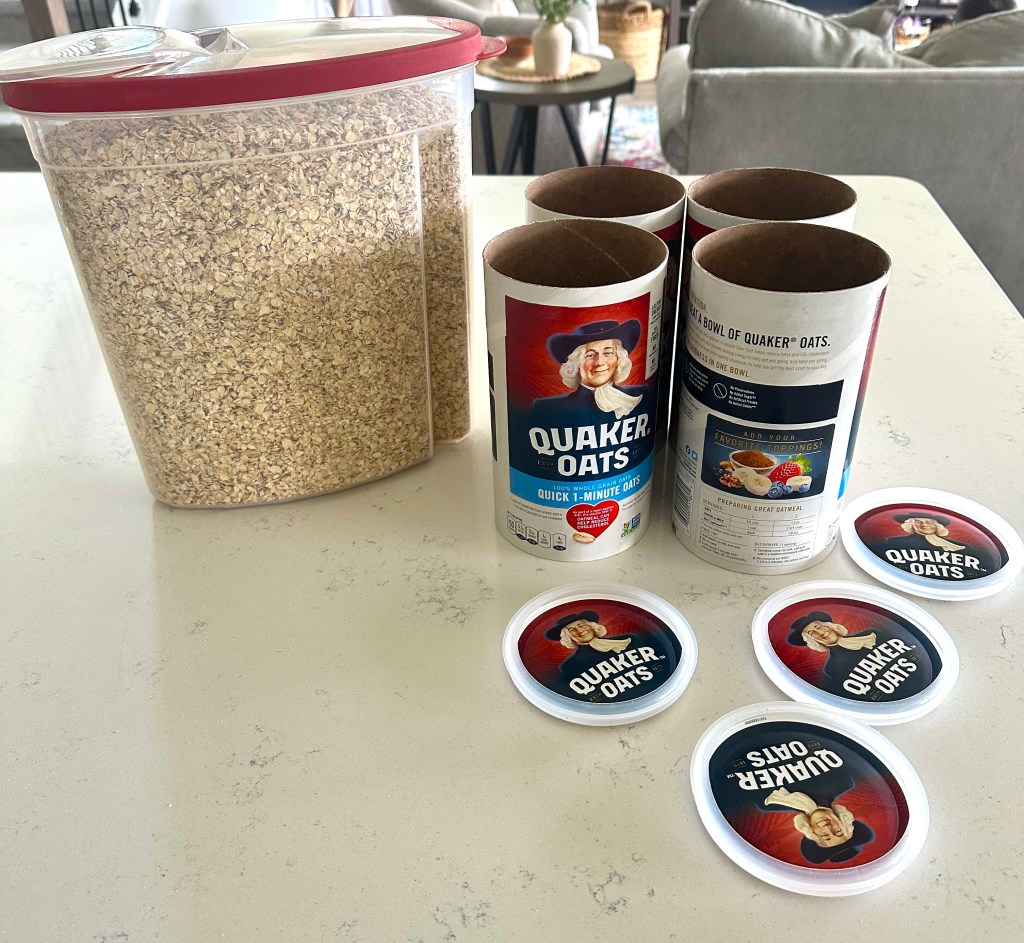
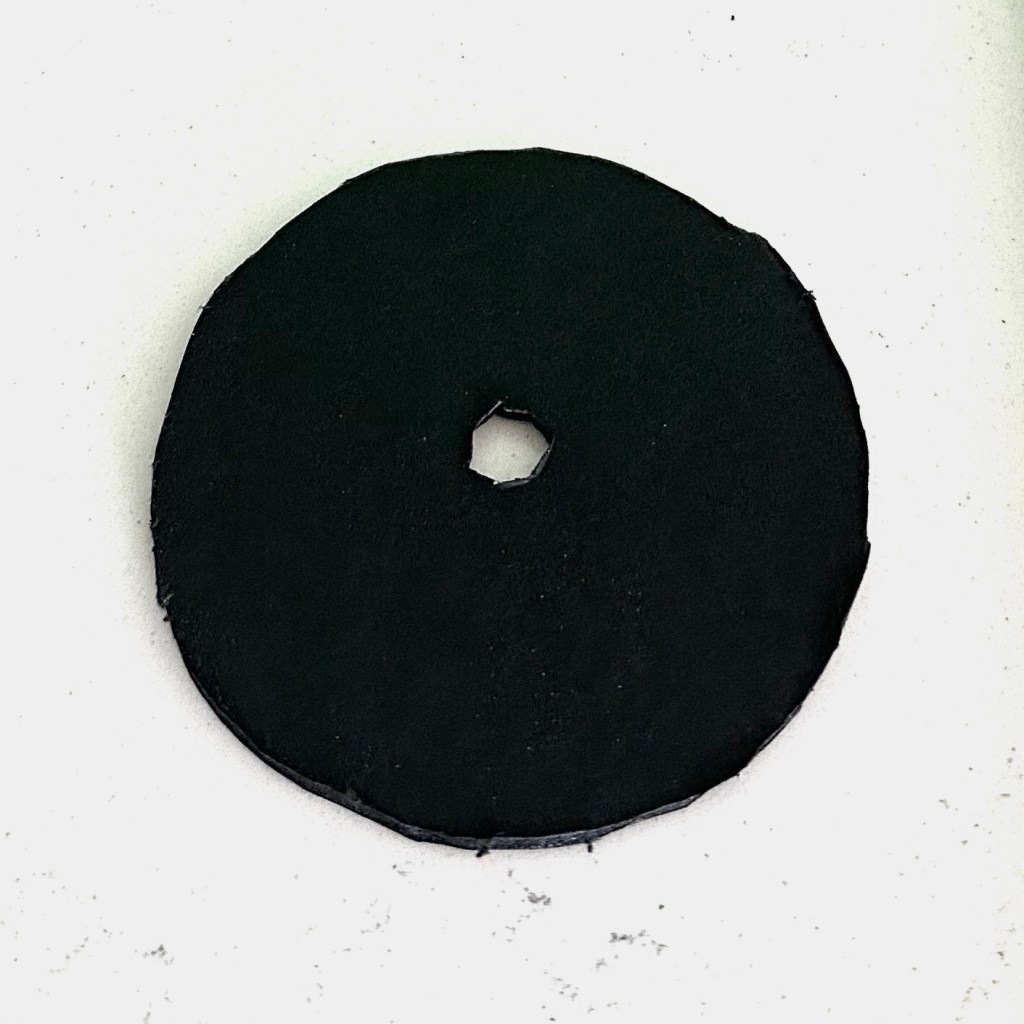
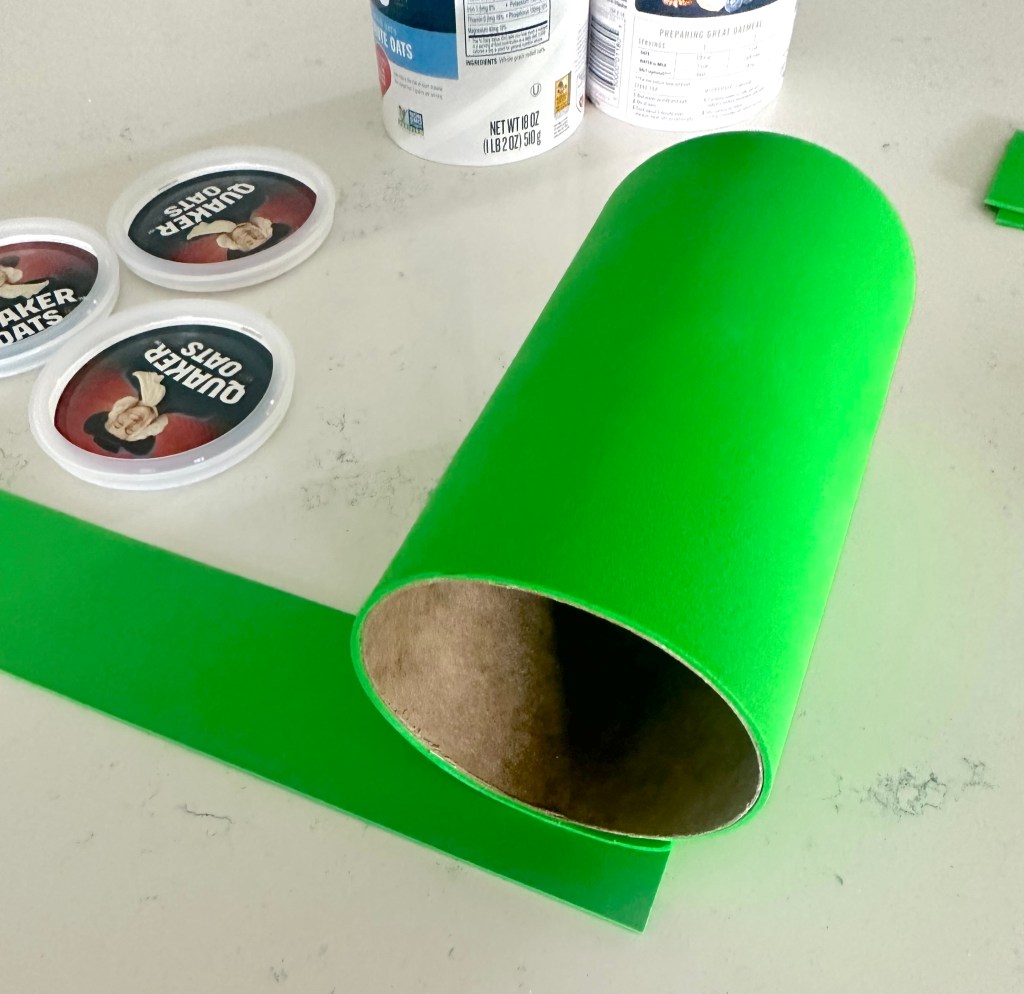
1. Empty out your oatmeal canisters and enjoy oatmeal for breakfast all year long! :D2. Trace around your oatmeal canister onto a scrap of black foam board. Cut the circle out. (After you cut it out, see if it fits in the canister opening. if not, trim it down a bit more.)
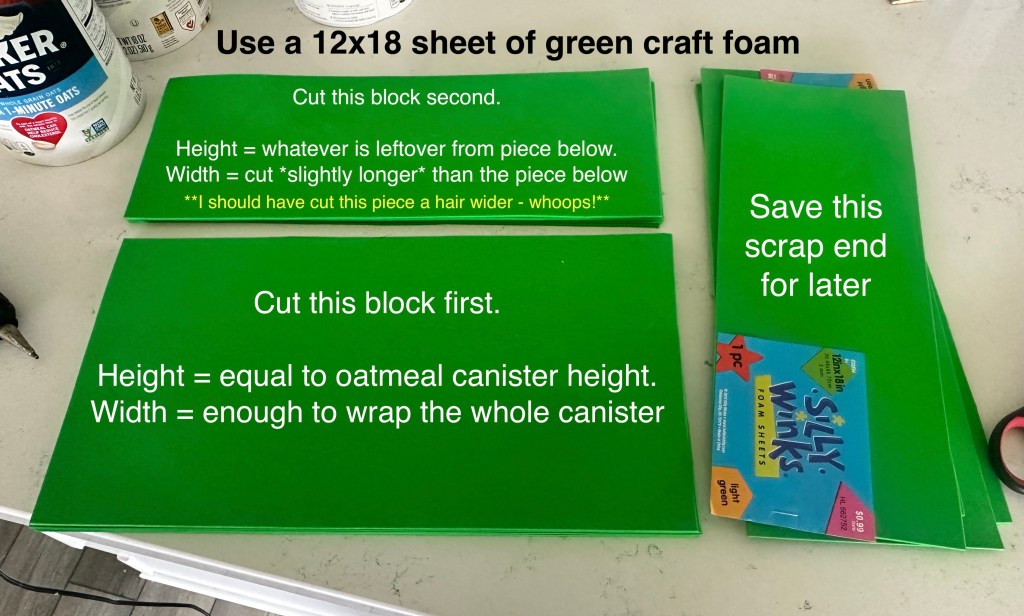
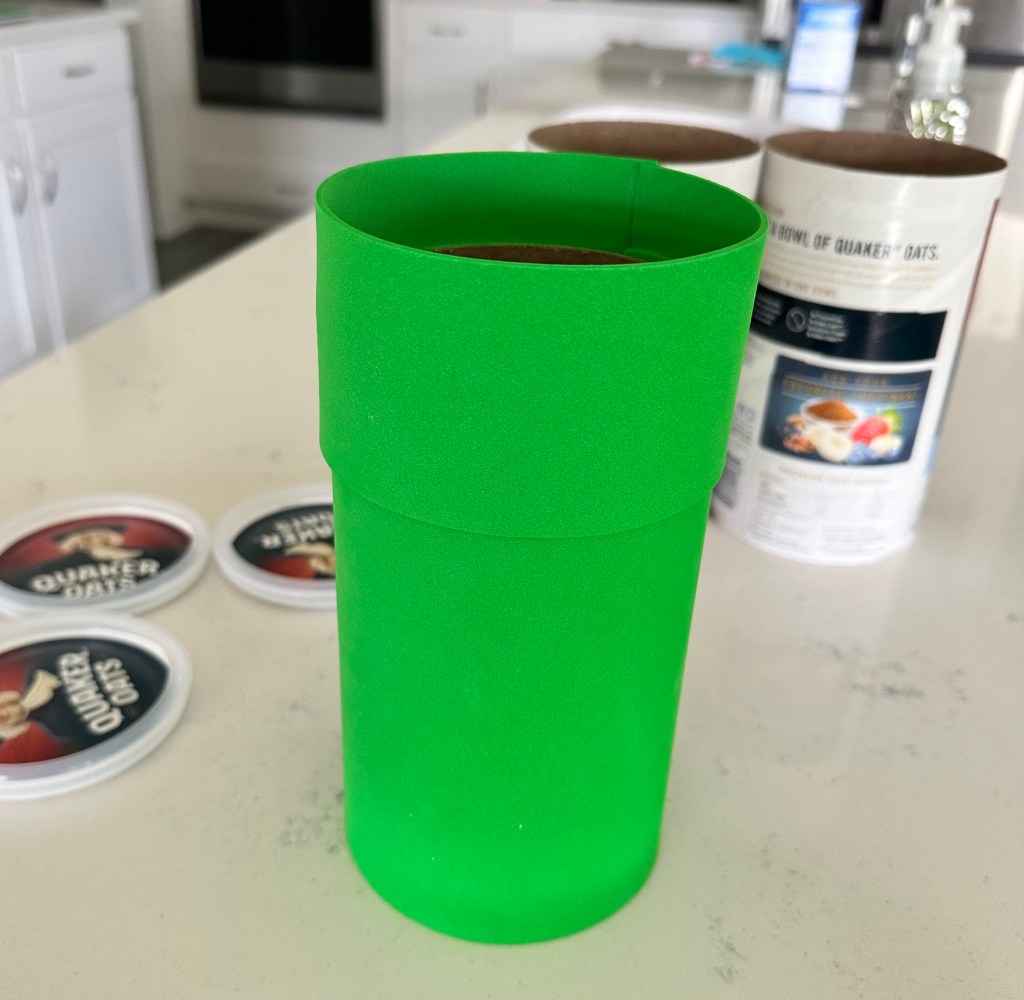
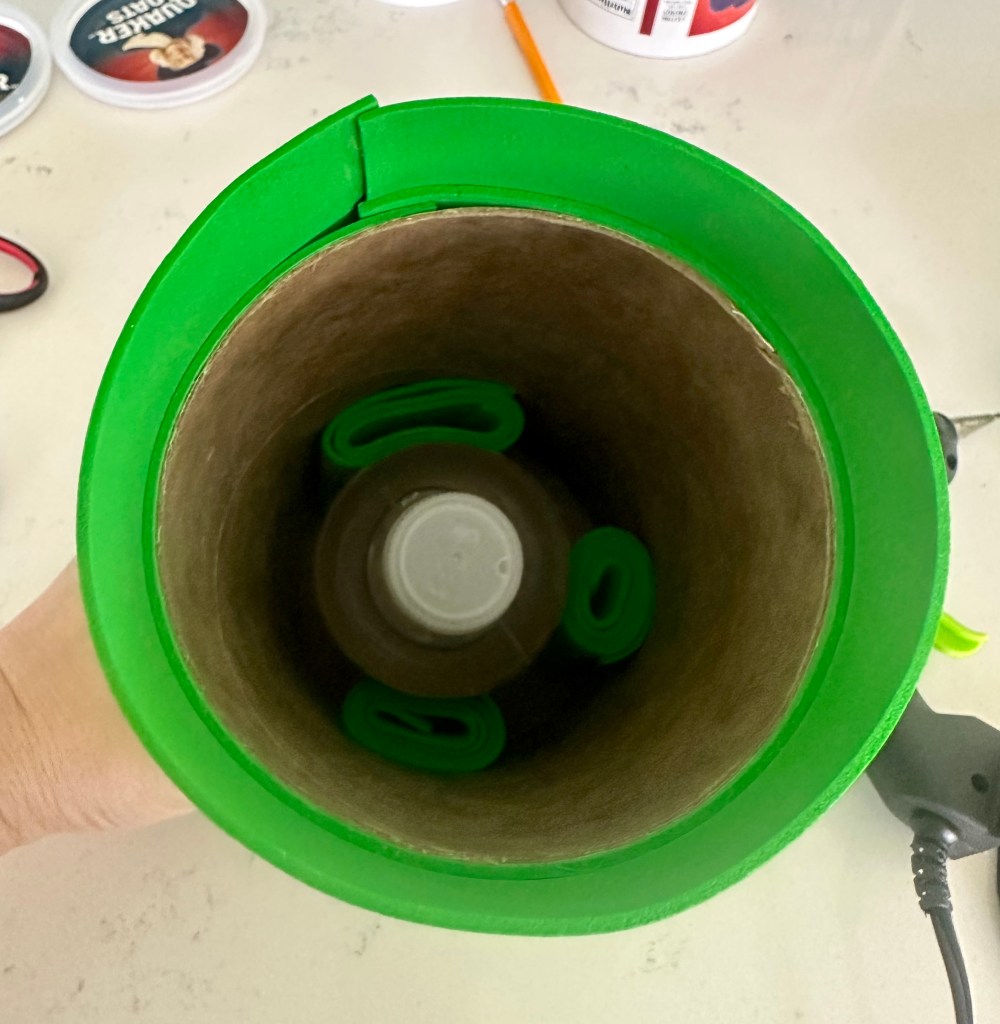
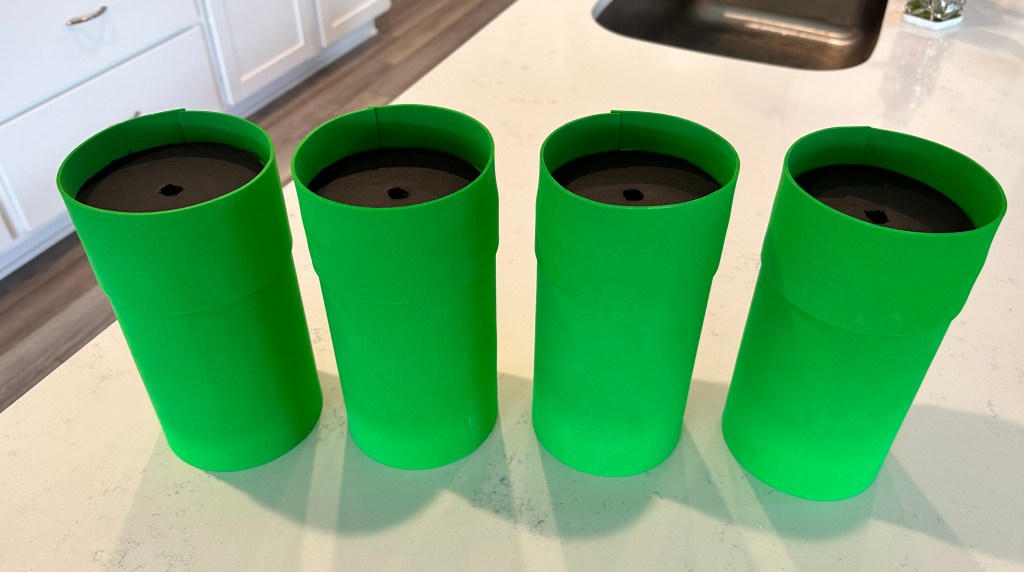
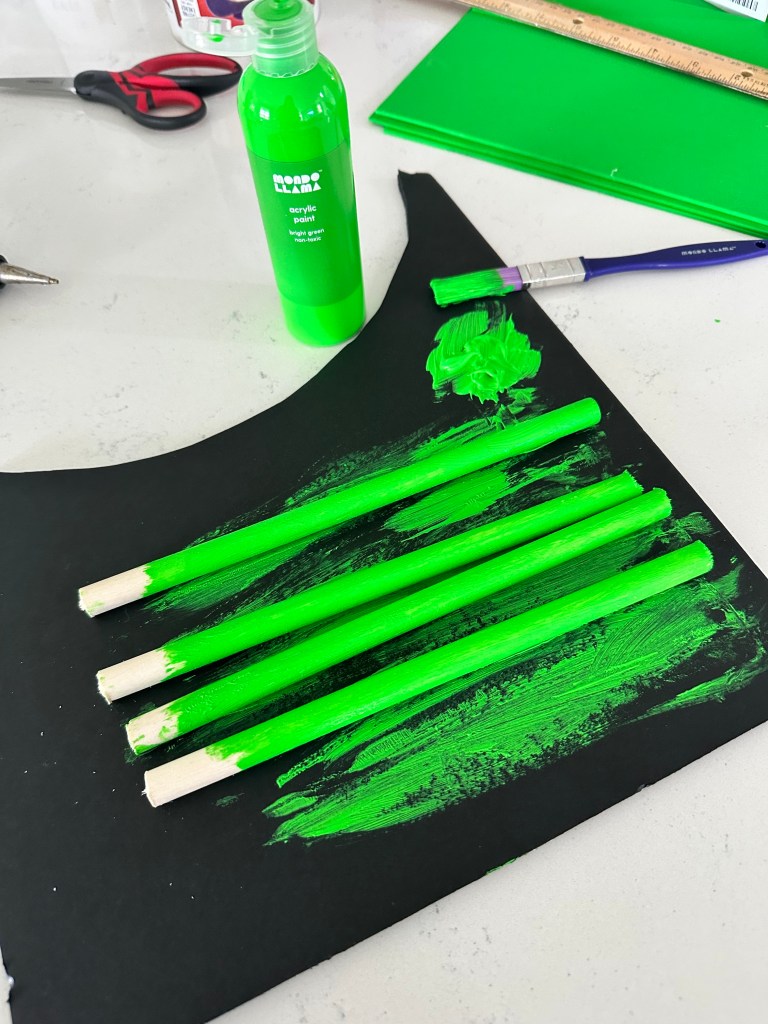
Stand your dowel rod in the center of the circle and trace around that. Cut that little circle in the middle out as well. (The cutting does not need to be perfect. A hot knife makes it easier.). This black piece will be the “soil” of the piranha plant and hold the plant upright. 3. Mark your craft foam where it needs to be cut (see measurements in next photo) by pressing a sharp-edged ruler into it to make nice, straight indents4. Cut your foam where you dented it with the ruler.Note – I made a mistake when I cut mine. The foam for the rim of the piranha plant actually needs to be slightly longer than the foam for the base because it will be wrapping both the canister AND the foam around the canister.5. Hot glue the larger piece of foam around the oatmeal canister, covering it completely. Hot glue the rim around the top edge of the oatmeal canister, letting it sit about 1″ higher than the rim.This is what your oatmeal canister should look like now.6. Take the scrap end of the green foam and cut it into 3 strips. Roll the strips up and add a little glue to secure them (this does not need to be perfect whatsoever!). These will go around the water bottle to hold it in place.7. Drop the water bottle into the center of the base and then squish the 3 rolls of craft foam around it as padding, so it won’t move around inside.8. Set the black foam core circle inside the rim of the base. The base is now complete!9. Paint the dowel rods green. (If you haven’t yet cut them down to 8″ lengths, do that before painting.) You’ll need at least 2 coats of paints. Allow ample time for the coats to dry. Note – you do not need to paint one end as it will be inside the plant base, not visible.10. Use my free printables to print the mouths on white cardstock and the leaves on green cardstock. Cut out the pieces.
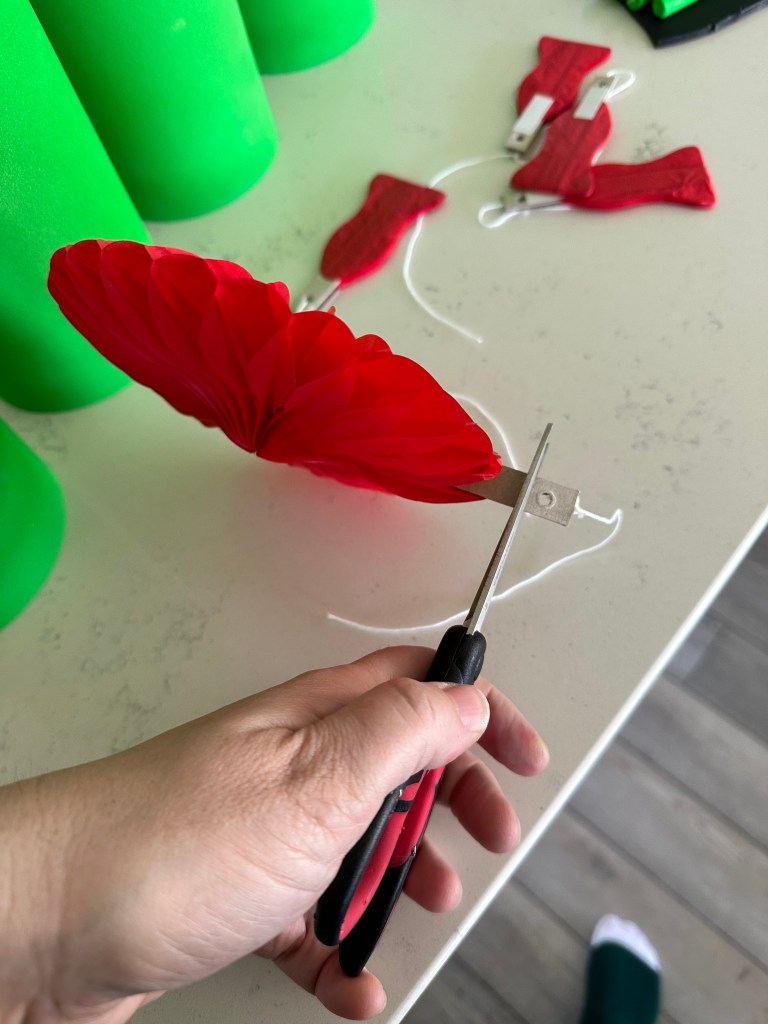
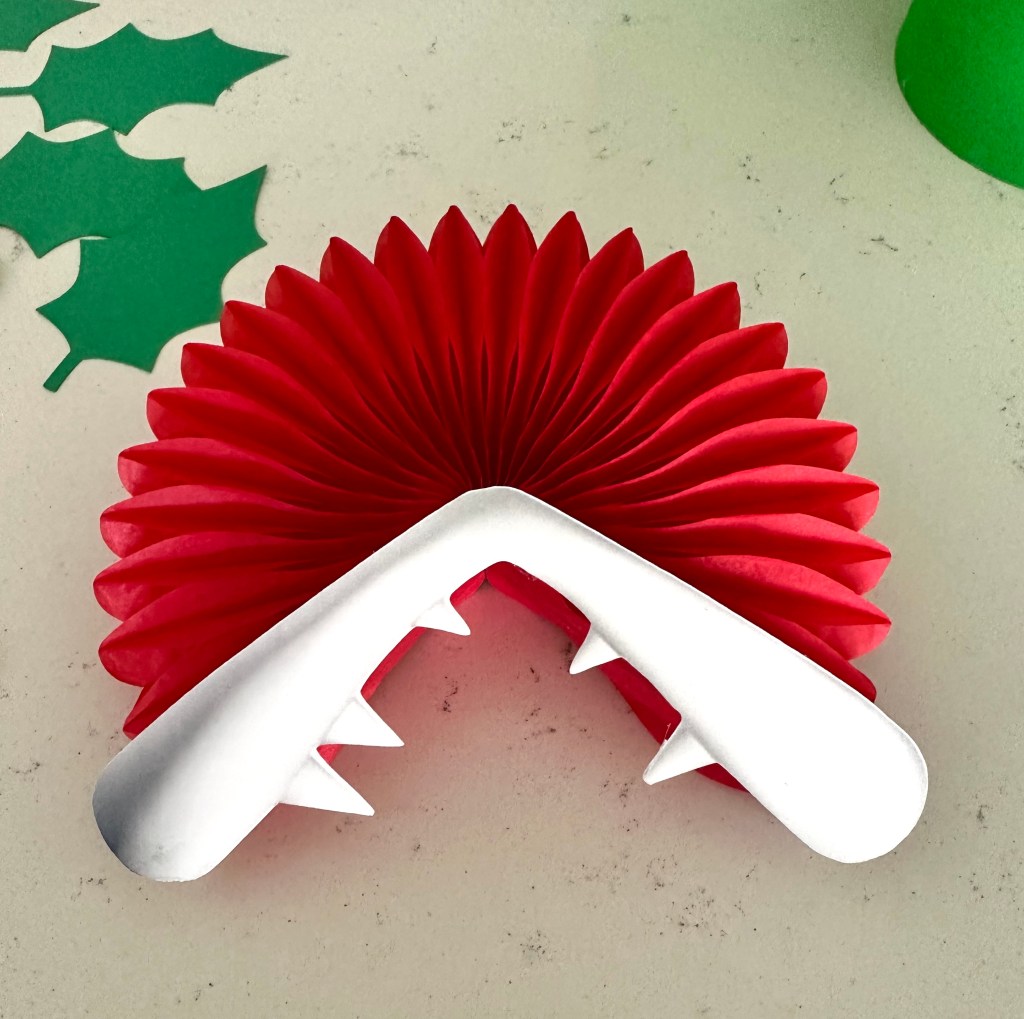
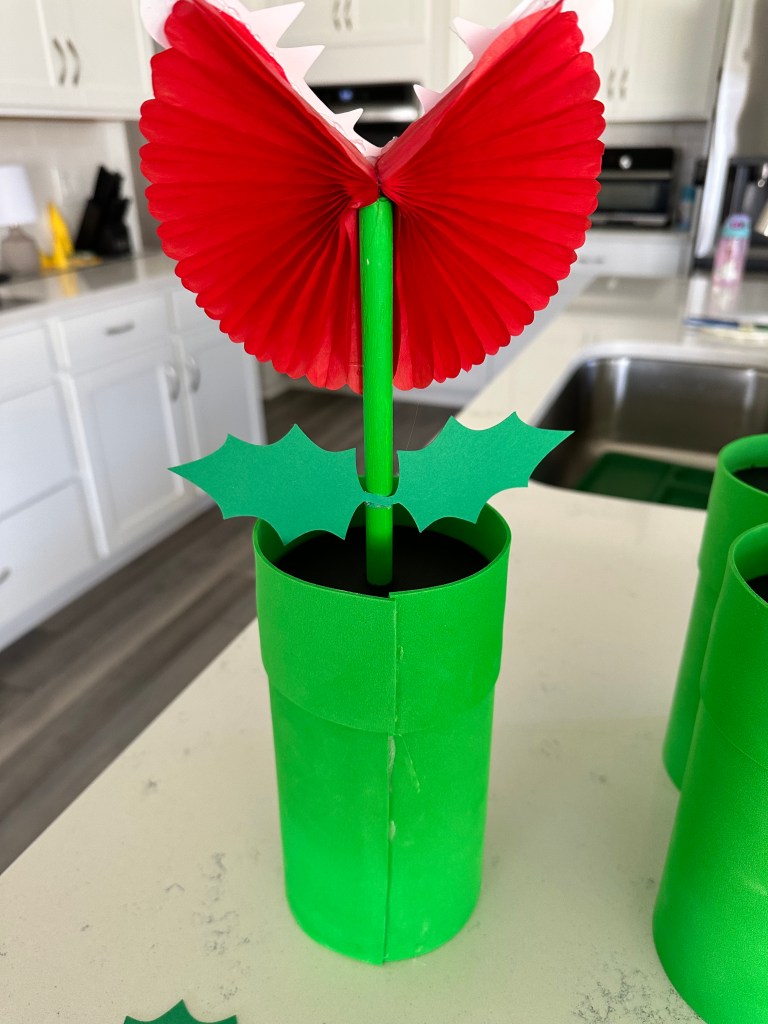
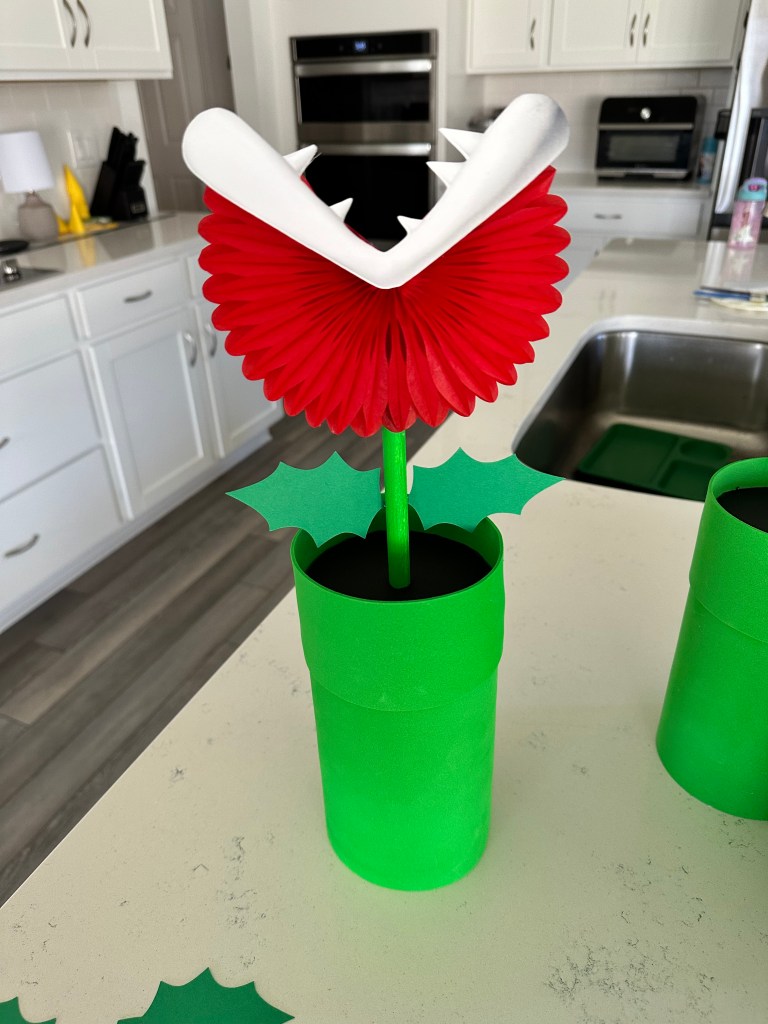
11. Cut the little tab off the red paper fan. It’s not needed.12. Glue the printed Piranha Plant mouth to the front of the paper fan. This step is a little tricky. Take your time.13. When the green paint on the dowel rod is dry, add a little hot glue to the end of the dowel rod, then push it down through the hole in the black foam board circle. Keep pushing it down until it makes contact with the water bottle top. The hot glue on the dowel rod will hold it securely in place to the water bottle lid, giving the plant good stability.
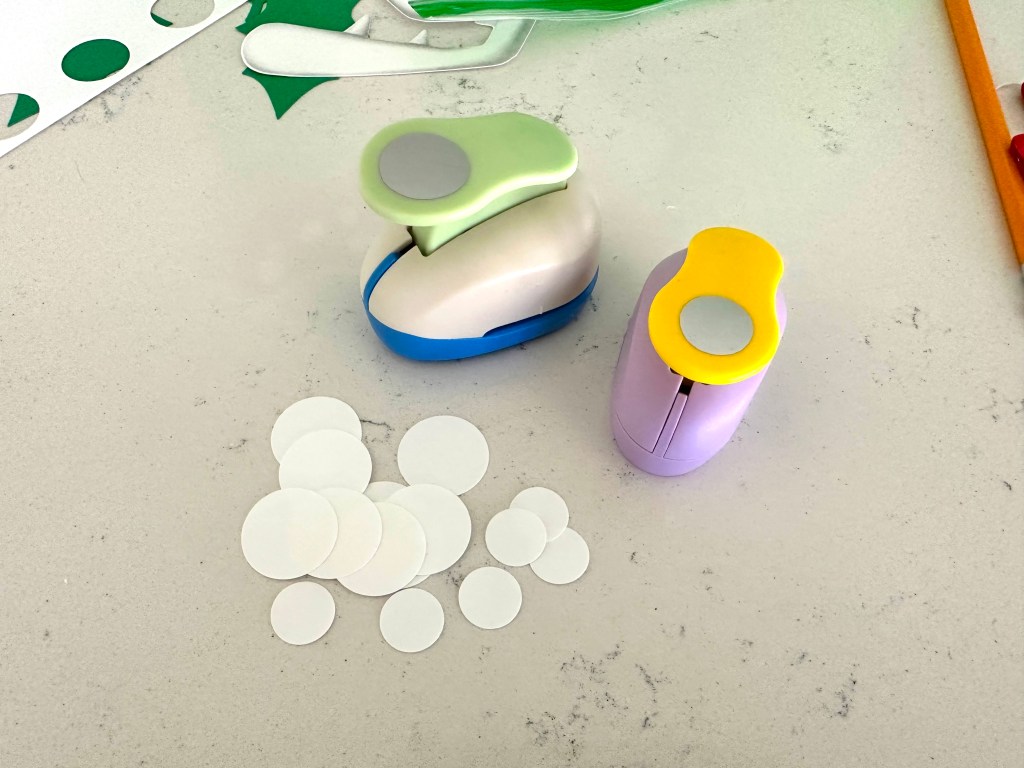
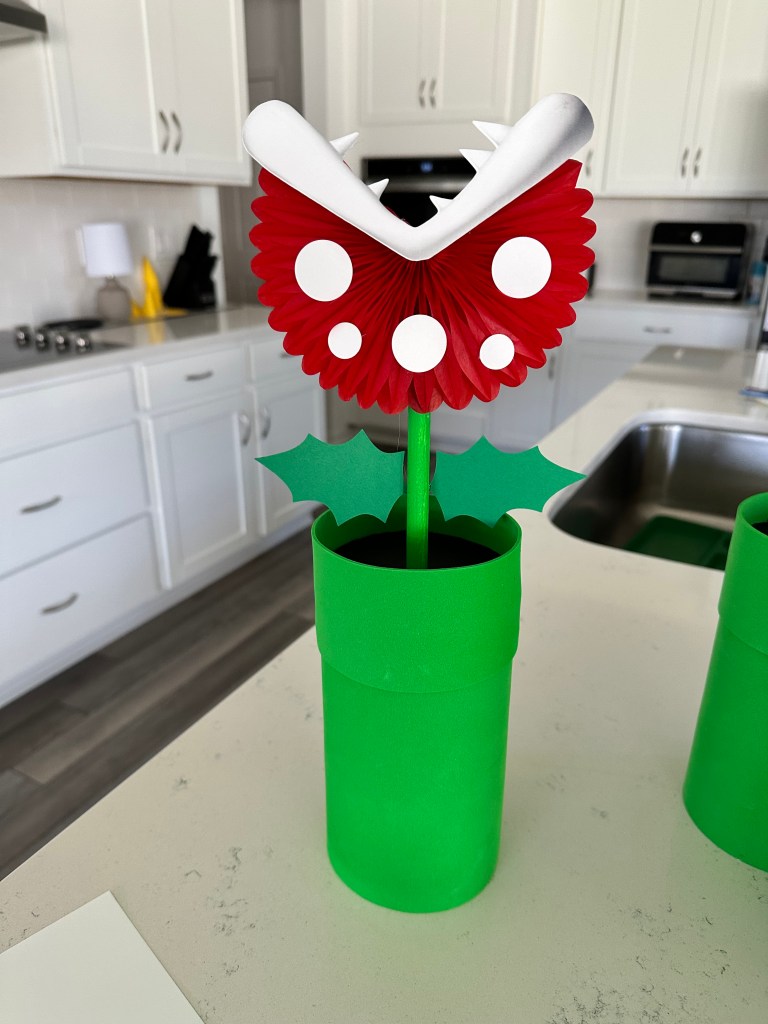
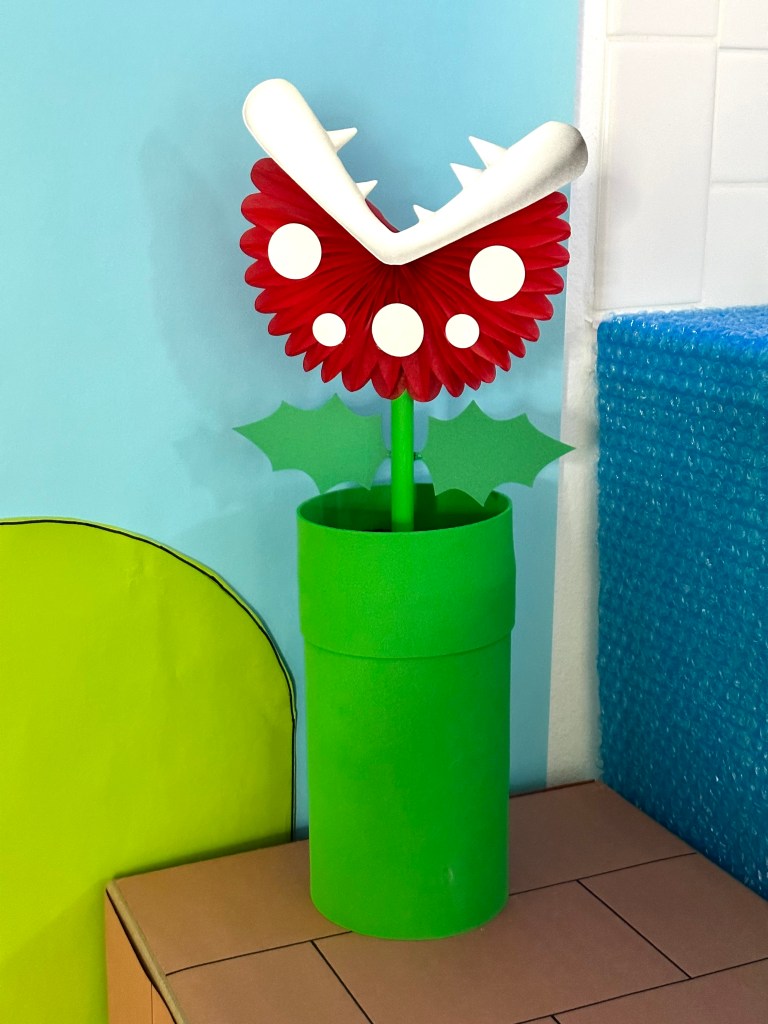
14. Add hot glue on the top end of the dowel rod and scrunch the back of the paper fan over it until it’s secure. You can add a little extra glue to the front of the dowel rod to hold the bottom of the paper fan in place as well.15. Glue the 2 leaves to the back of the dowel rod.When you turn your plant around, it should now look like this!16. Punch some circles out of white card stock using a 1″ circle punch and a 0.6″ circle punch. (If you don’t have circle punches, you could trace around coins and cut the circles out by hand).17. Glue the white circles to the front of the paper fan.Your Piranha plant is now complete and ready to display at your event!
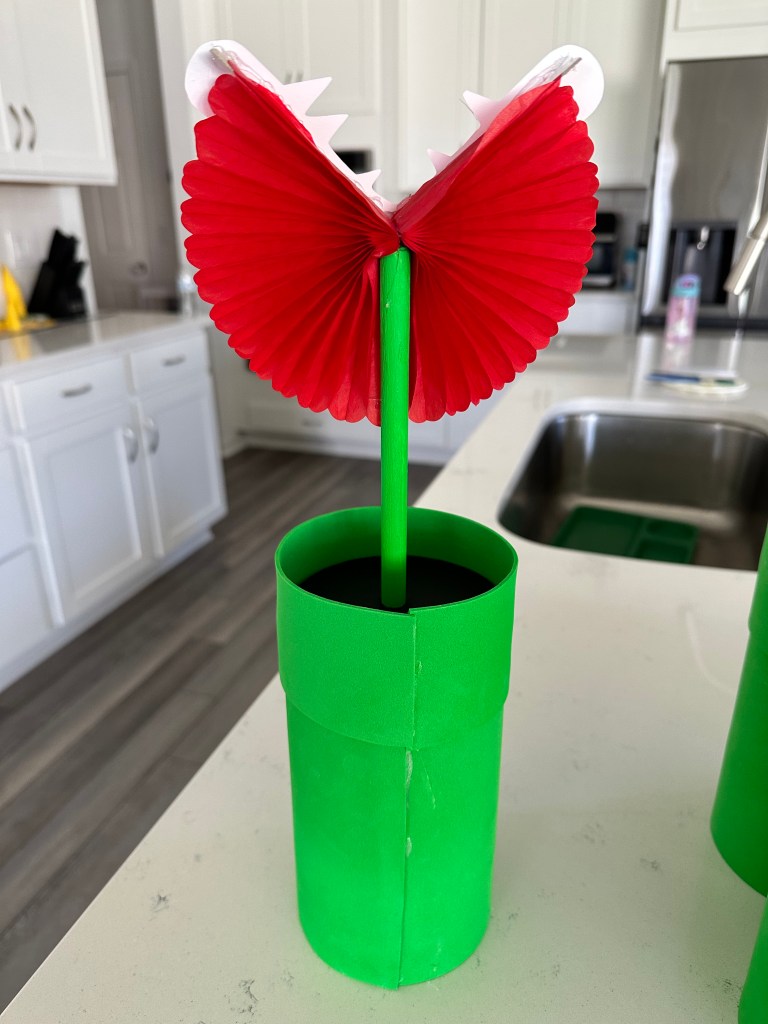
Did you enjoy this tutorial?

This Piranha Plant is just one of 20+ DIYs I created for our immersive Super Mario party! From brick block tutorials to Bowser’s Castle builds, you can explore every craft, prop, and creative idea in one place.
👉 Click here to see all 20 Mario DIY tutorials!
Around here, birthdays aren’t just parties — they’re adventures. You’ll find DIY décor, crafty tutorials, and imaginative ideas to help you transform any room into a storybook setting.
Want to know the heart behind the parties? More About Me


Leave a comment