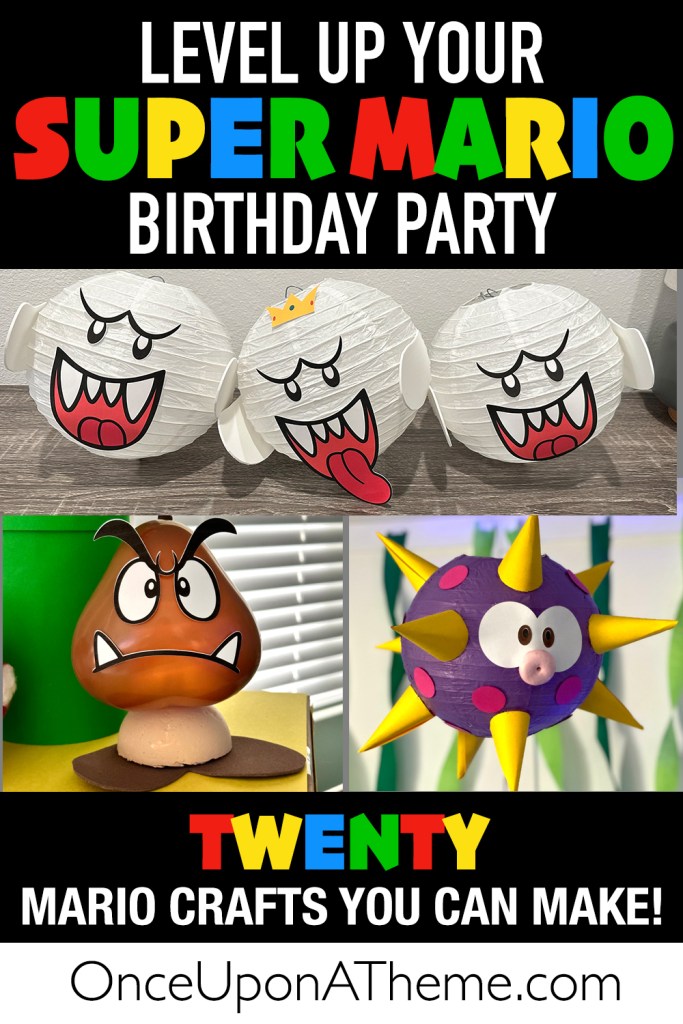
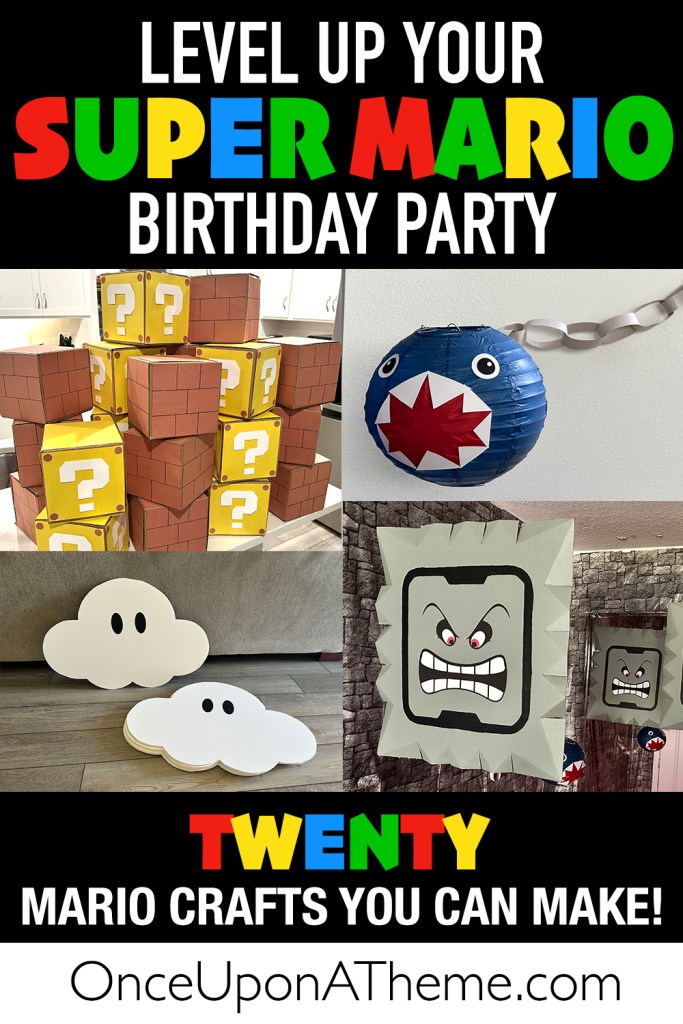
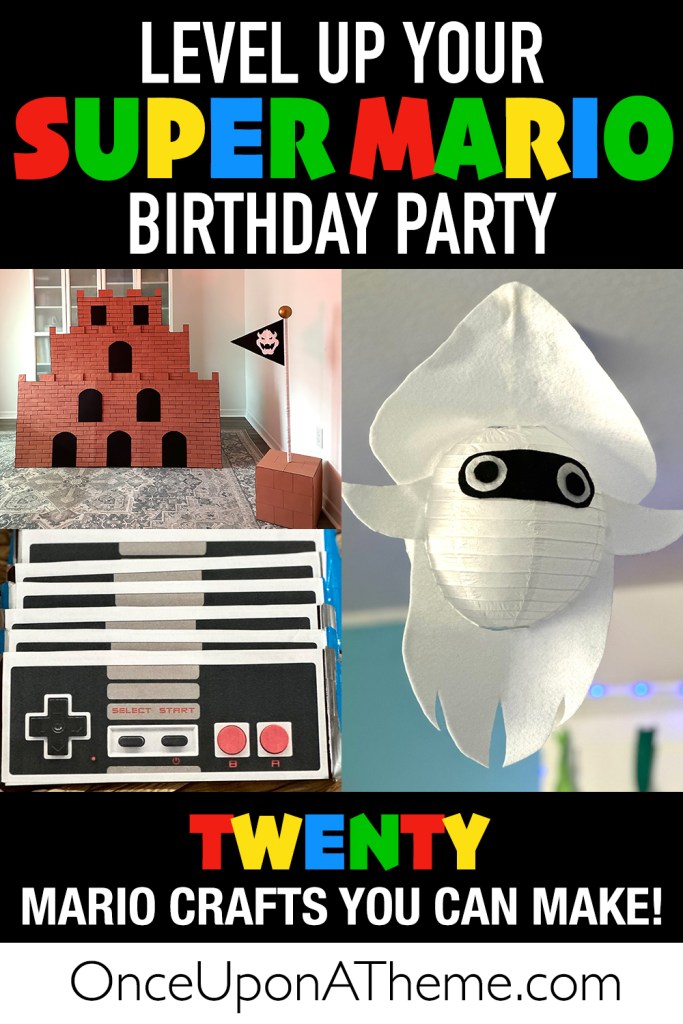
20 DIY Mario Party Decorations and Characters You Can Make
Published by
Laura Iyampillai
on
Planning a Mario-themed birthday party and want to bring the Mushroom Kingdom to life? You’re in the right place! This post is packed with step-by-step tutorials showing exactly how I created every single decoration and character for my son’s Mario party—from iconic Question Blocks and Goombas to Super Stars and more. I've included helpful tips, free printables, and plenty of photos to make recreating these designs as easy as possible.
1. Clouds
To make these Mario-inspired clouds, I started with regular 20x30 inch white foam core boards. I created a cloud template in Photoshop and divided it into printer-sized “puzzle pieces.” After printing two copies of pages 1–5 from the free PDF, I taped the pieces together using the included guide to form one full-size template. I traced the completed template onto the foam boards, then cut out the clouds using a hot knife, which I highly recommend because it melts through foam like butter and makes this project so much easier than a standard craft knife. Finally, I added two black oval eyes cut from black card stock, though you could also just draw them on with a Sharpie. These lightweight clouds are perfect for hanging on walls, ceilings, or backdrops. I hung mine from the ceiling using fishing line. Download the free template here to make your own!
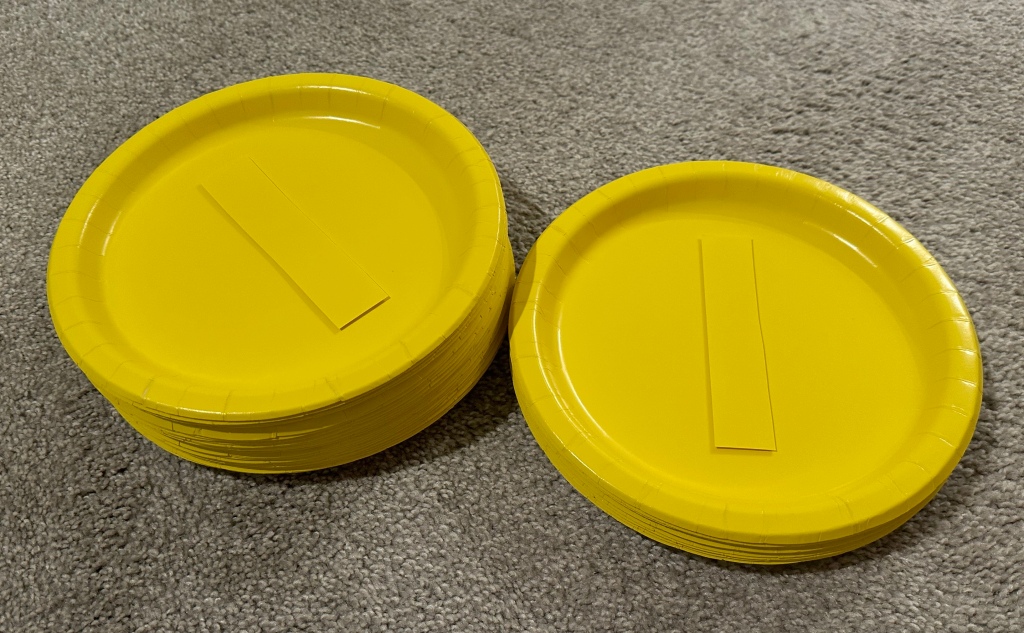
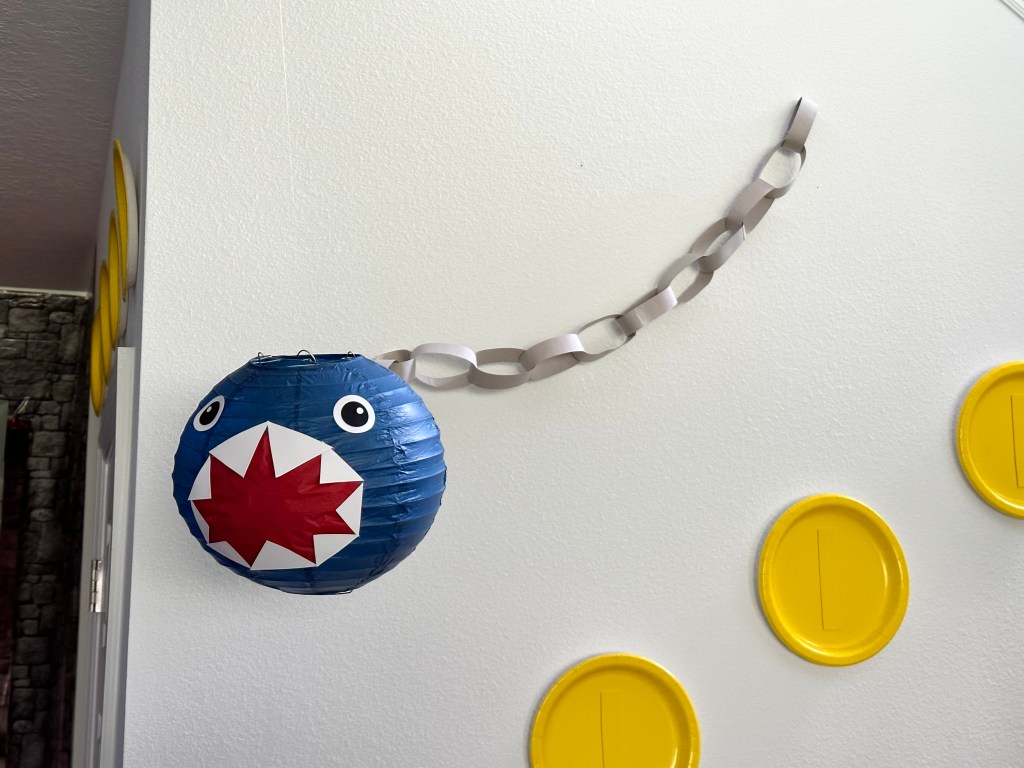
2. Coins
To create the classic Mario coins, I started with a pack of yellow paper plates for the round coin base. Then, I cut strips of matching yellow cardstock to form the vertical line detail in the center. To give the coins a bit of dimension, I attached the strips to the plates using double-sided foam sticker squares instead of glue. This quick and inexpensive project came together in minutes and added the perfect 3D effect to our Mario party decor!
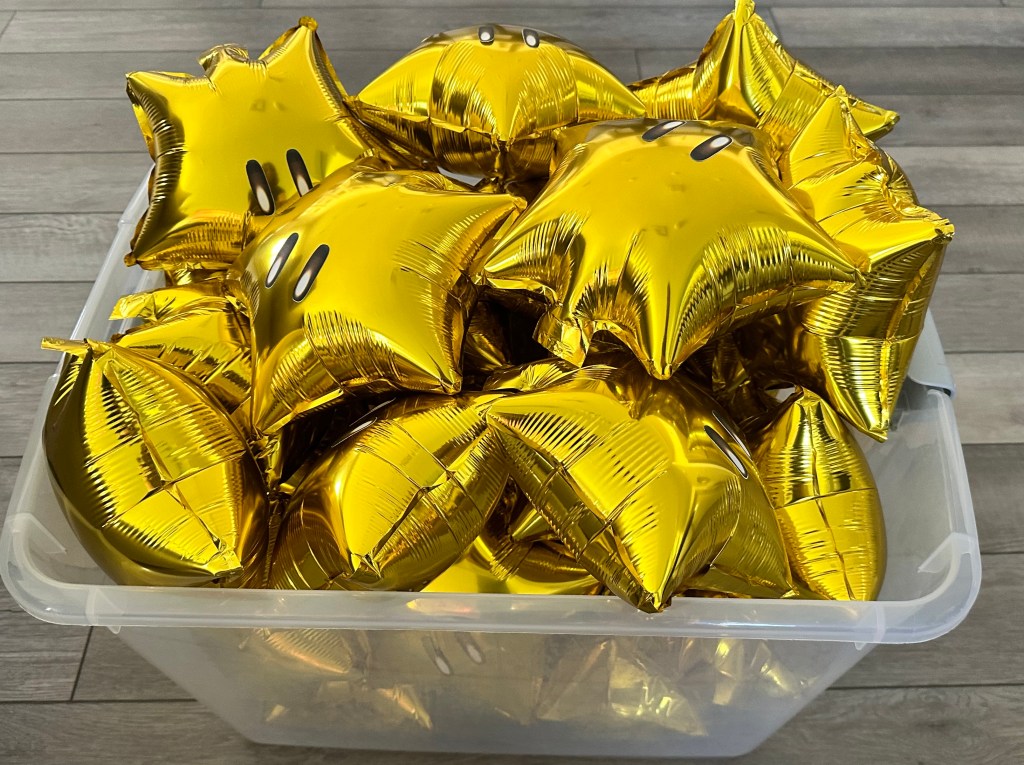
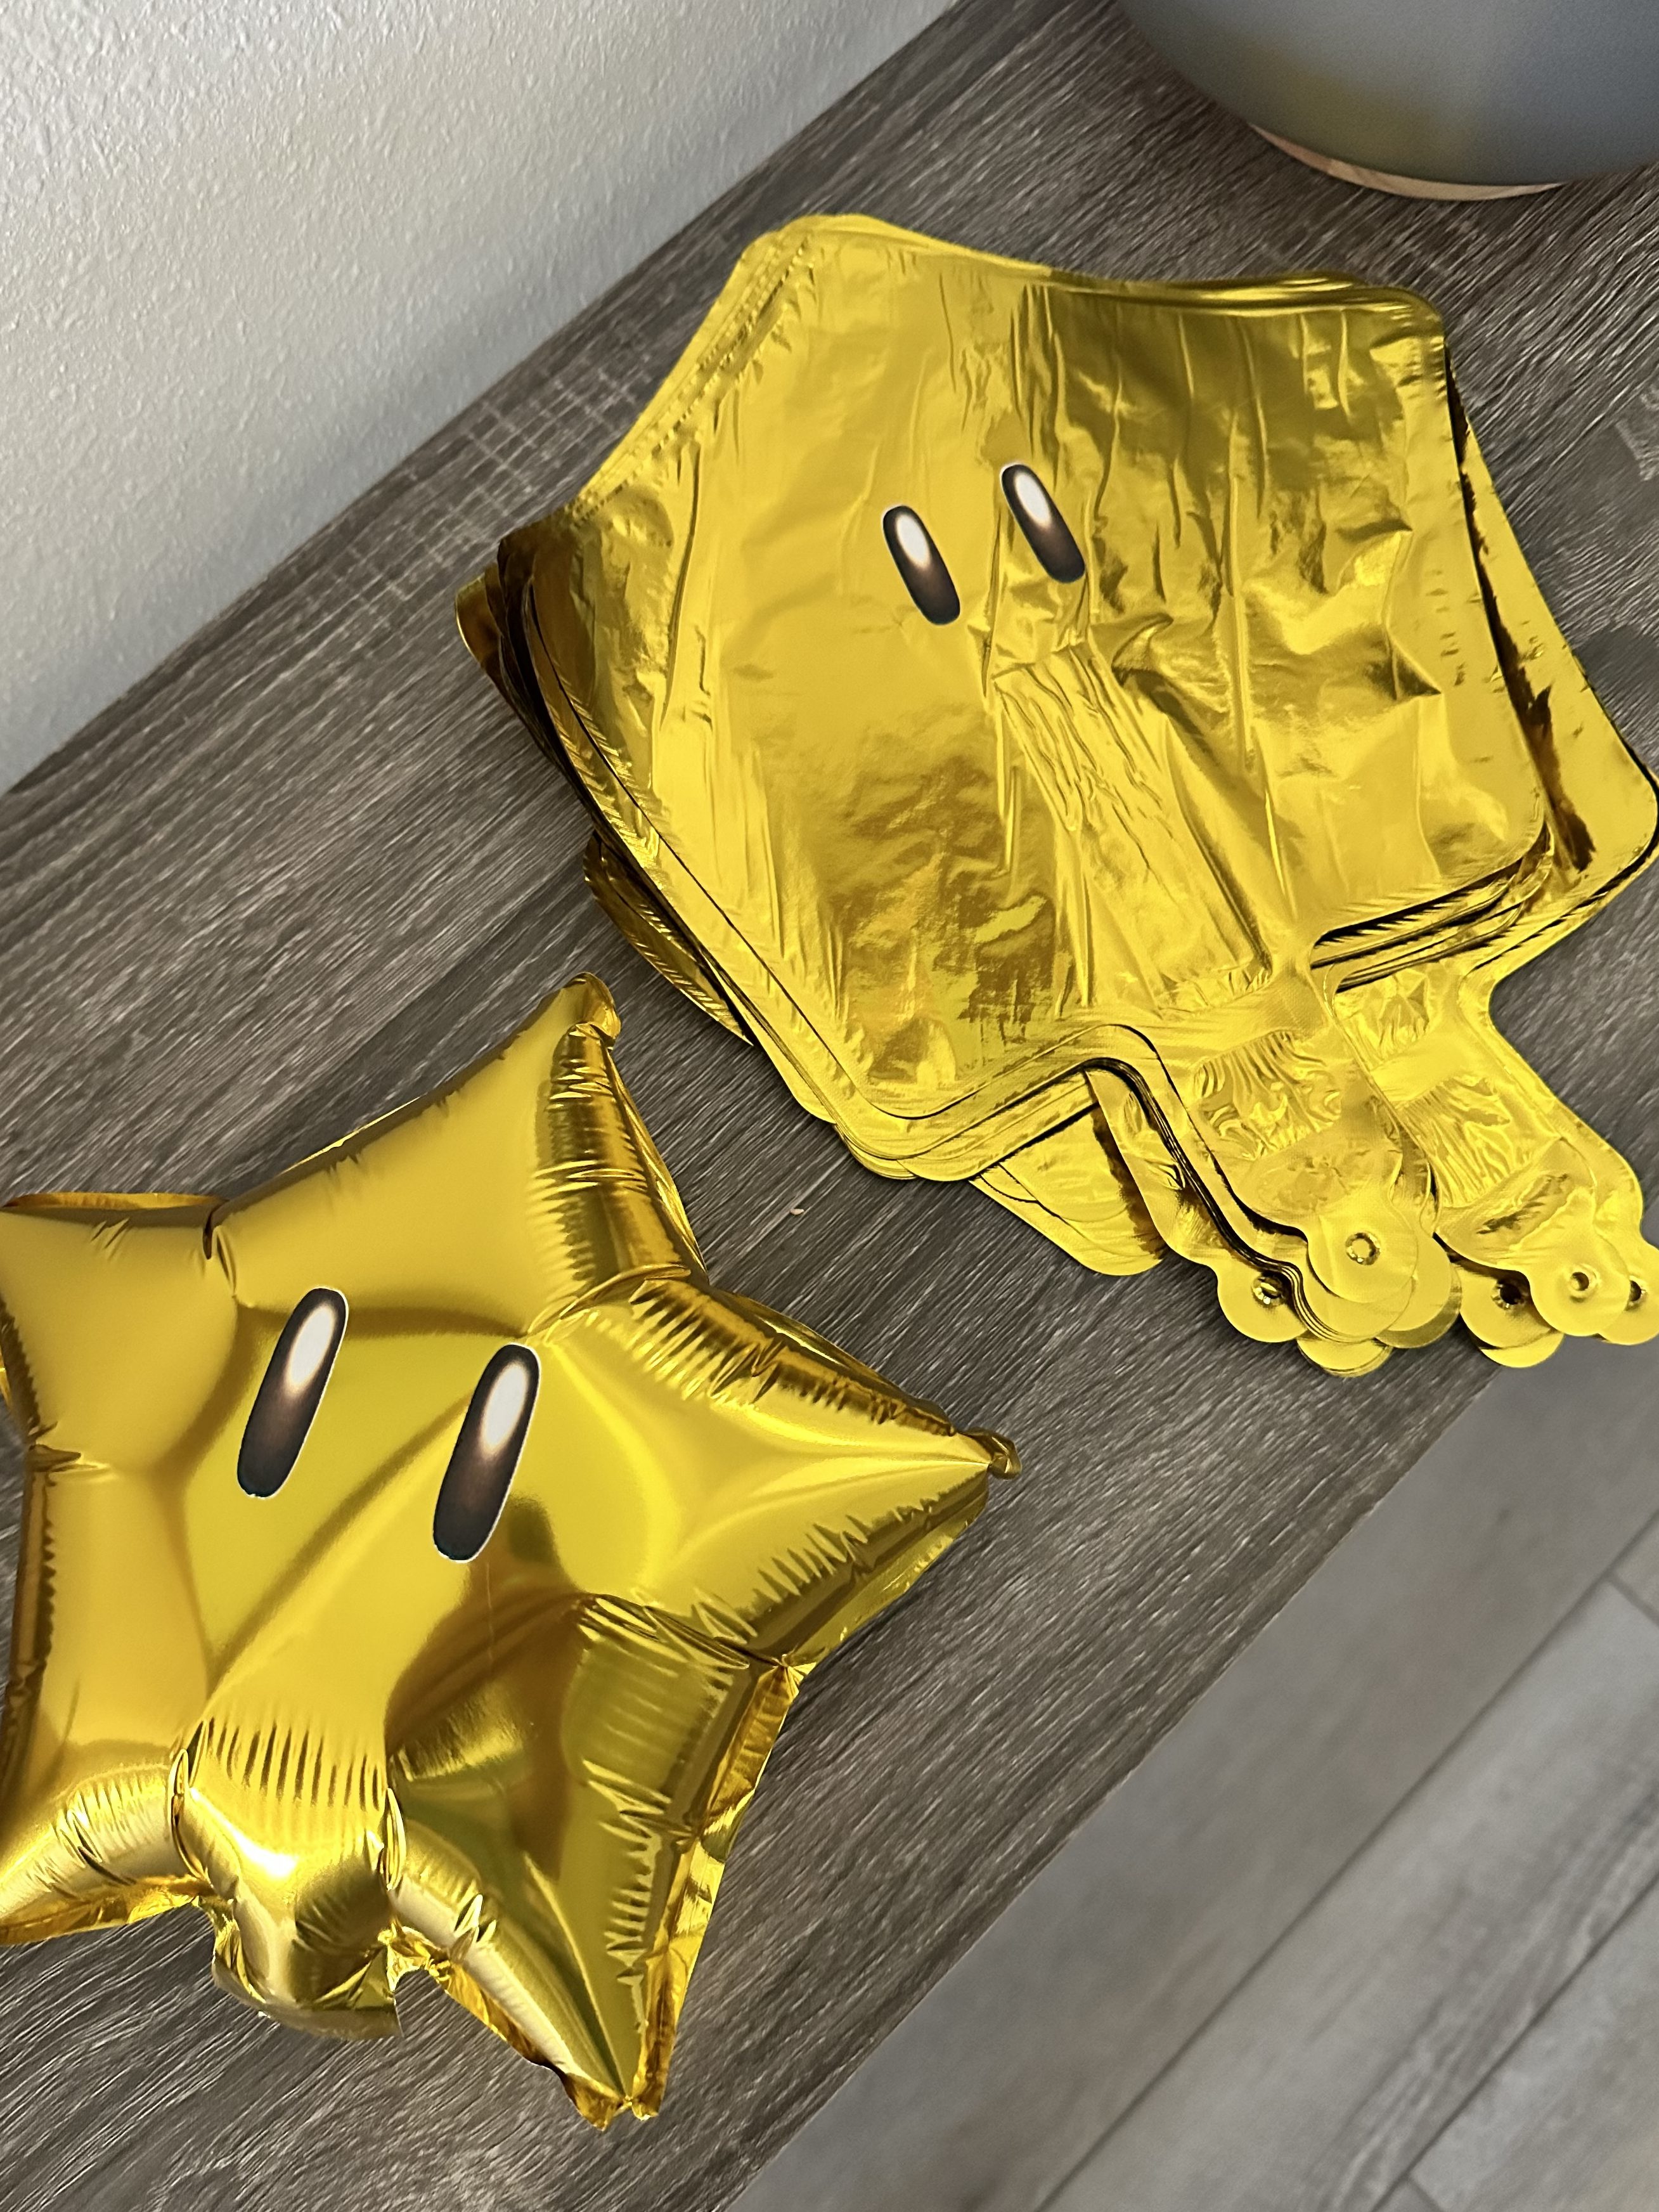
3. Super Stars
To make these glowing Super Star balloons, I started with a pack of gold mylar star balloons. Using my Cricut, I print and cut out a bunch of eyes on blank sticker paper and stuck them on the balloons. If you don’t have a Cricut, you can simply draw the eyes on with a black Sharpie instead. If you’d like to use the exact same design, you can download the PNG image of the Super Star eye here. Just upload it into your cutting machine software (like Cricut Design Space) and duplicate it as many times as you need at whatever size you prefer.
A couple of days before the party, I inflated the balloons using a straw. Pro tip: After inflating, cover the openings with scotch tape to keep the air sealed in and prevent deflation before or during your event.
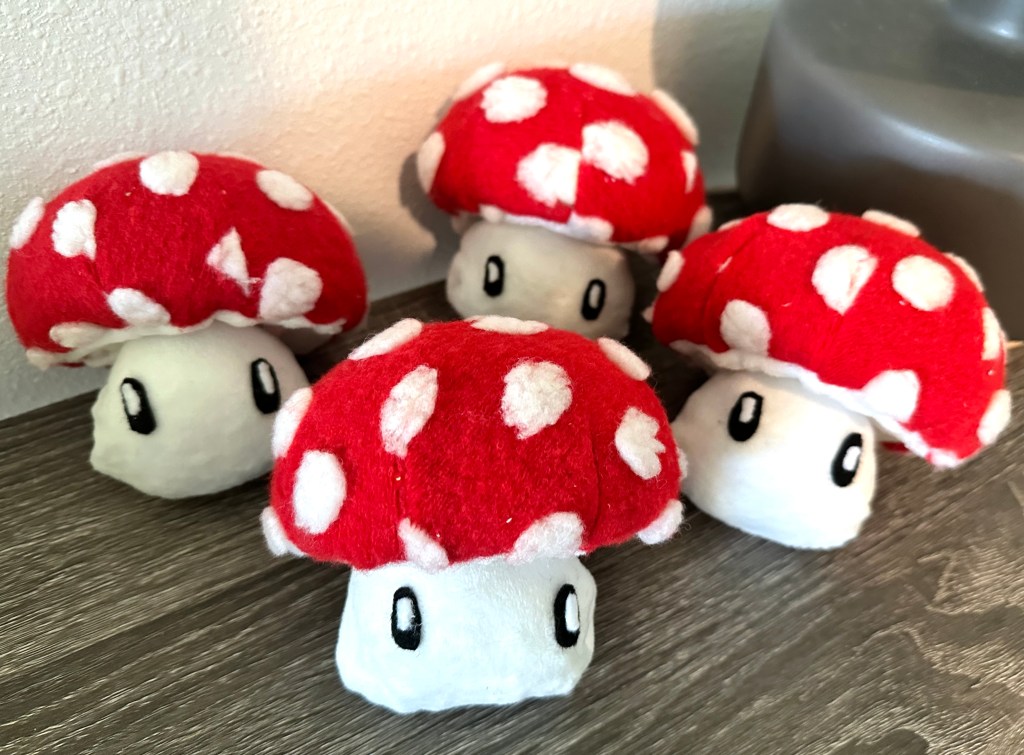
4. Mushrooms
For these Mario-themed mushrooms, I kept it super simple. While shopping for supplies at Hobby Lobby, I found plush mushroom decorations in their spring collection that were perfect for this project. All I did was cut out tiny black ovals for the eyes and even smaller white ovals for the highlights, then glued them onto the mushrooms to give them that signature Mario look. These exact mushrooms aren’t available at Hobby Lobby right now (September), but they may return in spring. If you can’t find these, just search for basic red-topped mushroom plushies and customize them with eyes to create the same effect.
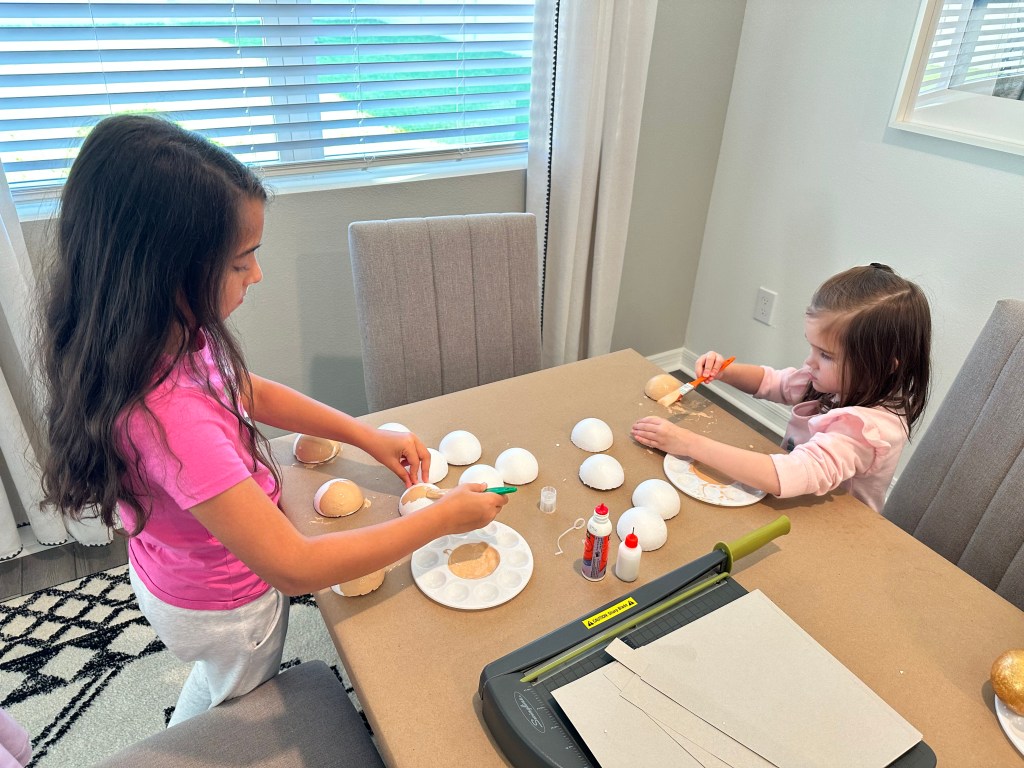
To make the Goombas, I started well in advance by making the bases. I cut 3” styrofoam craft balls in half, and my girls helped paint them a light tan color. Once dry, I glued each half onto brown craft foam cut into feet shapes.
This is the stencil I made to help cut out the feet from the brown foam.
Next, I used my Cricut to cut out Goomba face pieces from white card stock. You could also hand-cut them, but it would be tedious if you’re making a lot! (Here's a downloadable PNG of the face.)
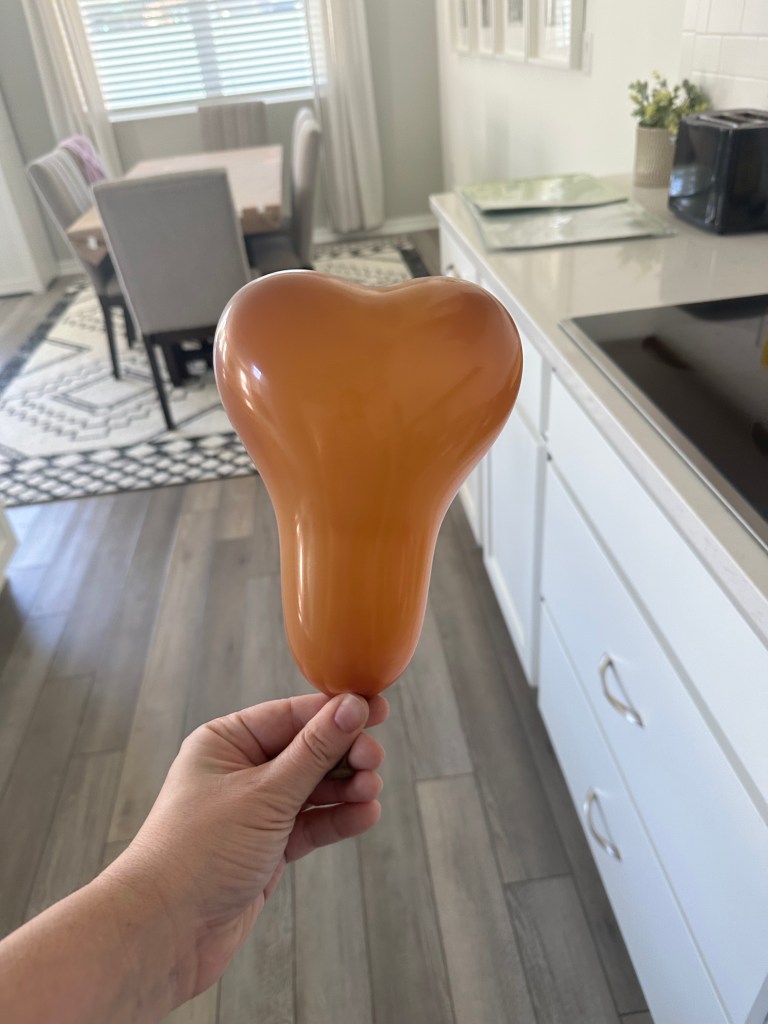
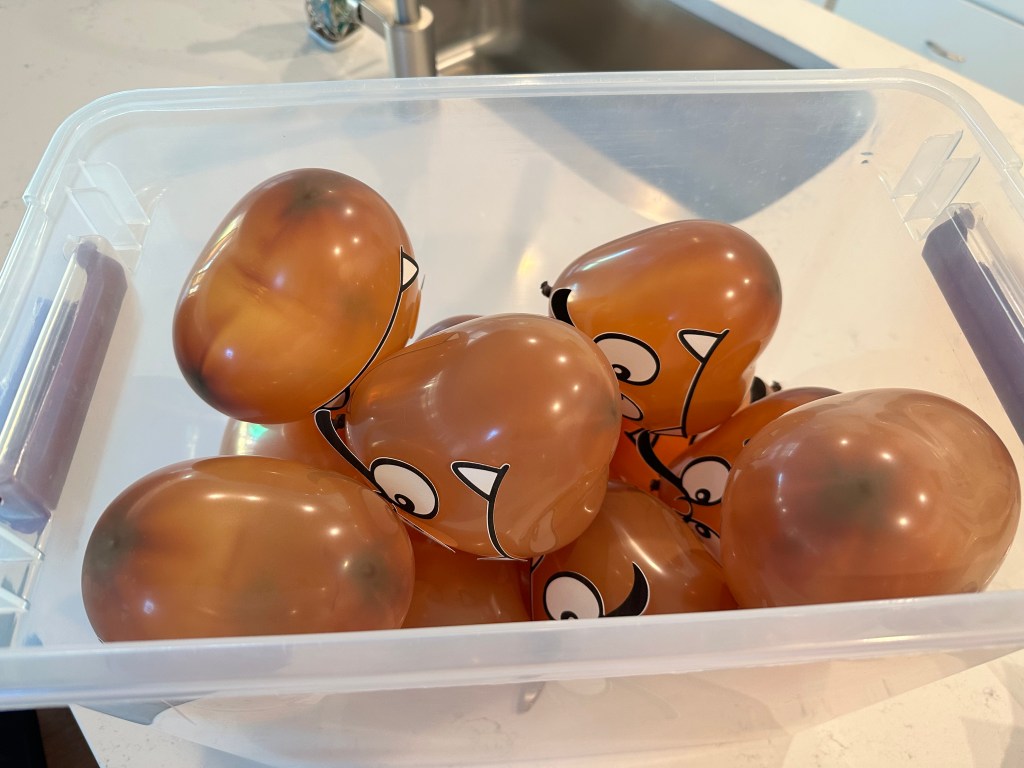
A couple of days before the party, I inflated Qualatex Heart Shaped 6” Latex Balloons in Mocha Brown—these create the perfect Goomba shape when blown up correctly. They cost a bit more than regular balloons and can sometimes be hard to find, but they’re totally worth it for the authentic Goomba look. Follow the instructions on the package carefully, or you’ll get some hilarious balloon fails!
Be careful or you’ll end up with balloons for a different kind of party. 😬
After inflating them properly and tying them tightly, I used Glue Dots to attach the face pieces to the balloons.
As I was setting up the event, I used more Glue Dots to secure the balloons to their bases and with that the Goombas were complete and ready to party!
7. Boo Ghosts
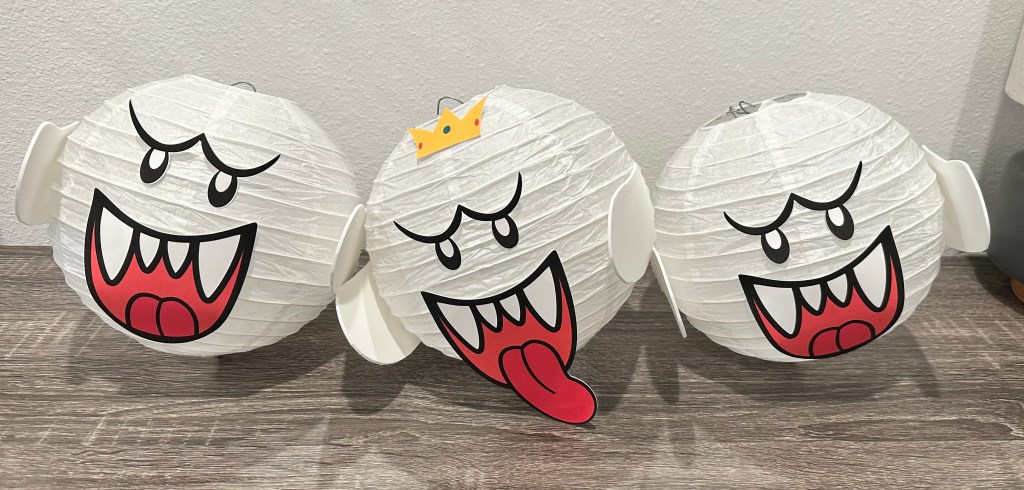
These Boo ghosts were so fun and simple to make. I printed different Boo face pieces for King Boo and the regular Boos on white cardstock and cut them out. I attached the faces to 8" white paper lanterns using glue dots, which made them easy to reposition if needed. For the arms and tails, I cut simple shapes out of white craft foam and attached them securely with hot glue.
8. Bloopers
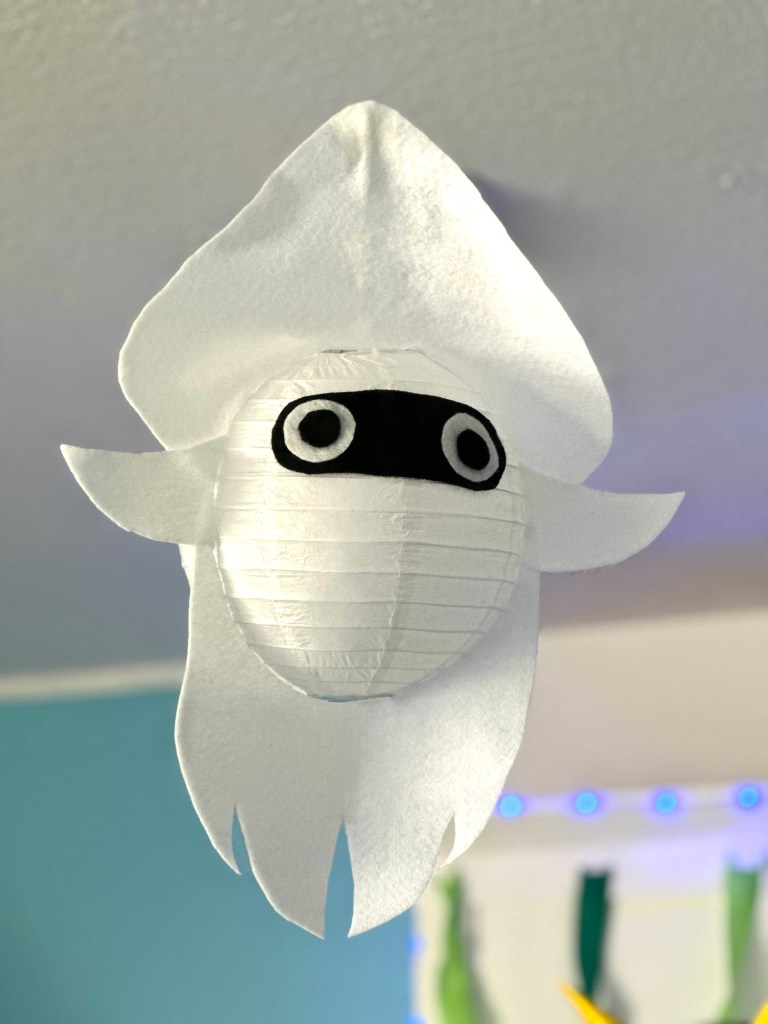
To create these Mario-themed Bloopers, my mom cut out simple head, fin, and tentacle shapes from white felt, using a reference photo for accuracy. She also cut black and white felt pieces for the eyes. I hot glued all the felt pieces to white paper lanterns—admittedly a bit of a tedious process! To keep the heads standing upright, I glued white lollipop sticks to the backs of the head pieces. When hanging them from the ceiling with fishing line, I taped the fishing line to the lollipop sticks, which kept the tops of the heads from flopping forward.
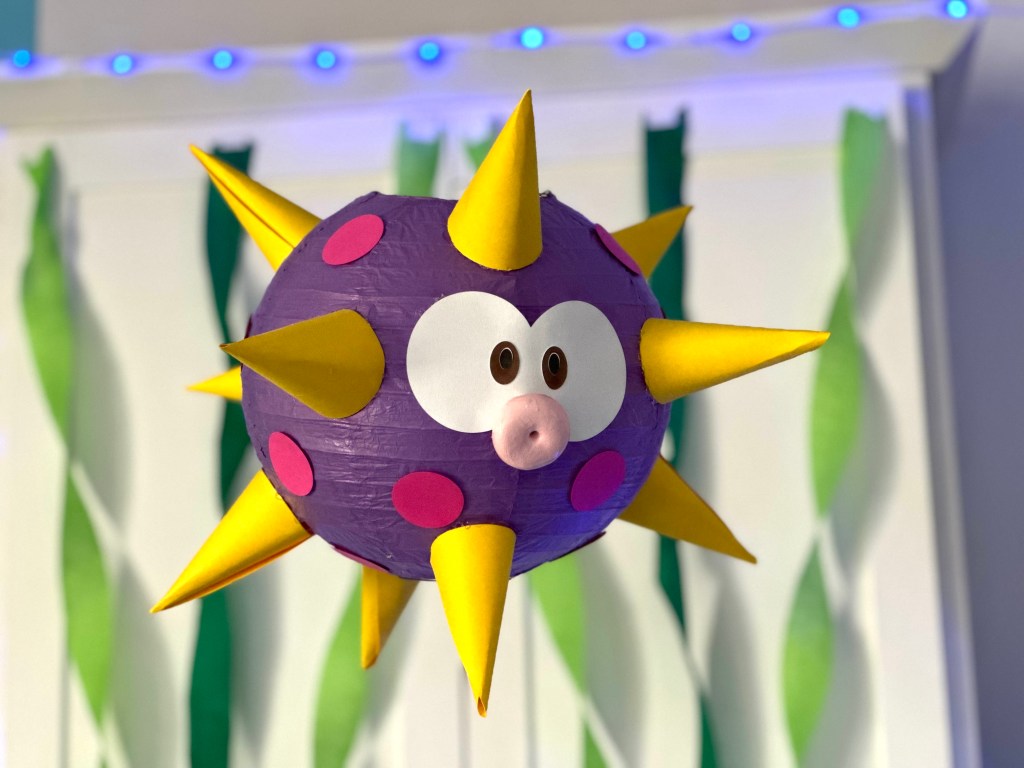
These were definitely one of the more time-consuming projects, but the finished result was worth every step. I started by creating a cone template and used my Cricut to cut out a bunch of these cone shapes from yellow card stock. Rolling them into perfect cones took a little practice, but once I got into the rhythm, it went quickly. I secured the seams with glue dots and then attached the finished cones all over a 10" purple paper lantern with hot glue. This step took some patience, but it’s what really brought the Urchin’s signature look to life.
Next, I cut out all the pieces for the eyes, which I designed in Photoshop, and added round pink spots to the body using a 1" circle punch. The final touch was the mouth — I shaped a small ball out of Crayola Model Magic, flattened it slightly, and used a straw to poke a hole in the center. After a few coats of pink acrylic paint and some drying time, I glued it in place. You can download my free printable of the Urchin's eyes by clicking here.
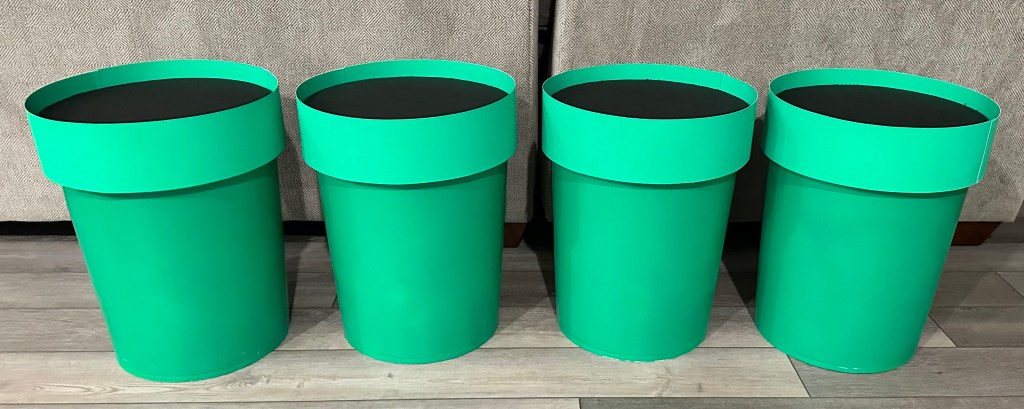
11. Warp Pipes
I made these Warp Pipes with plain white 5-gallon buckets from Walmart (about $4.50 each) and removed the handles. My mom was kind enough to help me by using Goo Gone to get all the sticky labels off.  Next, I spray-painted the buckets inside and out with green spray paint. I quickly realized that the paint chipped easily, so I added a coat of clear sealer, which made a huge difference in durability. Pro tip: wear disposable gloves while painting unless you want a green hand for the next four days. Trust me, I learned the hard way!

For the “pipe opening,” I flipped the buckets upside-down on black foam core board and traced circles to fit inside. A hot knife made cutting out the circles super easy and clean. (Tip: Do this step before painting to avoid scratching your paint job — I learned this one the hard way too!)  To create the signature green rim, I cut wide strips of green poster board, gluing two strips together so they were long enough to wrap around each bucket. I wrapped them tightly and clipped them in place using sewing clips while the glue dried. Mine held pretty snug once the clips were removed, so I didn't glue the rims to the buckets, but you could certainly attach them for a more secure fit.

Finally, I placed the black foam core circles inside each bucket to complete the look. During the party, I removed the black tops from two of the pipes so they could double as part of our Grass Land bean bag toss game.
12. Chain Chomps
These little guys were a labor of love, but totally worth it in the end! My mom and my two daughters (ages 8 and 5) jumped in to help, which made the process more fun. They created the “chains” by linking strips of gray construction paper that I had pre-cut with my paper trimmer.

The heads are made from 10" navy blue paper lanterns, and like all paper lantern characters, the challenge is attaching flat pieces to a round surface. It takes a bit of patience, but the results are so cute!  To make the mouth, I folded red tissue paper in half and cut out an oval shape, then glued the two layers together to make it sturdier. When attaching it to the lantern, I worked slowly—gluing the top, bottom, sides, and corners first, crimping the paper as I went to help it fit the curve of the lantern.

For the teeth, I designed a printable template with various triangle shapes. I cut the teeth out one by one, keeping them in order so they’d fit nicely around the mouth. The eyes were simple to create using circle punches—one medium, one large, and a standard hole punch for the smallest circle.  We ended up making five Chain Chomps for our party, and while it took some time, they really brought the Mario world to life!
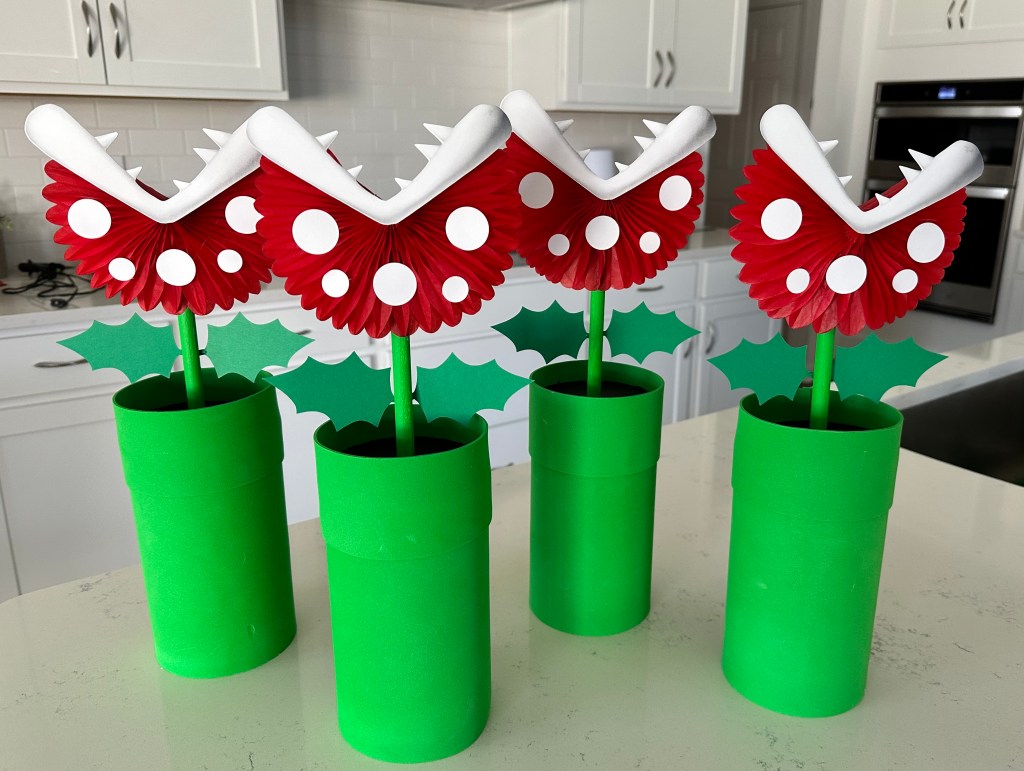
13. Piranha Plants
Want to Make These Adorable Piranha Plants? These little guys deserve their own step-by-step tutorial! You can find the full guide with detailed instructions and free printable templates in my Piranha Plant tutorial blog post.
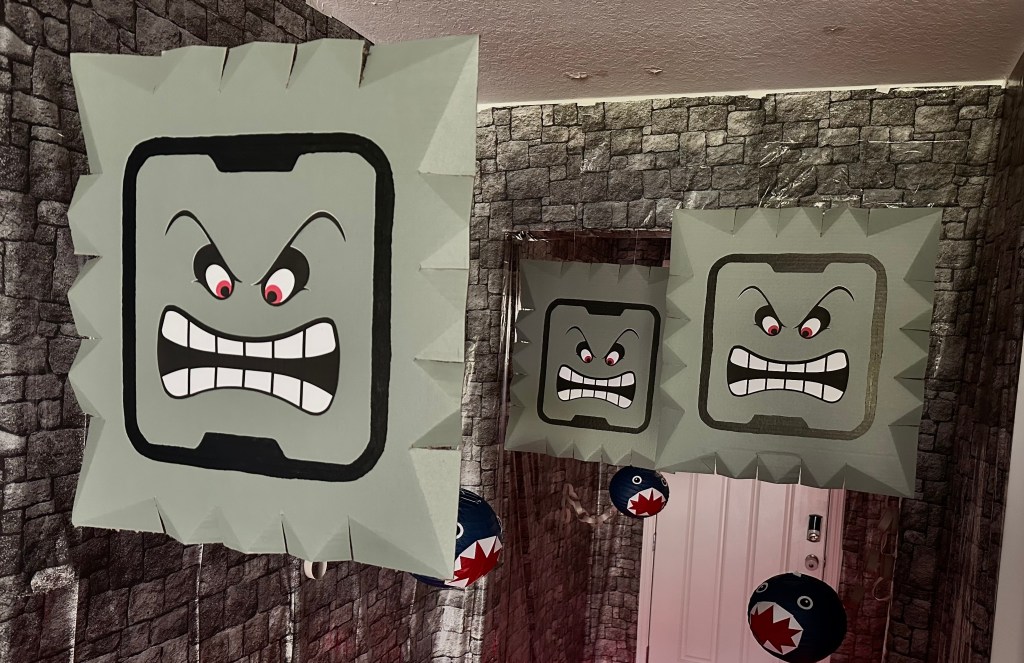
14. Thwomps
Creating these DIY Thwomps was a true team effort, and they ended up being one of my favorite details of the party! I started with four large gray cardboard sheets from Hobby Lobby and showed my mom a reference photo of a Thwomp. She came up with the clever idea of cutting and folding the edges to create a 3D, spiked effect. Once she perfected the first one, my daughter jumped in to help replicate the process for the rest.

After the base shapes were ready, my mom hand-painted a bold black outline around each Thwomp face using acrylic paint. For the facial features, I purchased a digital Thwomp face file from Etsy and used my Cricut’s “print and cut” feature to make the pieces out of white cardstock. Because the faces are oversized, I had to split the design into three separate cuts—left eye, right eye, and mouth.

We attached the pieces with glue dots for a clean, seamless look. The only exception was the eyebrows and eyelashes, which needed a little extra help to stay down, so my mom used regular white glue there. These Thwomps were time-intensive to make, but the end result was absolutely worth it—they brought Dark Land to life in the most dramatic way!
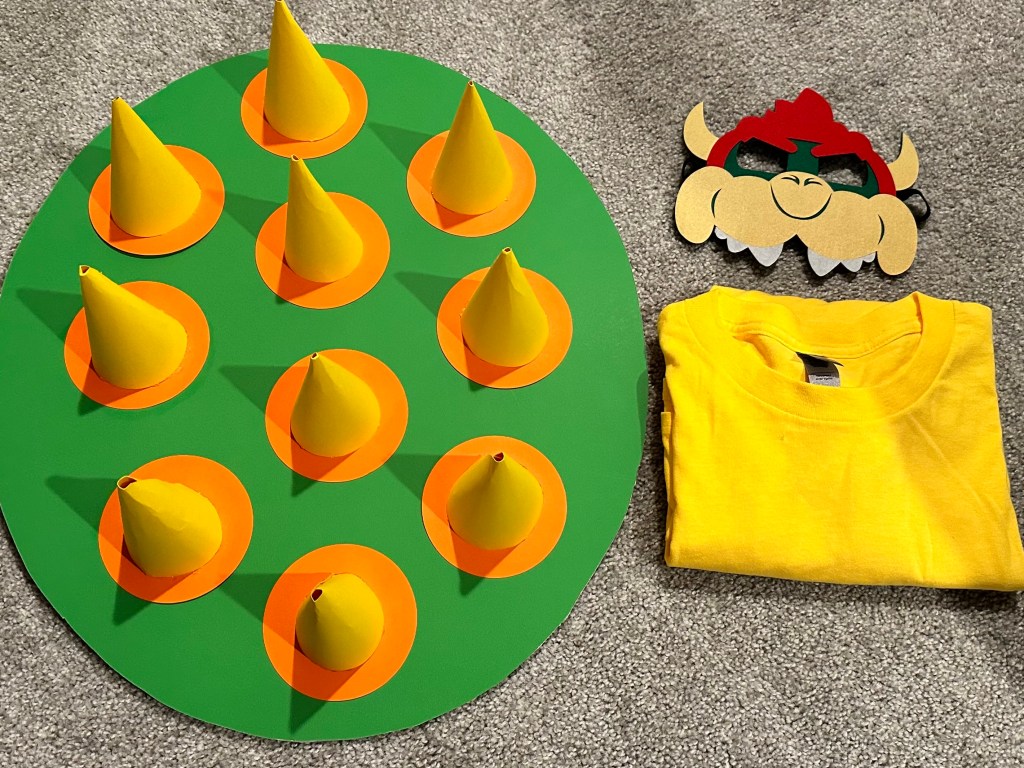
15. Bowser’s Shield
For our party, one of the kids’ challenges was to “defeat Bowser” by throwing fireballs at him to save Princess Peach. To make it extra fun, I created a shield for Bowser (played by my adult son!) so he could defend himself during the game.  I started by tracing an oval shape onto green foam core board and cutting it out with my hot knife. Next, I used a party hat template on my Cricut to cut cone shapes, similar to the method I used for the Urchin’s spines, but a little shorter and wider. After rolling the pieces into cones, I secured them with glue dots and a bit of hot glue for extra strength.

Using orange cardstock, I cut out ten slightly larger circles and hot glued the cones to them to form the spikes. Then, I attached the completed spikes to the foam board with white glue. On the back, I hot glued a strip of elastic so Bowser could slip his arm through and carry the shield easily.  To complete the look, I grabbed a plain yellow t-shirt from Hobby Lobby and a Bowser felt mask from Amazon. The shield added the perfect finishing touch to our game!
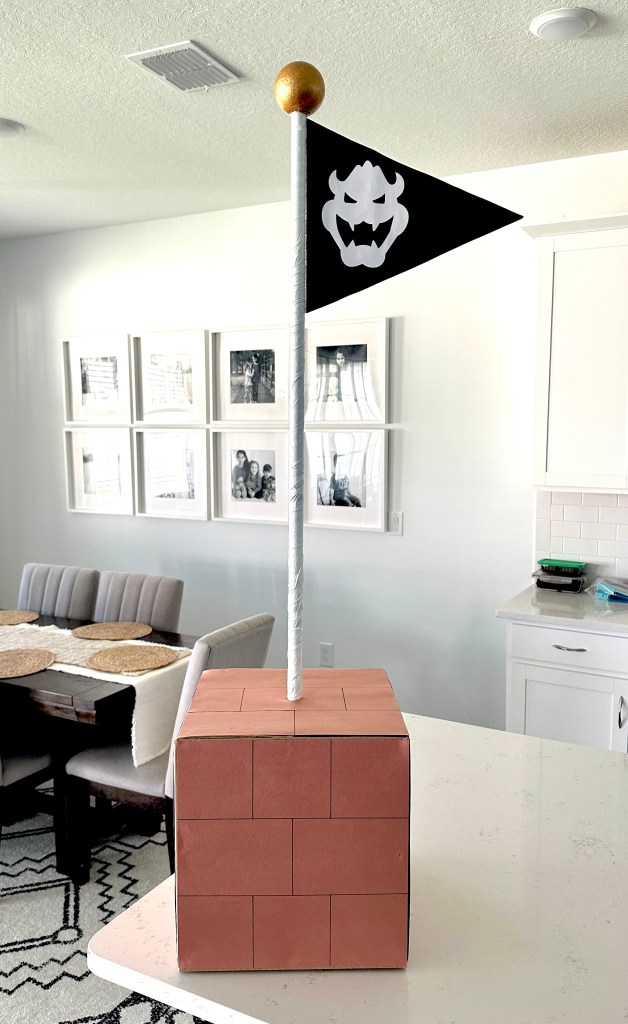
16. Bowser’s Flag
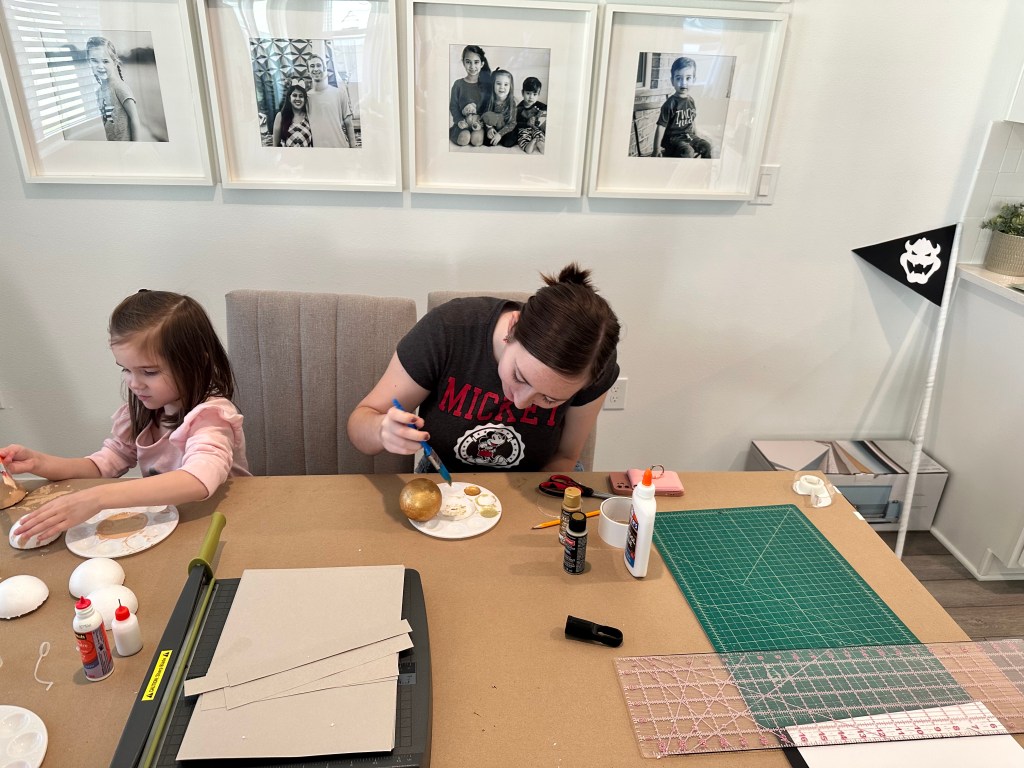
I recruited my adult daughter to help me make Bowser's flag. She started with a simple broom handle from the Dollar Store and turned it into a flagpole by wrapping it with white duct tape. For the top, she painted a 3” foam craft ball with gold acrylic paint and hot glued it securely to the pole.
The flag itself was made by joining two pieces of black card stock with tape to make one large rectangle. She repeated this step so there were two matching pieces, then glued them together with the taped sides on the inside, hiding any seams. Using my Cricut, I cut out two Bowser logos from white card stock (found through a quick Google search), and she glued one to each side of the flag. Finally, she hot glued the flag to the side of the pole.
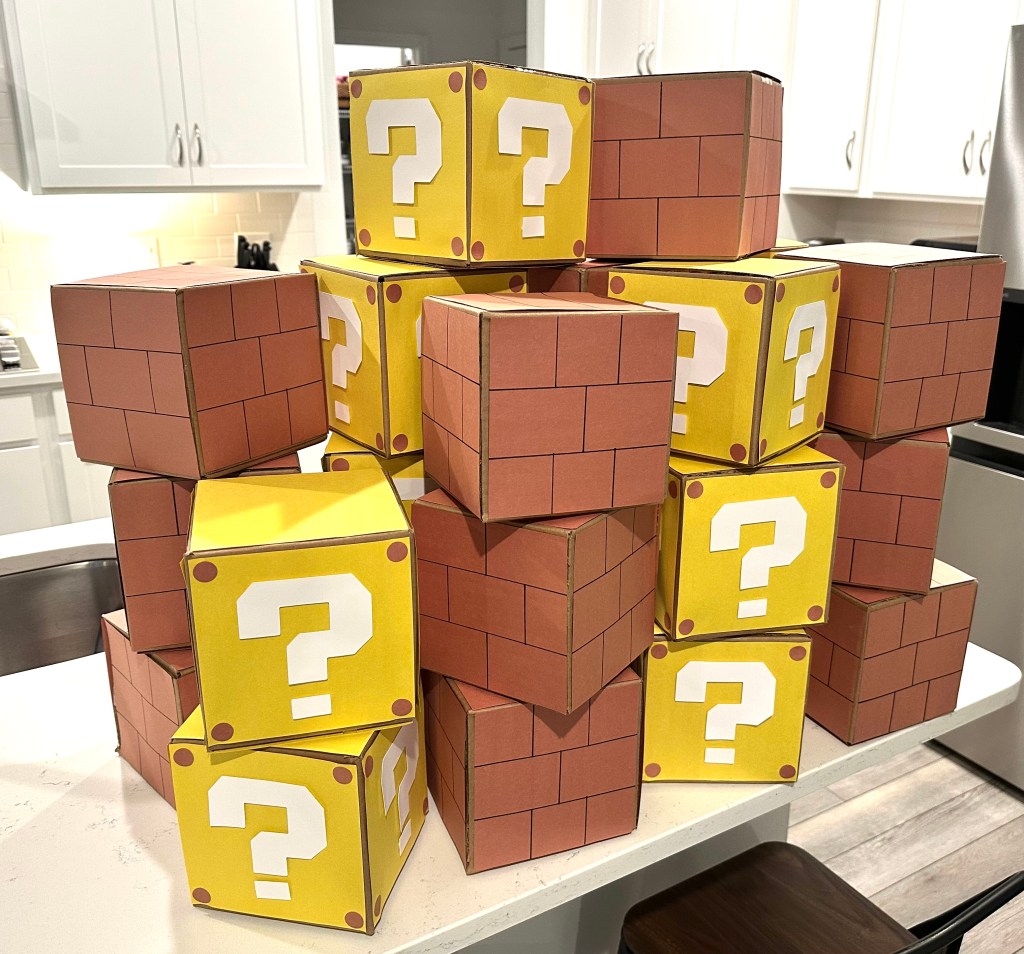
To attach the pole to the base, I opened up one of our DIY brick blocks. Inside, I duct taped a piece of PVC pipe to the bottom of the box. After cutting a small hole in the top of the box, we inserted the flagpole into the PVC for a sturdy fit and then taped the box closed again. The result was a dramatic, sturdy Bowser’s Flag that looked perfect alongside the rest of our Mario party decor!
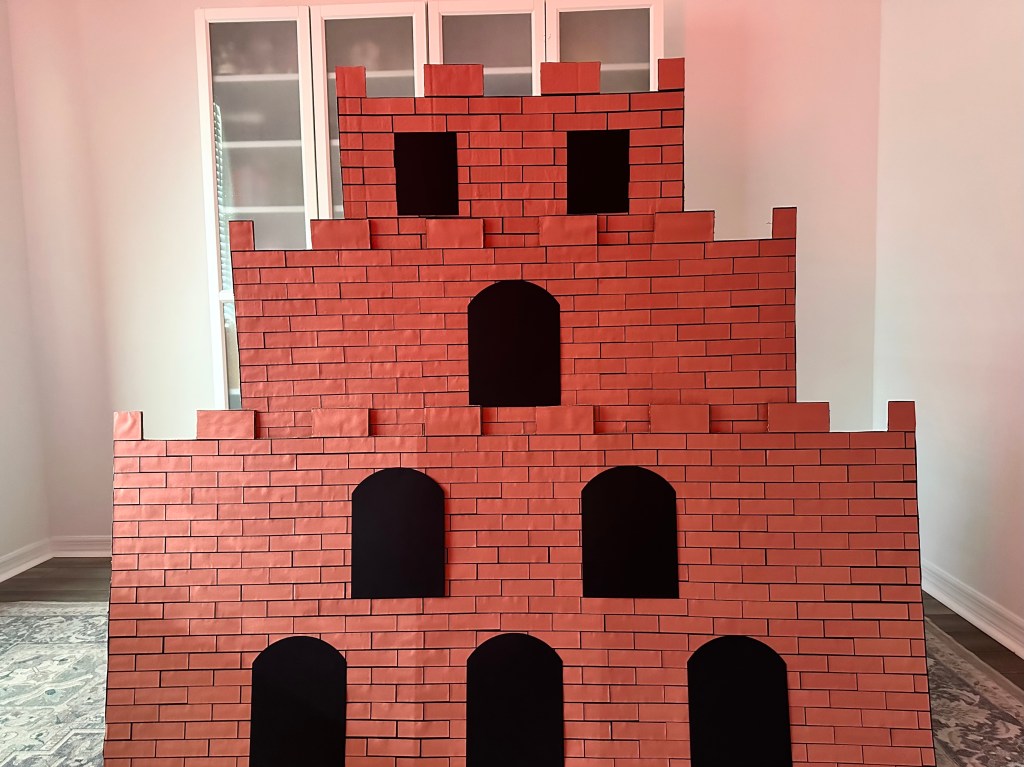
17. Bowser’s Castle
This was one of the biggest and most impressive builds from the party, so I’m dedicating an entire blog post to it. While an updated version of this tutorial is coming soon to this site, you can follow my original detailed instructions here at my old blog: [Part 1] [Part 2]
18. Mario Kart Cupcake Race Track
Want to create an epic Mario Kart cupcake race track for your party? My original step-by-step guide is currently on my old website while I prepare an updated, easier to follow version for this blog. Click here to view the original tutorial.
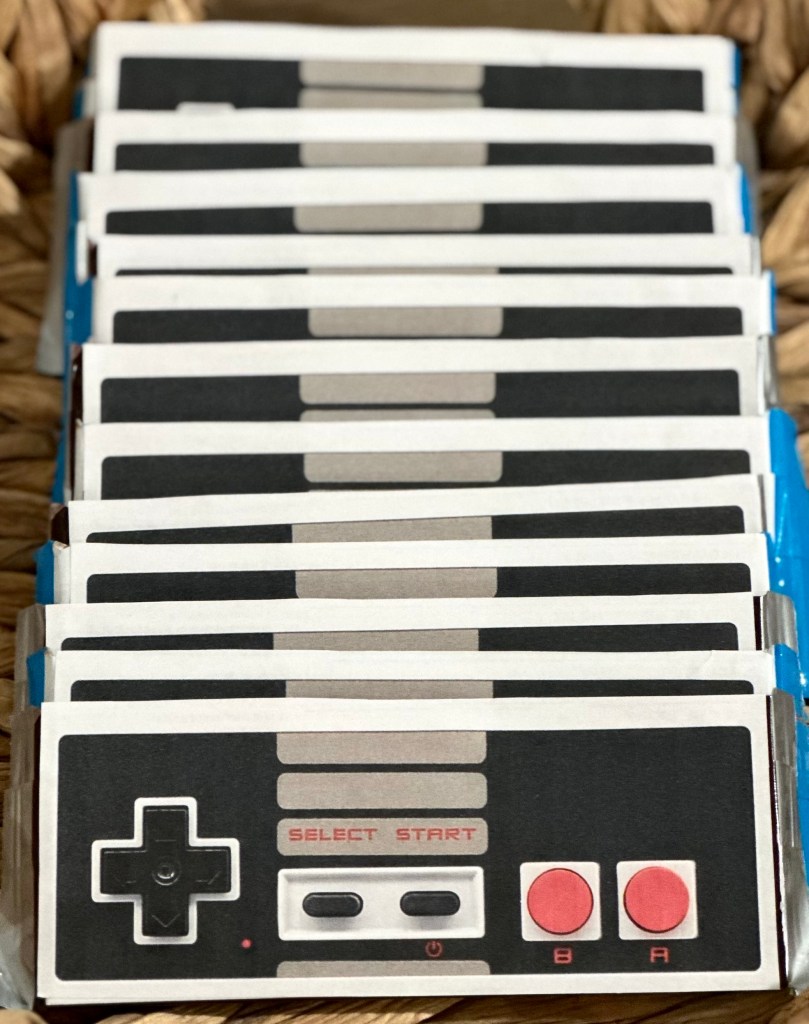
19. Nintendo Controller Candy Bar Party Favors
This is one of the quickest DIY party favors ever! I found an image of an NES controller on Google Images and resized it in Photoshop to perfectly fit a standard Hershey’s bar. After printing the designs on sticker paper, I simply peeled and stuck them onto the candy bars. I used both classic milk chocolate Hershey bars and cookies-and-cream bars for variety. From start to finish, this project took about 15 minutes, and the results were adorable!
20. “Grow a Piranha Plant” Party Favors
Since many of our party guests were adults, I wanted to create a thank-you gift that was fun for all ages. These Venus flytrap kits were the perfect choice! They fit perfectly with the Super Mario theme and doubled as a quirky conversation piece to take home. Because Venus flytraps need distilled water to thrive (and most people don’t have that on hand), I picked up travel-sized bottles, filled them with distilled water, and added custom labels that read “Piranha Plant Food.” I also designed custom tags in Photoshop to tie the whole look together. The entire project came together in under 30 minutes, making it a quick and easy party favor.
Creating this Mario-themed party was truly a labor of love, with every character and decoration crafted to bring the Mushroom Kingdom to life. It was incredible to see the kids’ faces light up as they ran through a world filled with Bob-Ombs, Piranha Plants, warp pipes, and more. And here’s a fun bonus—after the party, I sold all of the decorations on Facebook Marketplace and made back nearly the entire cost of the party! Not only did this project create unforgettable memories, but it also nearly paid for itself. Whether you plan to save, gift, or resell your creations, these tutorials will help you throw a show-stopping Mario party while being budget-savvy at the same time.
Around here, birthdays aren’t just parties — they’re adventures. You’ll find DIY décor, crafty tutorials, and imaginative ideas to help you transform any room into a storybook setting.
Want to know the heart behind the parties? More About Me


Leave a comment