
I did not wake up one morning and plan to build a castle, but here we are. We had a large pile of cardboard in the garage from a recent Amazon purchase that needed to be recycled, and I jumped on the chance to turn it into a party prop before it went to the curb.
I don’t know if the castle shown at the end of the level in Super Mario 1 is really Bowser’s castle, but this is the one I duplicated for our party to serve as Bowser’s castle.

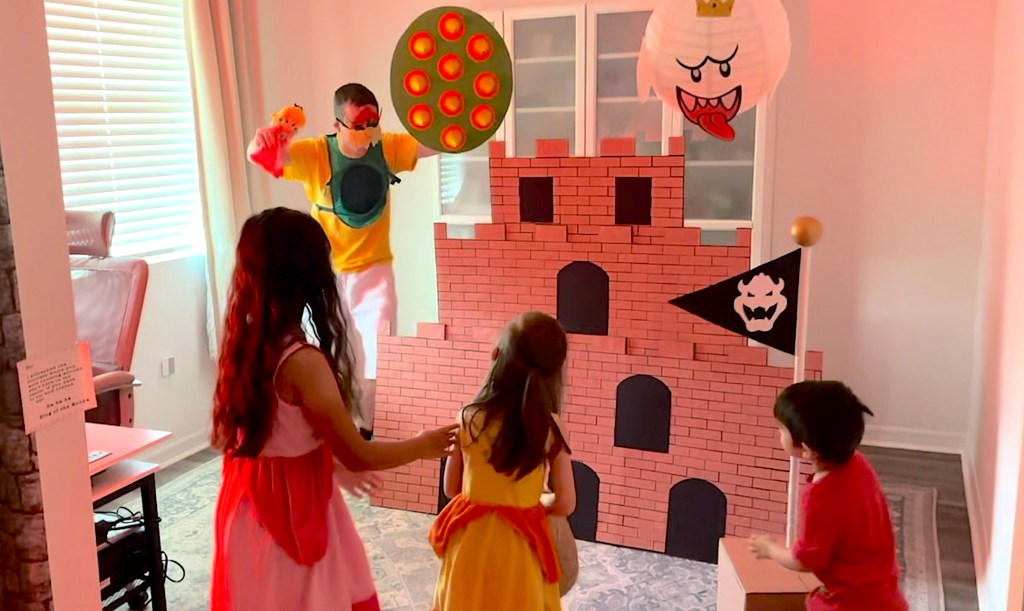
At the time I built it, I had no idea how this project would actually be used. It was just a cool cardboard prop. But now that the party has happened, I can tell you exactly what we used it for: it became the dramatic finale of the Dark Land obstacle course. The kids entered a small room at the end of the course to find Bowser himself (their big brother in a costume) hiding behind this giant cardboard castle. He leapt out holding a (plush) Princess Peach, and the kids had to defeat him and rescue her by throwing velcro balls at him.
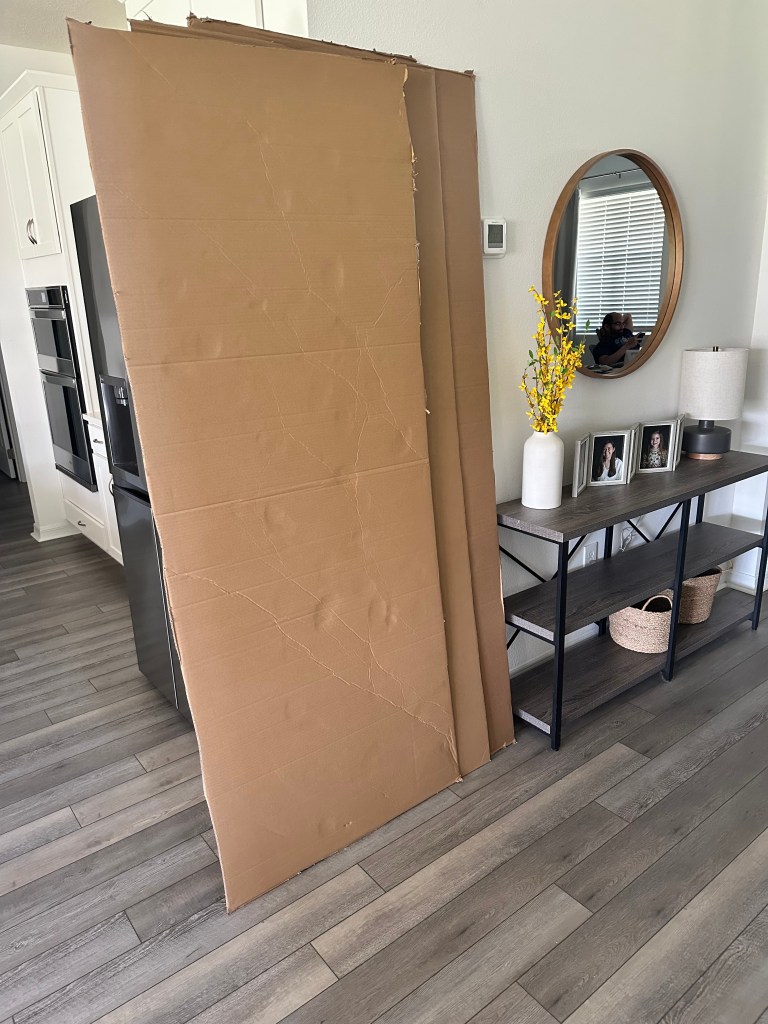
I wasn’t sure how I was going to make the castle when I started, so the entire thing was made up as I went. I began by taking my huge pile of assorted Amazon cardboard and reducing it down to 3 large rectangles. I figured I could turn each rectangle into a level of the castle.
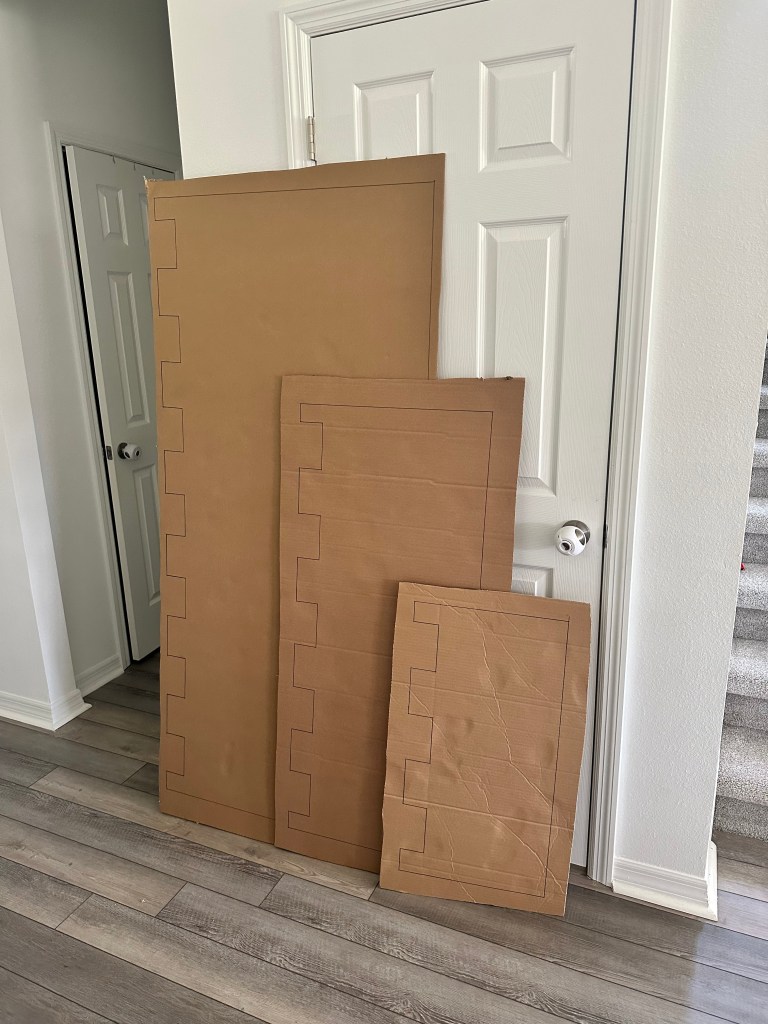
From here, I used Photoshop and a calculator to decide how large to make each castle level so the proportions would be similar to the inspiration castle from Super Mario 1. Rather than explain all the math I did, I’ll just give you the final dimensions:
- Top floor of the castle: 12″ high by 28″ wide
- Middle floor of the castle: 17″ high by 46″ wide
- Bottom floor of the castle: 27.5″ high by 65.5″ wide
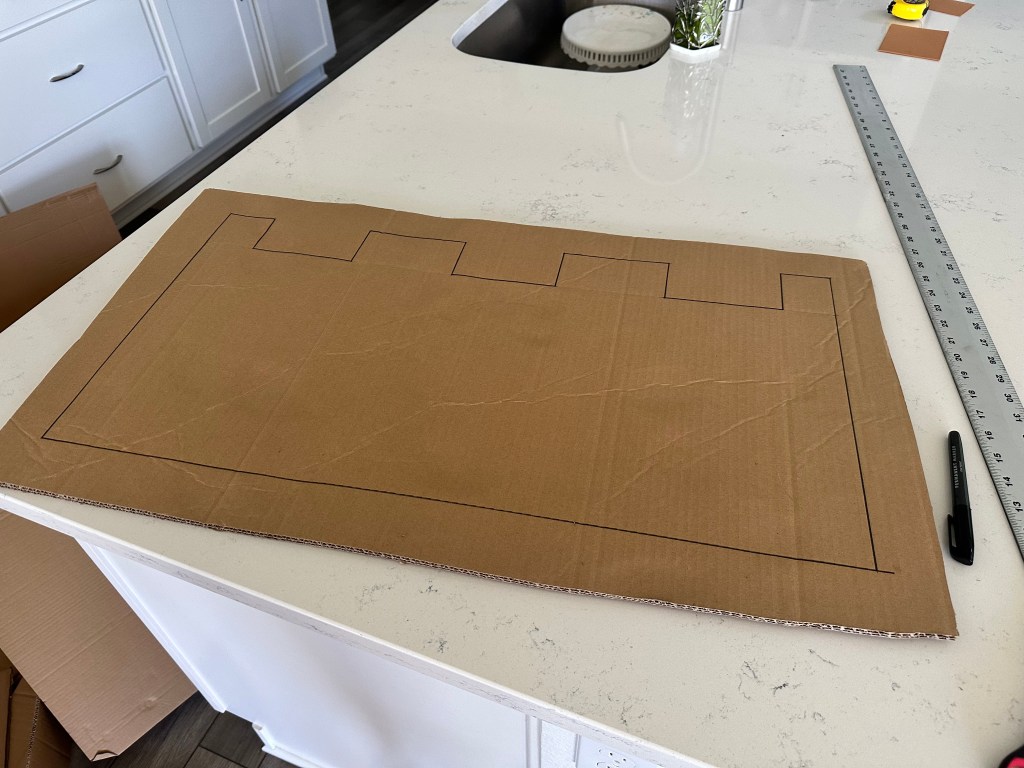
Important: these measurements refer only to the large rectangles I drew on the cardboard. They do not include the battlements that were added to the tops of each section. So if you’re replicating this, leave a few extra inches of space above each drawn rectangle to sketch in the battlements afterward. (Fun fact: I had to Google what the top bumpy part of a castle was called so I could write this blog post.)
Once I had drawn each of the three main rectangles with a pencil and straight edge, I made a smaller rectangle to use as a template to trace the battlements across the top of each. After finalizing the shapes in pencil, I traced over everything with a Sharpie to make the outlines clearer, and trimmed down any cardboard excess.
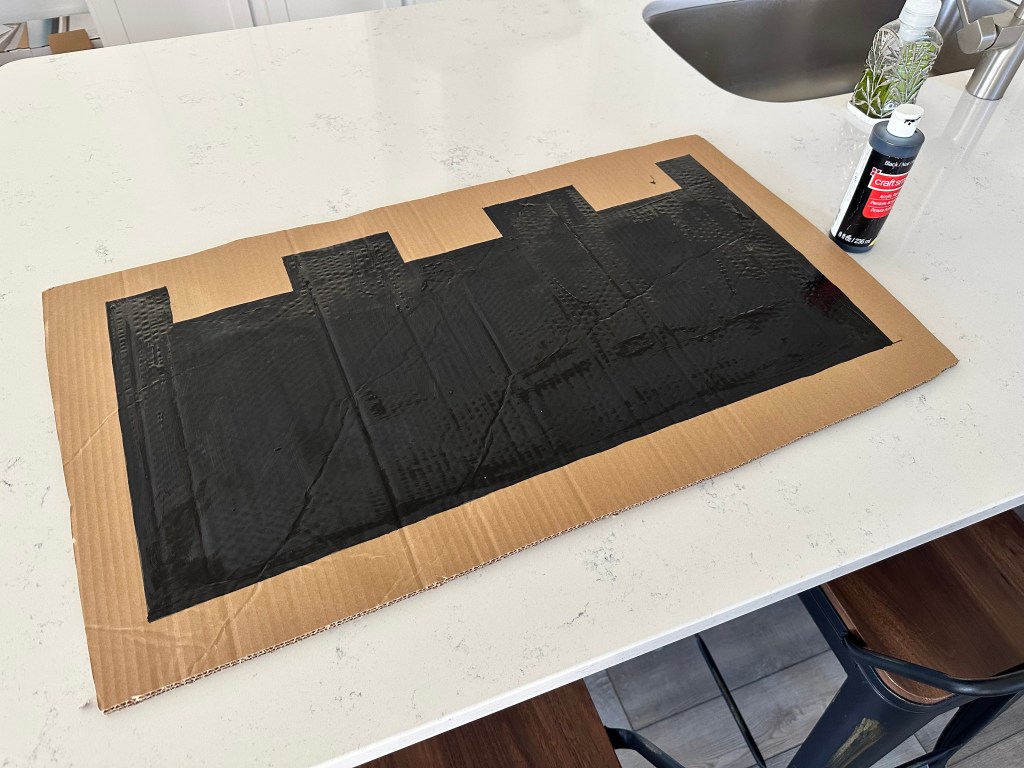
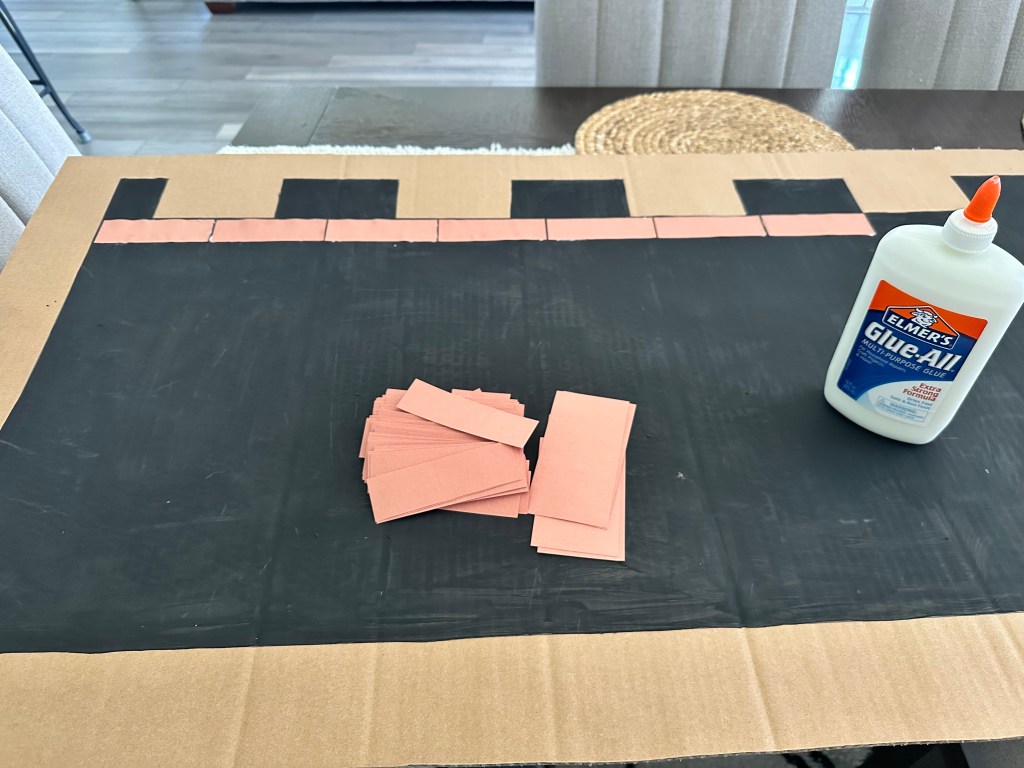
Then I painted all three castle sections with black acrylic paint. It took quite a bit of paint—the bottom level is over five feet wide—so plan accordingly.

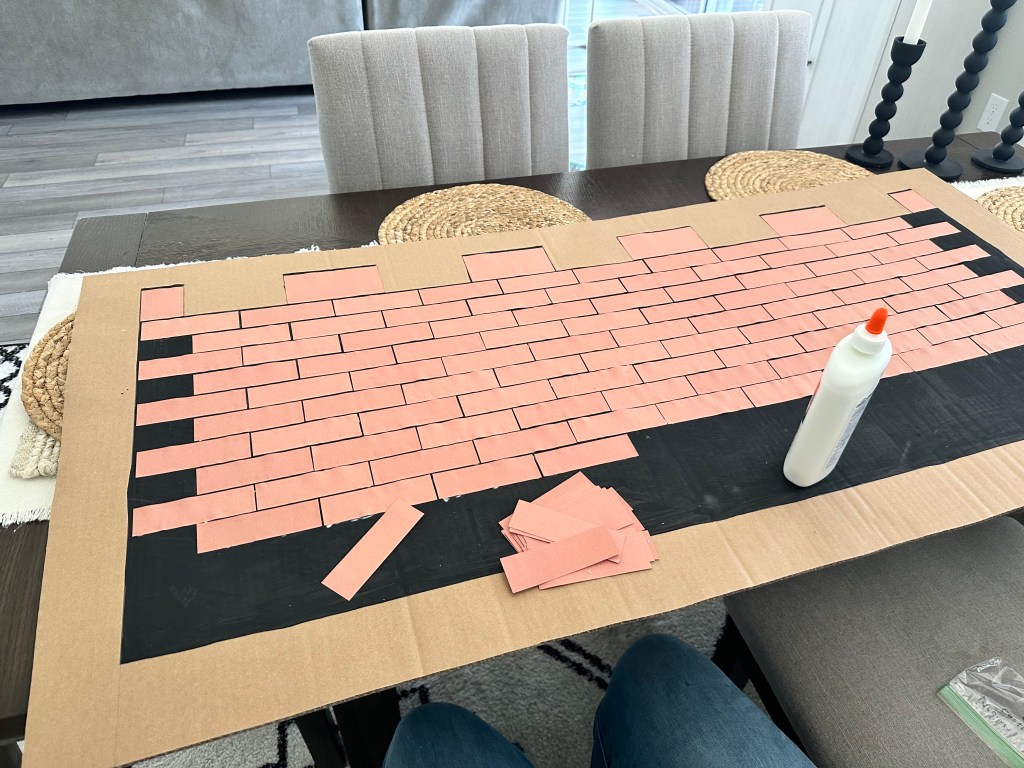
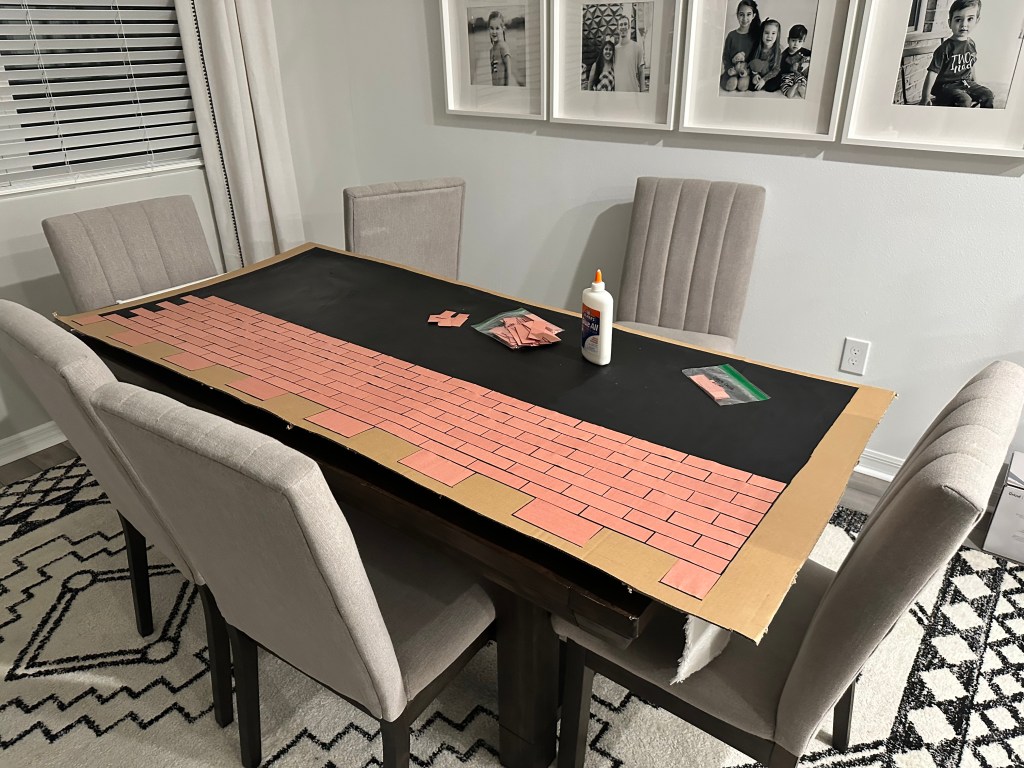
Next came the bricks. I scribbled endless math into a notebook trying to figure out what size bricks would make everything look evenly spaced and visually accurate. I’ll save you the trial and error: each brick should be 4.25″ wide by 1.25″ high. And because bricks are staggered, you’ll also need half-bricks for the ends of alternating rows.
Here’s how many bricks I ended up using:
- Top level: 54 full-size bricks + 9 half bricks (9 rows)
- Middle level: 120 full-size bricks + 12 half bricks (12 rows)
- Bottom level: 300 full-size bricks + 20 half bricks (20 rows)
Total: 474 full-size bricks + 41 half bricks
I cut all the bricks using a paper trimmer, which made the process surprisingly fast. It took about 30 minutes and 28 sheets of 9×12 brown construction paper. I also made a few custom brick shapes to fit into the battlements.
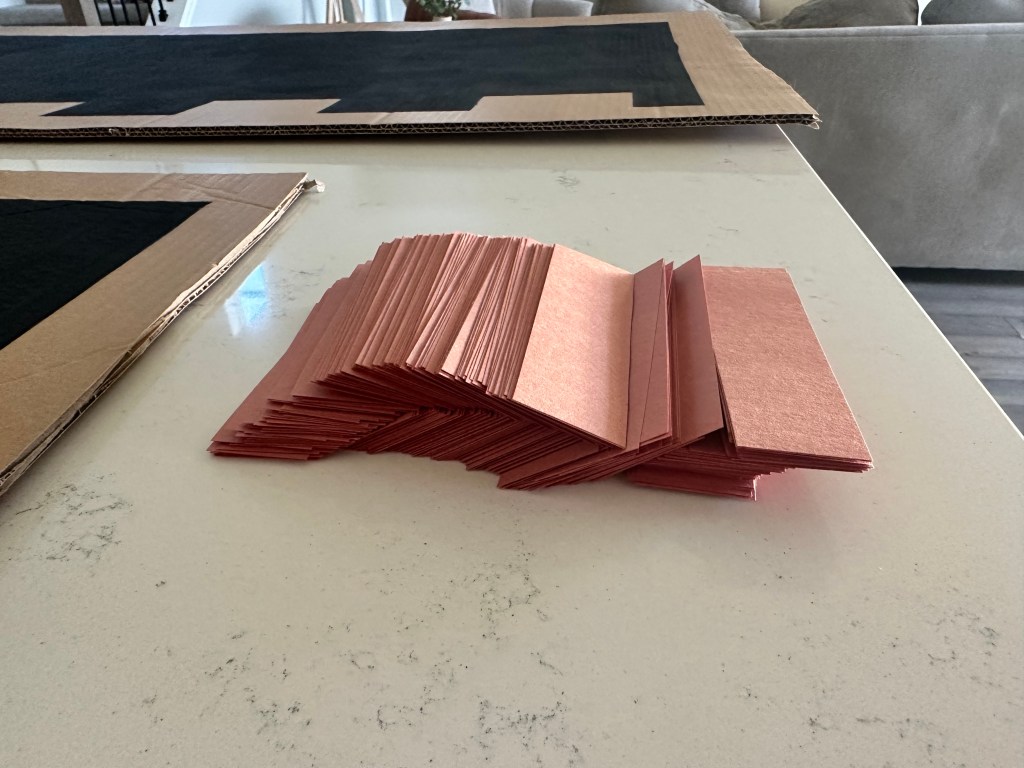
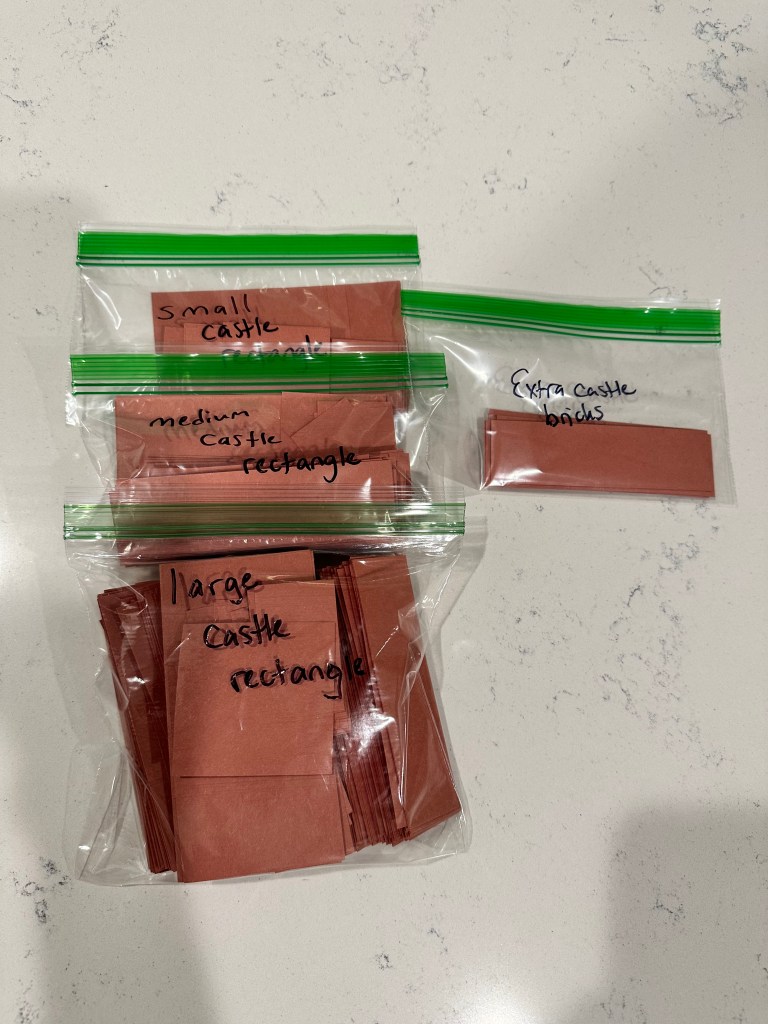
To stay organized, I sorted the bricks into ziplock bags by section—a totally optional step, but it helped a lot when it came time to glue.
And then… I glued. For five hours. About 500 bricks. One at a time. I questioned my life choices more than once but was determined to finish. I did an hour here and there and eventually made it to the end.
When all the bricks were glued, I used a box cutter (with mild fear) to carefully cut out the castle sections.
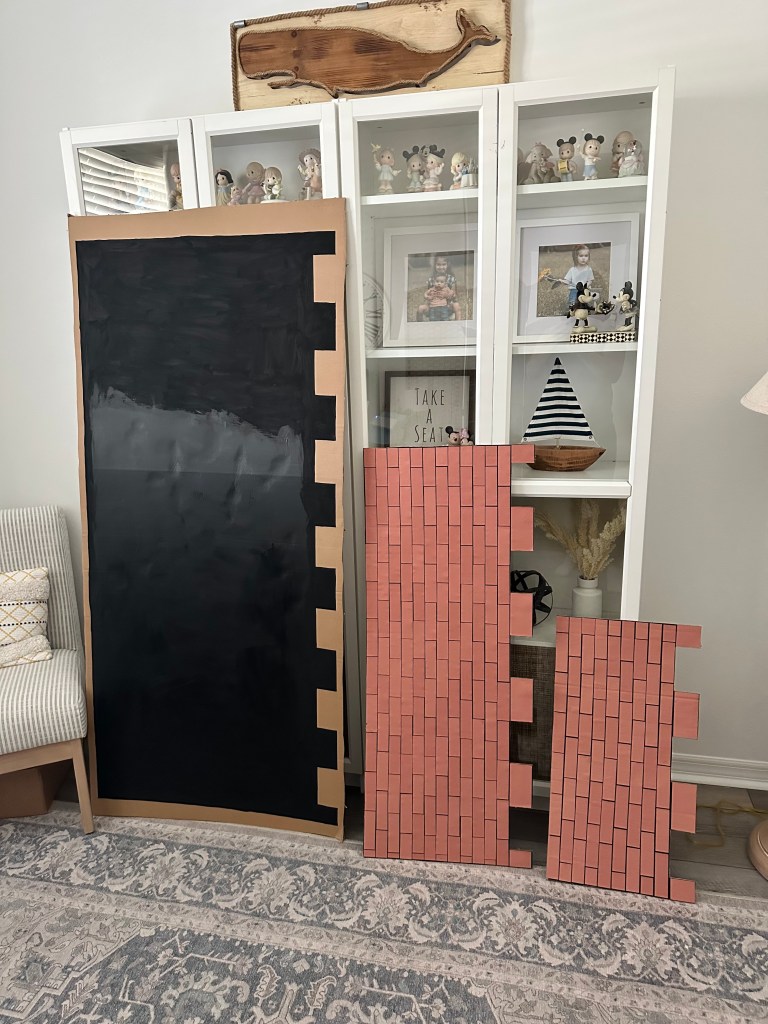
For the final touch, I added the windows: six arched and two rectangular, made from black cardstock.

I stored the three pieces flat under my bed until party day so they wouldn’t warp. Then I taped them together with packing tape and propped the finished castle against a piece of furniture. It was the perfect backdrop for our final boss battle.
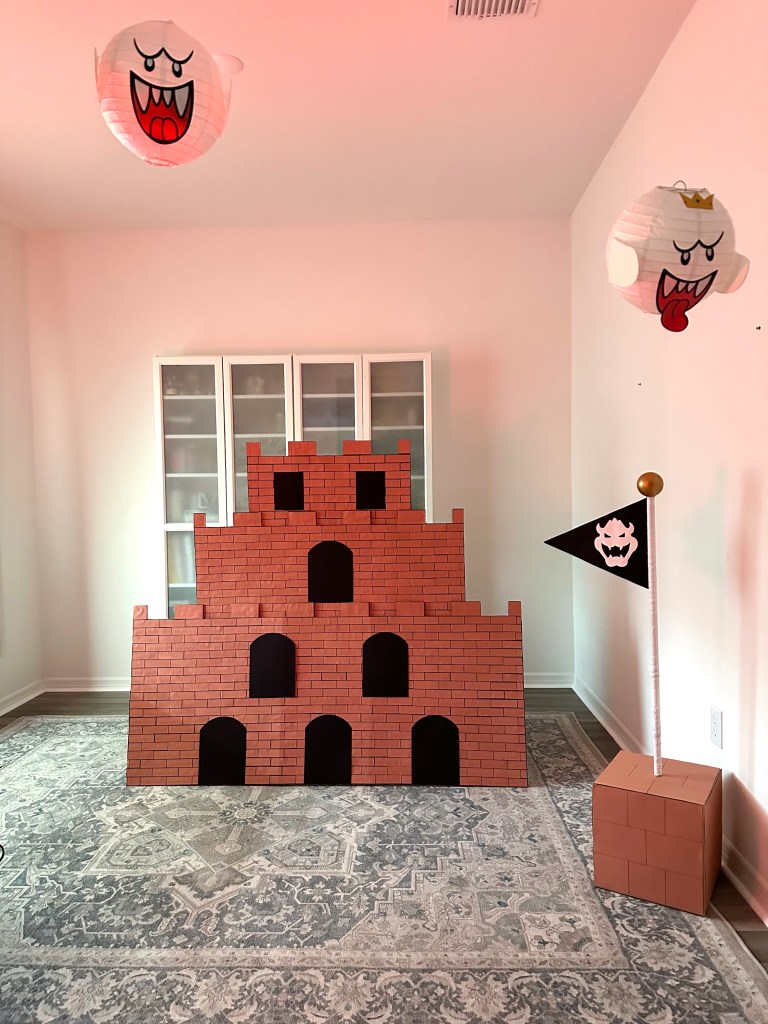
➡️ For more DIY Super Mario props, including Bowser's flag, warp pipes, thwomps, question blocks, and more, check out this page, where I share loads of tutorials from our Mario party!


Leave a comment