How to Make Giant Party Posters and Decor at Home Using a Basic Printer
Published by
Laura Iyampillai
on
Big signs can completely transform a party space, giving your event that “wow” factor without breaking the bank. While professional printing is always an option, you can make large, custom signs at home with just a basic printer, foam board, and a free online tool!

This step-by-step guide will show you exactly how to enlarge an image, print it across multiple sheets of paper, and assemble it into a sturdy sign for your next party.
Supplies You’ll Need
• A high-resolution image (PNG or JPG)
• Foam board or poster board (20”x30” or smaller works perfectly)
• Printer paper
• Clear contact paper (optional, for a glossy finish and to hide seams)
• Paper Trimmer or Scissors
• Tape
• Glue stick or spray adhesive
Step 1: Split Your Image Into Multiple Pages Using PosteRazor
To create a large image from your home printer, you’ll need to split the image into sections so it prints on regular 8.5”x11” paper. The easiest free tool for this is PosteRazor.
Here’s a quick walkthrough:
1. Upload Your Image. Click the little folder icon in the Input Image box and select your image. Click Next.
2. Printer Paper Setup. Under paper size, select Letter. Choose whether you’d like your pieces to print portrait (vertical) or landscape (horizontal). Either is fine. Leave the border size at 1.5 cm. Click Next.
3. Overlap Settings. Leave these as the default values. Click Next.
4. Set the Poster Size. Choose Absolute Size and type in the desired size for the longest edge of your final poster. For example, a standard foam board is 30 inches long. Convert inches to centimeters by multiplying by 2.54 (Example: 30 inches × 2.54 = 76.2 cm). Enter this number in the Height box for vertical designs or the Width box for horizontal designs. The other dimension will automatically adjust. Click Next.
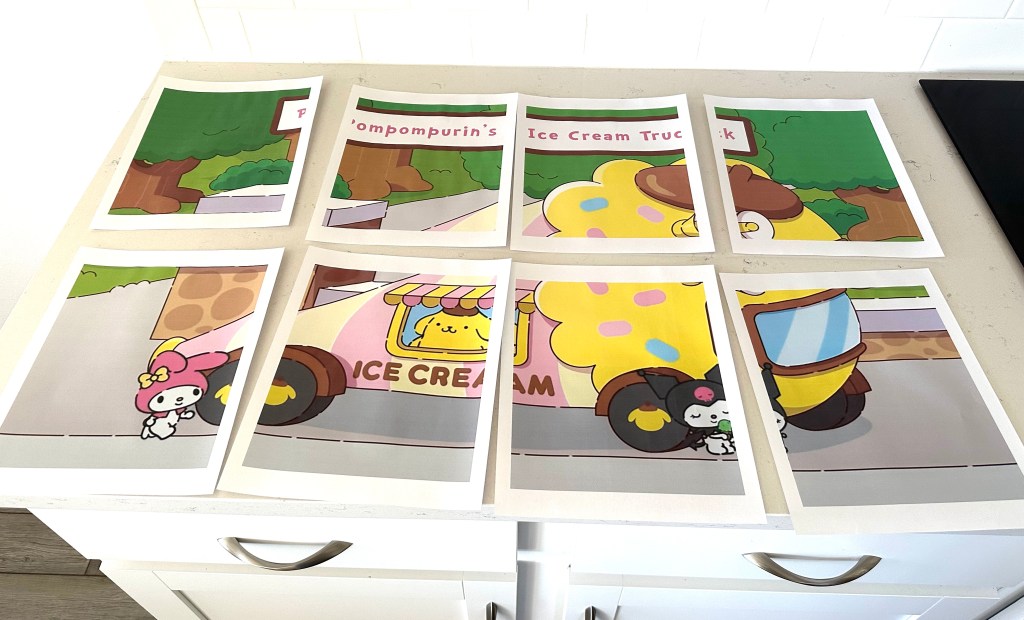
5. Save and Print. Save your file (it will download as a PDF booklet). Open the PDF and print it at 100% (actual size). Now you’ll have a set of “puzzle pieces” ready to trim and assemble!
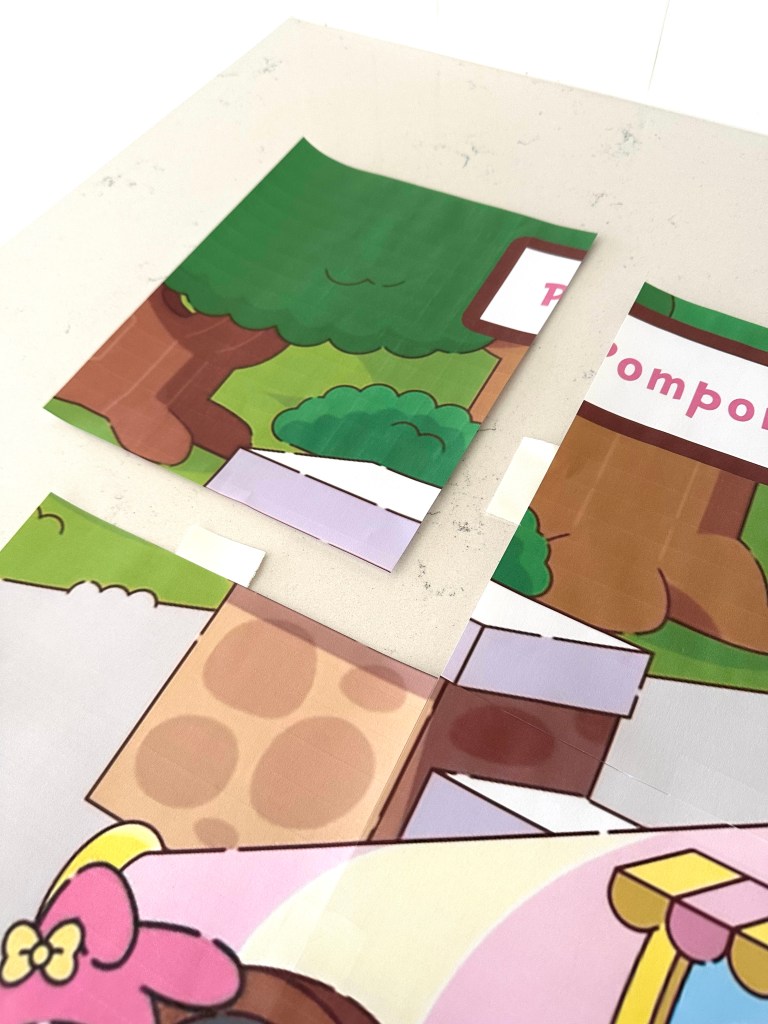
Step 2: Trim the Edges
	•	Use a paper trimmer or scissors to remove any white borders from each sheet.
	•	This step ensures clean seams when you tape the pages together.
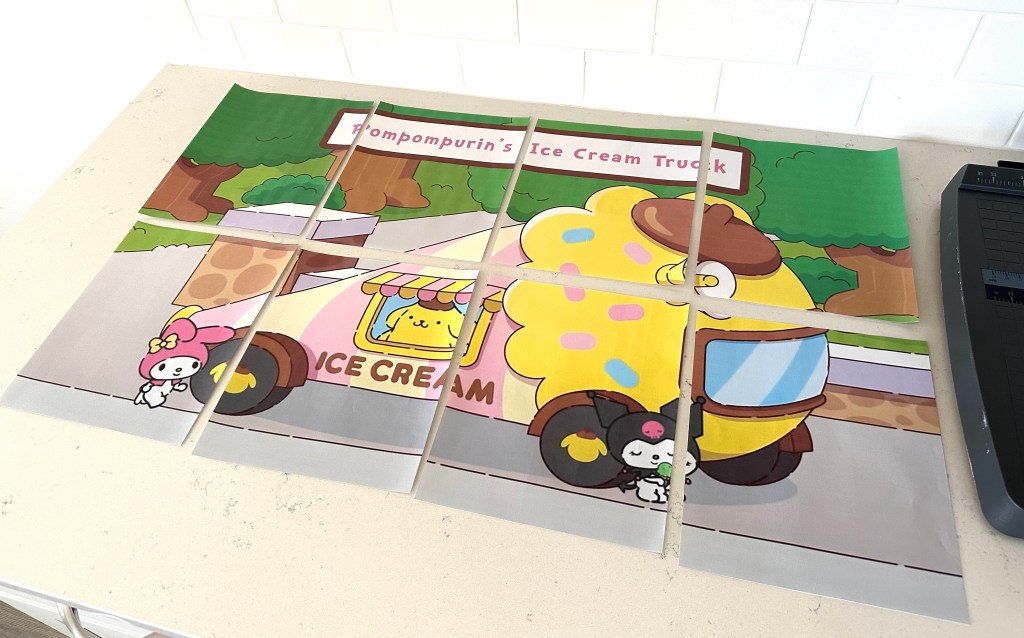
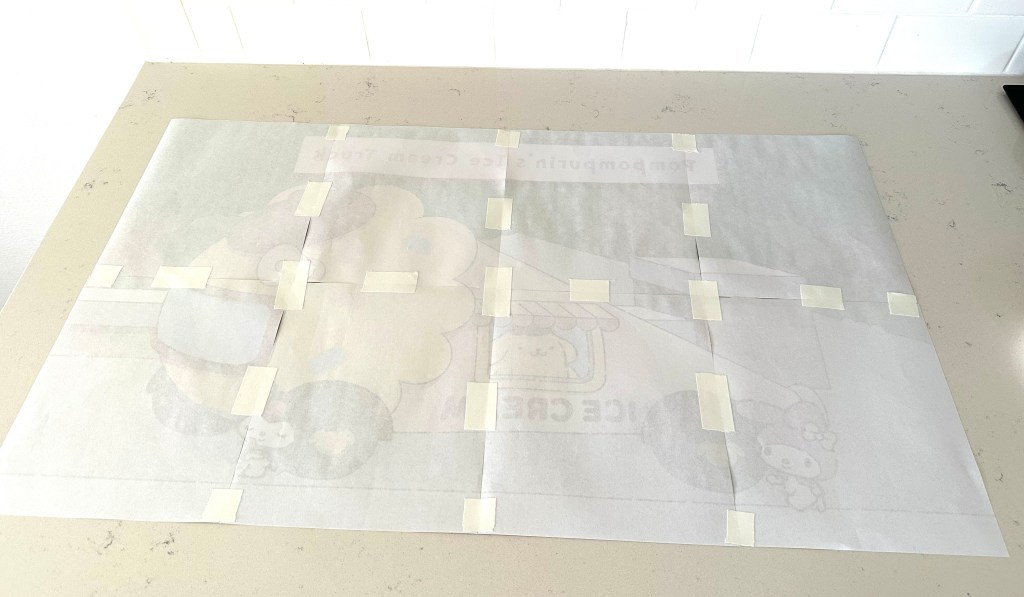
Step 3: Tape the Image Together
	•	Lay all the sheets face down on a table like puzzle pieces.
	•	Carefully align them so the image lines up perfectly.
	•	Tape the pages together on the back side only.
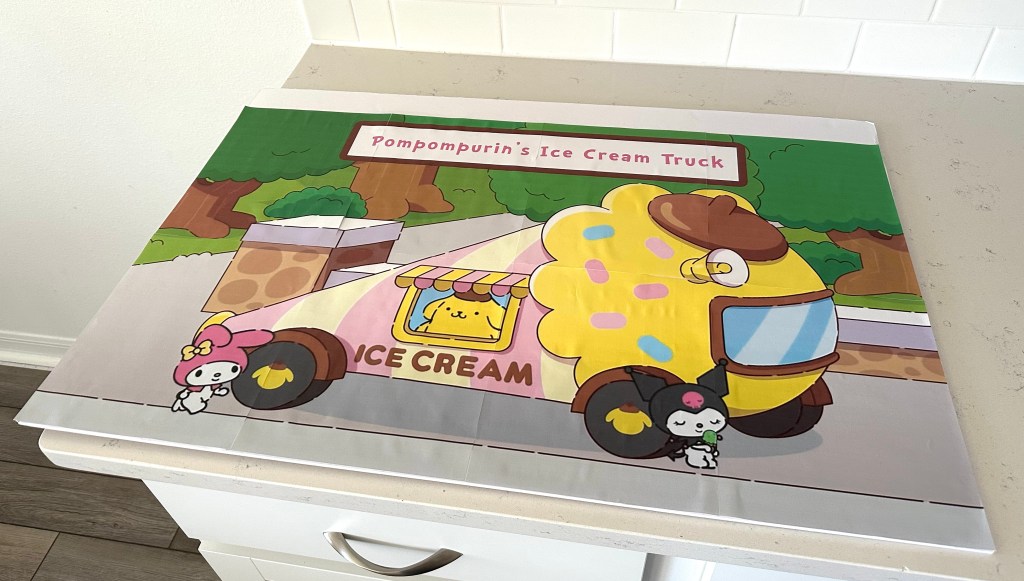
Step 4: Mount on Foam Board
	•	Apply glue stick or spray adhesive to the foam board.
	•	Gently press the taped-together image onto the board, smoothing out any wrinkles or bubbles.
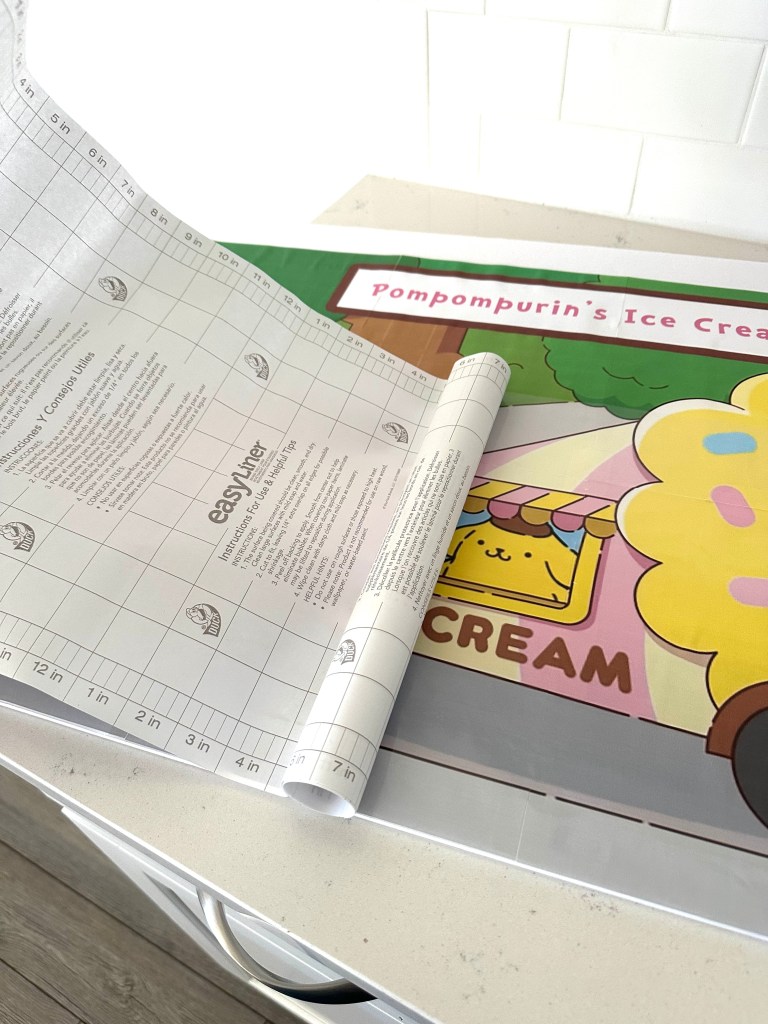
Step 5: Optional Glossy Finish
To make your sign more durable and polished:
	1.	Lay clear contact paper over the surface of the image.
	2.	Smooth it out as you go to avoid air bubbles.
	3.	This also helps disguise the seams between the pages.
Step 6: Trim the Edges
	•	Cut away any excess foam board or contact paper so your sign has nice, clean edges.
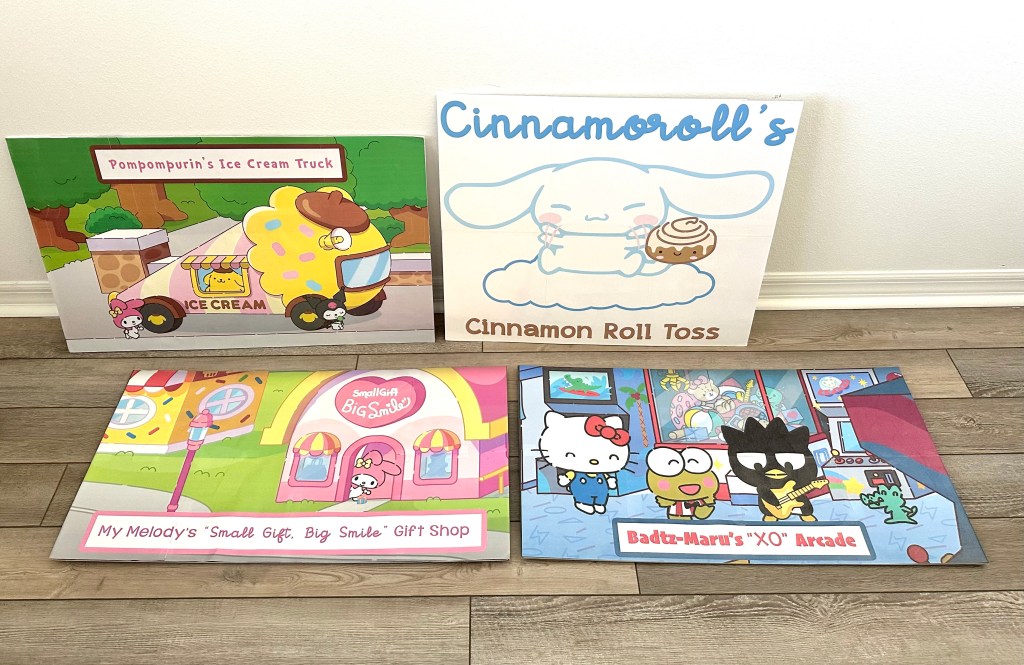
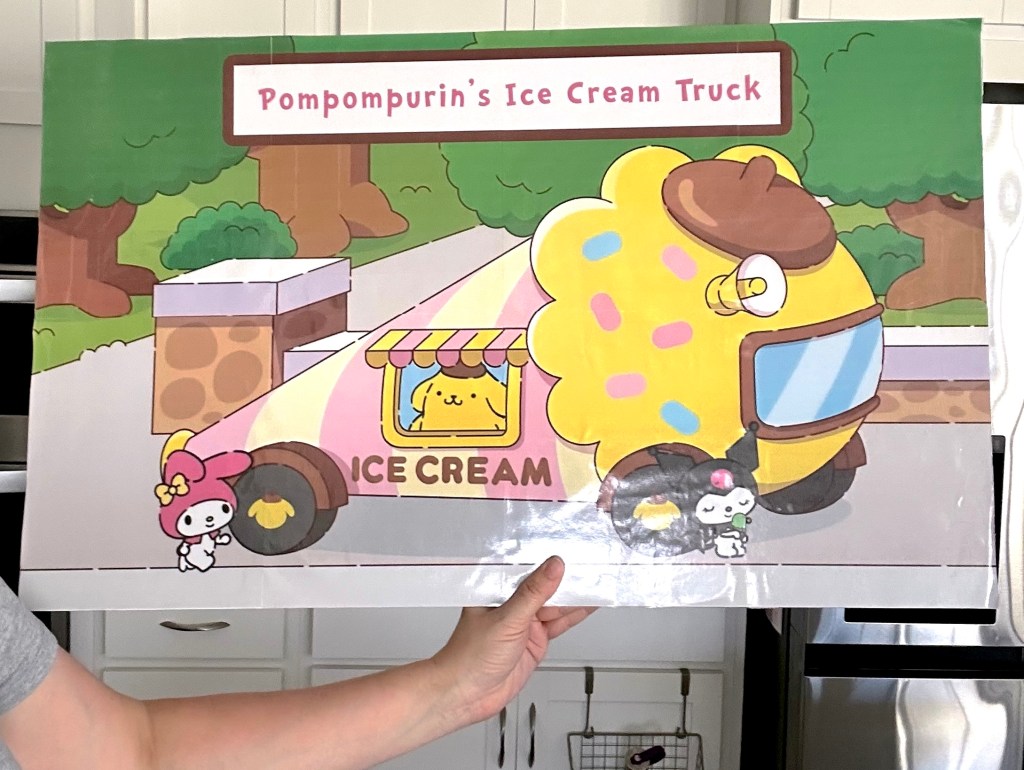
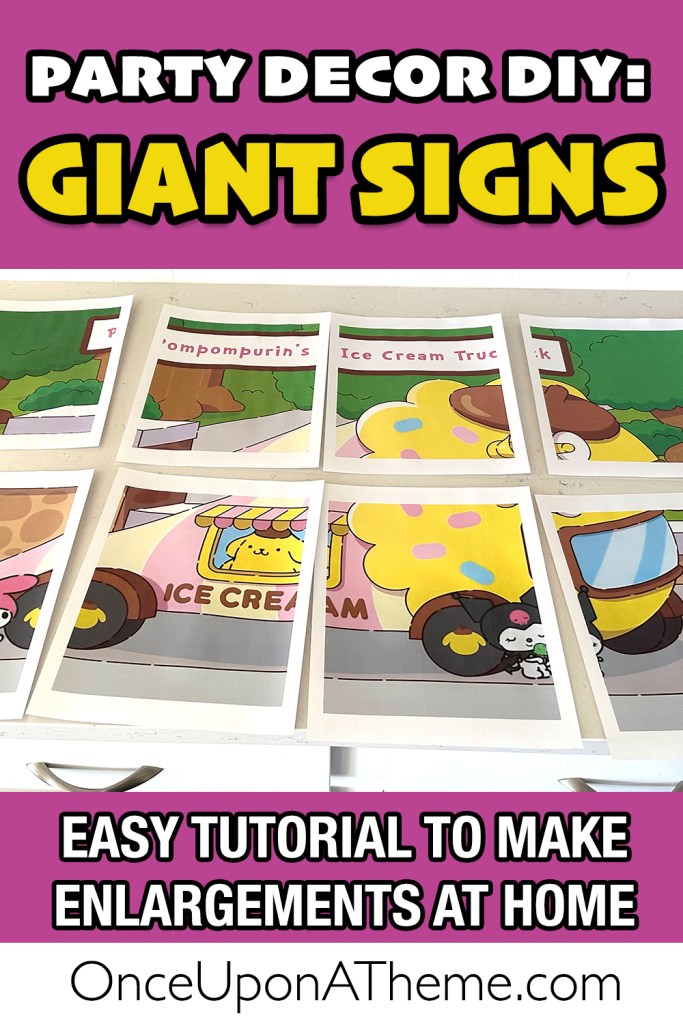
Final Result
You now have a professional-looking custom sign made entirely at home!  Here are a few examples I created for my Hello Kitty party using this exact process:
Final Thoughts
Creating giant party signs at home doesn’t have to be complicated or expensive. With just a basic printer, some foam board or poster board, and a few simple supplies, you can make custom decorations that look like they came straight from a professional print shop. Whether you’re making signs for a birthday party, school event, or themed celebration, this method allows you to bring your ideas to life on a big scale without breaking the bank.

I hope this tutorial inspires you to get creative and try making your own oversized decor! If you give this method a try, I’d love to hear about your results—drop a comment or share your finished projects.
Around here, birthdays aren’t just parties — they’re adventures. You’ll find DIY décor, crafty tutorials, and imaginative ideas to help you transform any room into a storybook setting.
Want to know the heart behind the parties? More About Me


Leave a comment